Paper Lanterns
Winter in our Dragonfly kindergarten/first grade class is filled with fun and fancy projects. We are happy to share ideas. These tutorials are quick because we're all busy in the winter season. Feel free to ask questions. Enjoy!
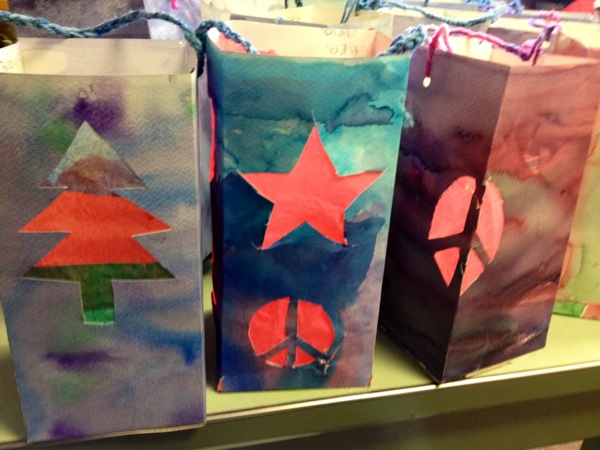
To make these lovely lanterns, watercolor a long piece of paper. When it's dry, draw a line on the back about 1/2 inch from a wide edge.

Fold in half to your drawn line. Fold in half again so you have four sections. Fold up a few inches along the bottom edge to make a base.
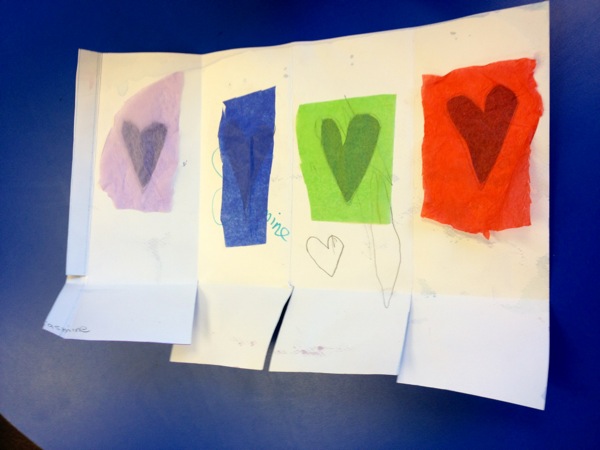
Cut along your fold lines on the bottom edge. Draw or trace shapes on each panel. Cut out those shapes to make holes.
On the back, glue tissue paper over the holes to make pretty glowing windows.
Fold the lantern again with the bottom edges overlapping to form the base. Glue along the 1/2 inch extra paper from that first line you drew in the beginning. Tuck that into the lantern to glue the four sides together. Let your lantern dry.
For the handle, we punched two holes and the children finger-knitted a chain to tie onto the lantern. We don't have our own finger knitting tutorial (yet) but I liked this one by Moonbeams and Applesauce. You could also braid or tie a few strings in a bow.
We use battery operated candles inside our lanterns. Fire can be dangerous.
These lanterns are a beautiful reminder of light during these dark nights. We hope you enjoy the crafting.
Many thanks to my co-teacher, Marin, for this gorgeous gift :)