
Sweet Gnome Homes
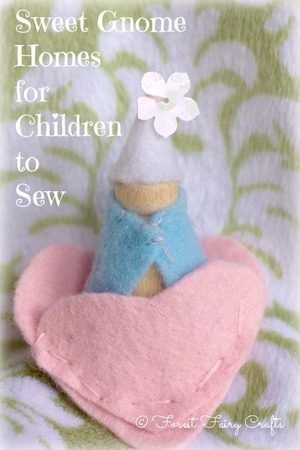
A few years ago, my daughter made me a precious gift. She asked for a few supplies. Felt scraps. A tiny wood gnome.
She made me this treasure. She designed and sewed everything herself. She was seven years old.
She had a lot of practice with needles and thread (her mama is Queen of the Fairy Forest after all (her title for me)). But the design and creating of this little gnome is a perfect beginning sewing project.
All you need is felt scraps, needle, thread, a couple decorations, and a wee gnome. This project allows for a lot of trial and error because the felt pieces are small.
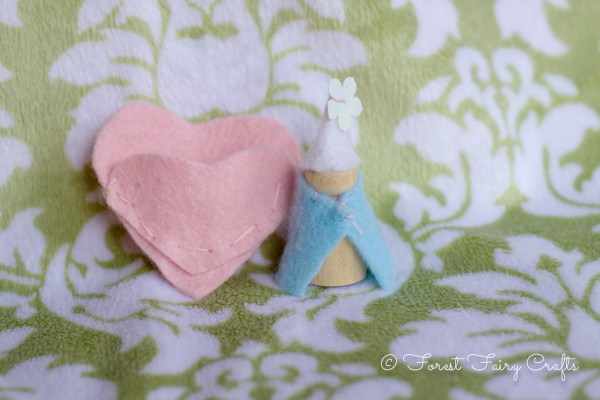
She cut the hearts first. They didn't match. She liked that one was bigger than the other. She trimmed them to fit together (mostly). If your child doesn't know where to start with cutting hearts, your child can make a pattern on a piece of paper. Draw a few sketches and pick your favorite. Cut and trace onto felt. Or fold the felt in half and cut just like folding a paper heart (this is a little trickier for little hands).
She could have decorated the hearts with sequins, buttons, or beads. She didn't feel like making it too fancy. I love the simplicity, myself. She sewed them together with straight stitches.
She didn't use a pattern for the gnome. She cut scraps into shapes that she liked and tried them on the peg doll. She sewed the cape with a few stitches. Then she did the same thing for the hat. She folded it in half and sewed it together. She added a flower sequin to the top.
She had sewn before using lots of the ideas in our Forest Fairy Craft Book. If this had been her first sewing project, I would have sat with her and given support as needed.
What I appreciated about this project was how she was able to plan and test ideas. She found a project- cape and hat, with a little home- where she could try her own patterns. I could have cut the shapes and orgazined the project step by step. But I enjoyed how this gnome gave her a lot of freedom. Yes, I had a pile of teeny-tiny piece of felt at the end. I didn't care.
Visualizing, planning, and creating are all valuable life-skills. A little toy for your efforts is a big bonus!
And it's one of my favorite gifts ever.
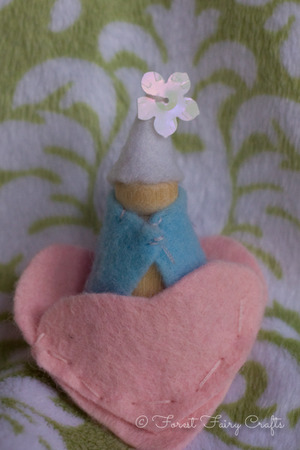
Welcome home, little gnome :)

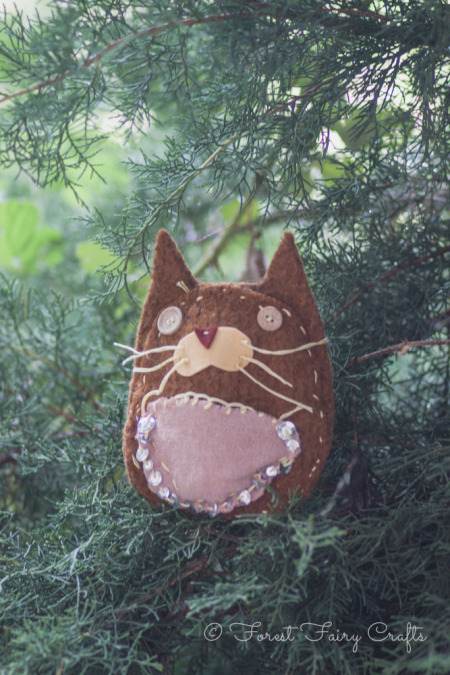
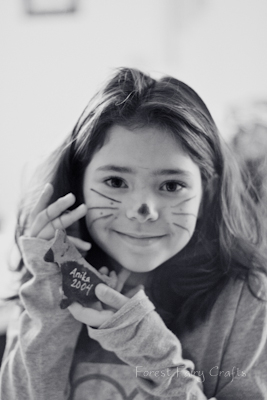
Upcycled Owls and Kitties
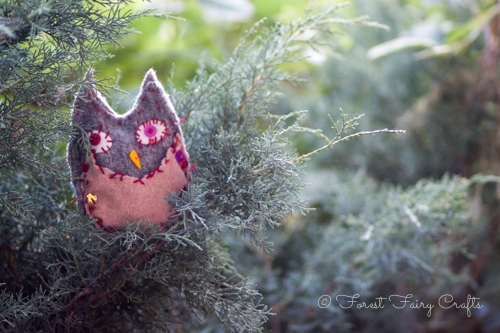
Asia created these lovlies with second and third grade students at NCSA (7-8 years old). She saved fabrics (ripped clothing, shrunken sweaters) and found supplies. Repurposing the clothing showed children that changing old fabric to a toy can be magical.

By this time of year, students have learned three ways to sew: the Running Stitch, the Whip Stitch, and the Blanket Stitch. We call them the Dolphin Stitch (up and down), the Polar Bear Stitch (around and around), and the Rabbit Stitch (up or down and through the hole). I can see children using all three to make their crafts unique.
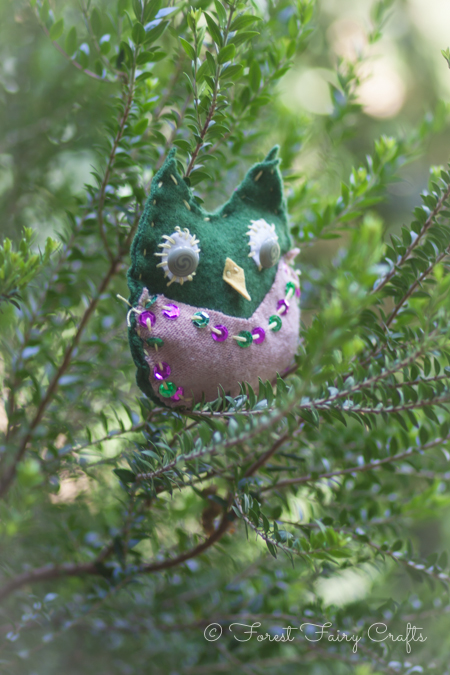
I am fascinated how some children use patterns and even spacing for their sewing. While other children use mismatched, unexpected decorations. Each style delights us. Each style shares a child's personality. With sewing, there is no 'right way'. Only your own way :)

Upcylced sewing with found fabrics instead of felt meant the fabric was softer. Asia made the animals bigger so students wouldn't be frustrated. These owls and kitties were oversized when compared to our felt critters. This gave the children more to hold as they sewed. Asia is so good at modifying a project so students are successful :)
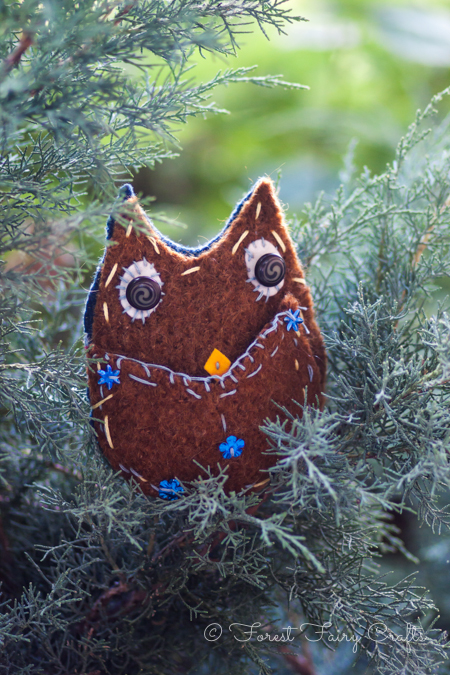
Here are a few for inspiration :)
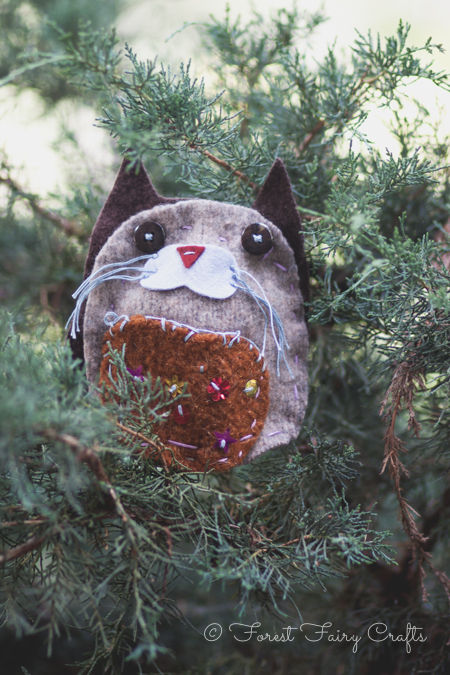
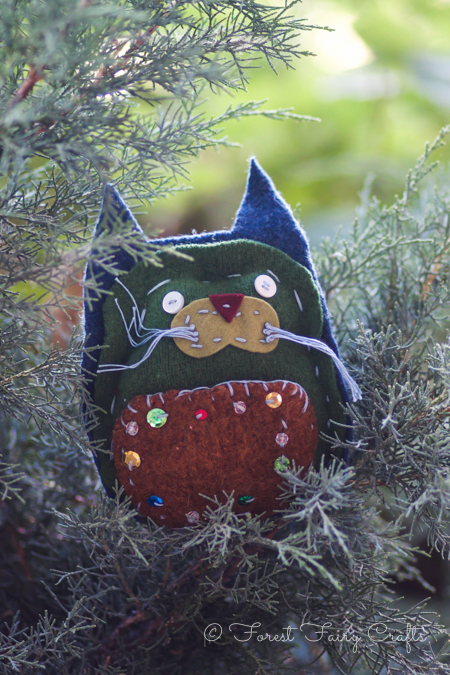

I couldn't photograph all of them- Asia made about forty! These are just a few :)
Patterns and directions for the Owl and the Pussycat are in Forest Fairy Crafts. Creating your own critter just needs imagination and old clothing. Have fun upcycling :)

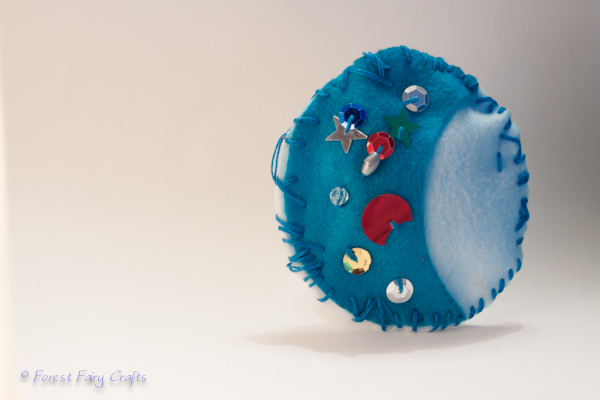
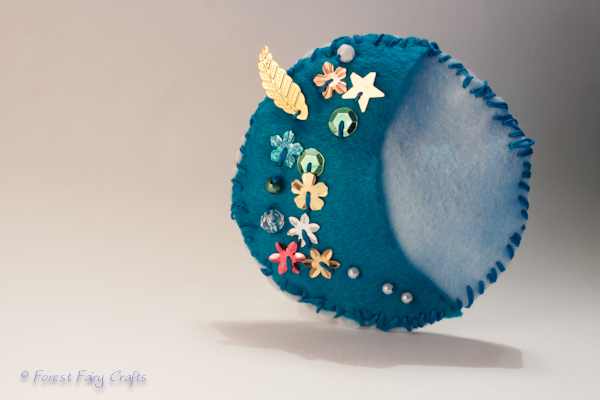
Moon Pocket

These Moon Pockets brought sunshine into my day. Students in our first grade class sewed these beauties. I am in constant awe how we can provide students with the exact same supplies and directions, yet every project reflects the crafter in colors and stitching.
Before sewing, we discussed treasures. The moon on the front is a pocket where children can keep teeth for the tooth fairy or little notes or any little keepsake. Our last step is stringing a little ribbon to hang them.
Children are careful, conscious crafters. This moon has a pattern of flower, moon, flower, moon. This meant choosing them from the bowl of mixed-up sequins. What a lot of work!

A big challenge for grown-ups helping sew is how much to help, and how much to let go. Hopefully these images might inspire Letting Go as a help-strategy. Even wild stitiching is lovely!
At first I thought I would photograph a few to share the idea, but I couldn't choose a favorite! They are all charming.

This next one always inspires a smile.
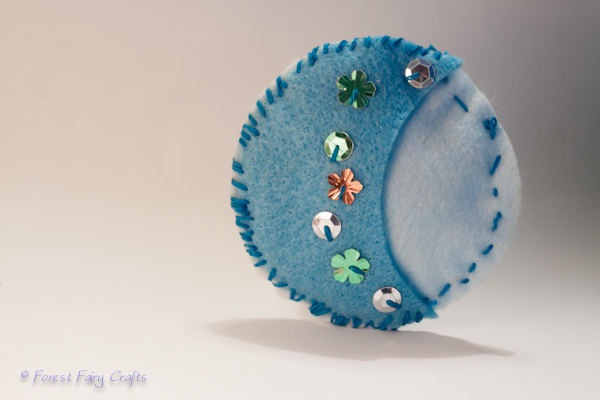
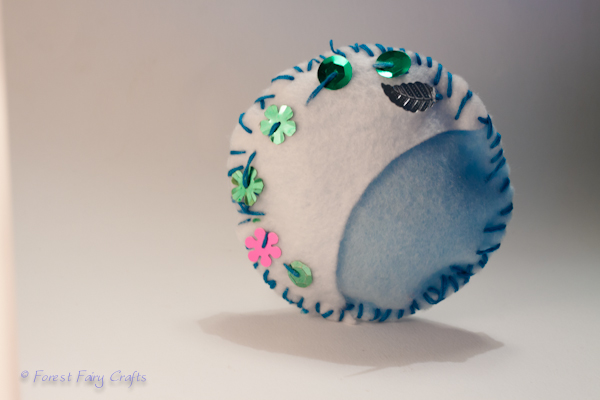
And simplicity is amazing, too. I like how this student used a whipstich around the moon and a running stitch to finish the pillow. I wouldn't have taught it that way, but it works. And the one simple line of sequins is beautiful.
I love when sequins break out of the felt 'boundary'. This little leaf sequin seems to be floating down to land in just that spot. Very sweet. And these tight tiny whipstitches are so careful!
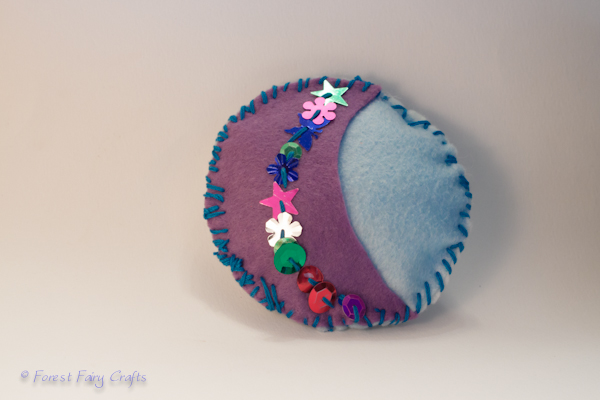
Another simple line of sequins frames the moon. I can see where the crafter started to get tired and stitches got farther apart. Sewing is hard work!
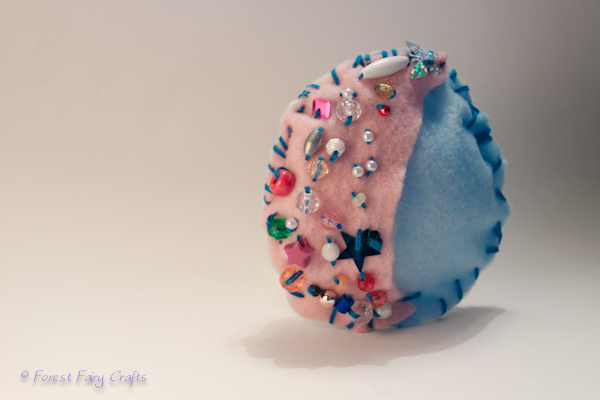
Here the sequins found many lines. This crafter was careful with colors as well. I notice patterns again, flower, moon, flower, moon. What dedication.
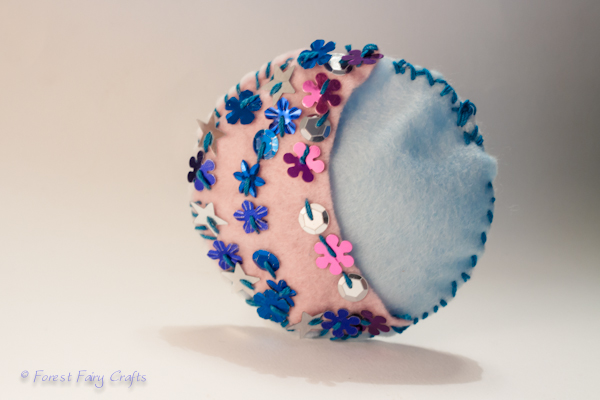
Another line of overlapping sequins. Again, those tiny little whipstitches amaze me.
We teach a K/1 class and our first graders stay in the afternoon. We have a much easier time sewing with the smaller group. These children are 6-7 years old. They had experience sewing with us last year so they know the basics of controlling the needles and adding decorations. This year will be fun for crafting!
Asia and I are working on directions for these Moon Pockets that will be available soon. If you would like hints about sewing with children, visit our Tips and Tricks. For now, I hope these inspire you like they inspired me! Best wishes!

Christmas Fairies
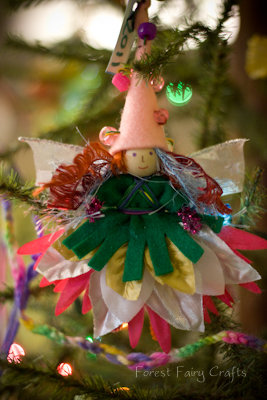
These faires were created by our kindergarten and first grade students at the Nevada City School of the Arts. We provide guidance, but they provide the magic :). Each fairy becomes a sweet reflection of the child who created her (or him). We made seventeen over the past three days. We hope you enjoy this glimpse of Fairyland.


Using the Waldorf tradtion of allowing children to imagine the faces . . . this boy liked his fairy to keep his fairy whimsical. I used to leave all of the faces blank, but students walked away and drew a face with the nearest pencil, then came to me crying when it wasn't what they imagined. So we compromise and I draw faces for most students.

And one Christmas Goblin (my student's words as he wanted red eyes)
Happy Holidays!
The tutorial to make the girl versions of these fairies is available in our Etsy shop. If you're interested in the boy version, send me a conversation through Etsy and we can figure out a way to help you (I haven't created his tutorial yet :)).
Many thanks to Miss Becky, Miss Marin, and Asia for helping make Fairyland possible!

Sew Sweet Felt Ornaments
Hurrah, the holidays are here! In our home, we celebrate each year with a hand-crafted ornament. They show us the years in a story. "I remember making this!" my daughter said with excitement.
This is very impressive since she painted it when she was one :)
This year, we are sewing. My three-year-old sewed the beads and sequins on his tree.

Can you guess his favorite color?
I know he'll be reminscing about this tree in future years. And we want to share the fun. You can download the tutorial for these very easy felt ornaments. Children get to decorate both sides so it is a perfect first project for children learning to sew. Older children can trace other shapes around cookie cutters and get fancy with their stitching and decorating. We hope that you enjoy the craft!
Happy Holidays!
Click here to download the PDF tutorial

All tutorials are property of Forest Fairy Crafts for family crafting. We are happy to share the tutorial on your website if you link back to us. For other uses, please contact us. Thank you.
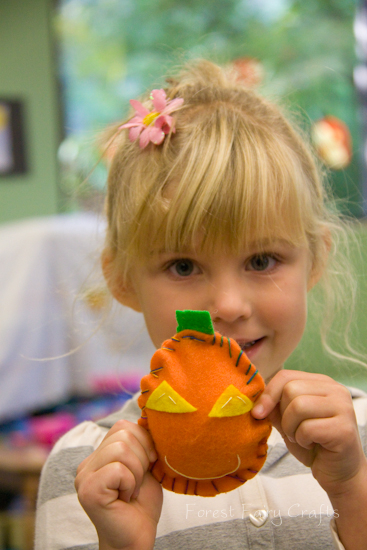
Moody Pumpkins with Groups of Children
On Tuesday, I sewed the Moody Pumpkins with the youngest students at our school. I am the art teacher on those days, and their all-day teacher was a little skeptical when I said I was bringing sewing into the classroom.
"With real needles?"
Yes. Real needles.
Because this is precious.
But I don't walk into a classroom with a pile of felt and a pincusion prickling with needles. No, that would be a disaster. A big part of crafting with children is being prepared. So, to get ready for this project, I was busy the night before.
- Thread 15 needles with the outside thread (in this case, variegated rainbow crochet thread- see our Supply Hints)
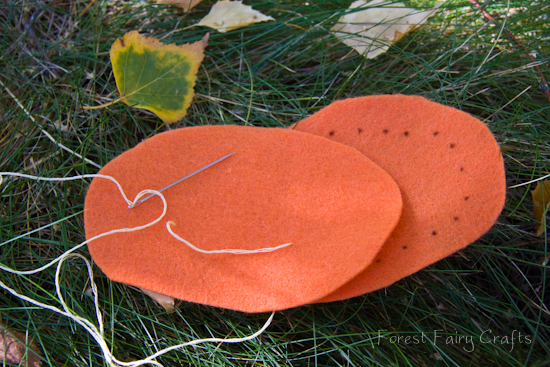
- Cut pumpkins (back and front)
- Cut stems
- Cut lots of little yellow felt triangles so children can choose
- Thread needles with yellow embroidery thread for the face (though I learned that the rainbow was cute, too, when I was short one pumpkin the next day)
- Sew the mouth by knotting, pulling through, testing to make certain that it will fit, then knotting loose on the other end of the mouth so the pumpkin is ready for eyes.
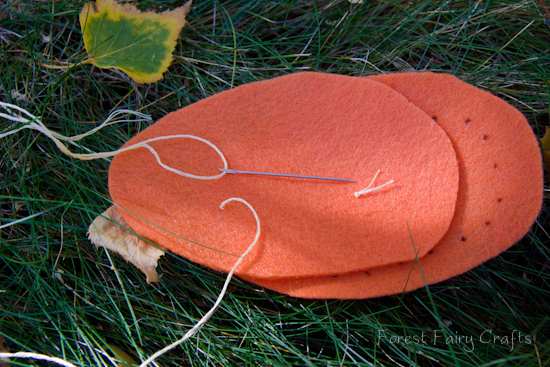
- Leave the threaded needle with the pumpkin- tuck into felt so it won't prick anyone.
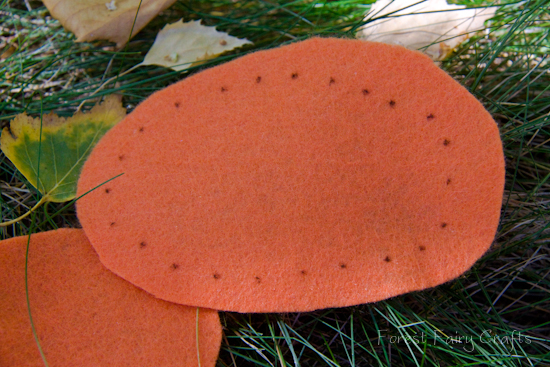
- On the back of the pumpkin, draw little dots for each spot the child will place the needle. This turns the sewing into a dot-to-dot, with the needle always poking into the next dot (whip stitch).
- Safety pin it all together with the smile on the outside so the children can choose their pumpkin.
- I do not try to make them all look the same. No, the fun is in unique pumpkins!
Some were tall and some were wide. All became special :)
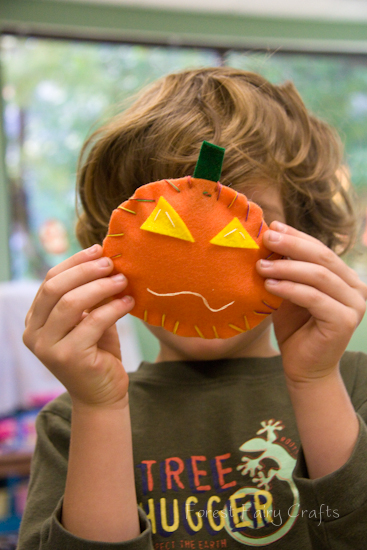
I chose felt for the eyes on this project because it was faster than buttons. The child chose the triangles and an adult sewed the eyes on with a few stitches. We tied off the yellow thread. We sandwiched the stem between the pumpkin pieces. We used an already-threaded rainbow needle and did the first couple of stitches to anchor the stem. Then we modeled a stitch or two before handing the needle over to a child. We work one-on-one with children this young because most need us to hold the felt (see Tips & Tricks).
They sewed about 3/4 around, then stuffed the pumpkin and sewed it closed. Many students were amazed.
"I thought we had to glue it."
And, "I made a stuffie. Look, look, I made a stuffie!"
My favorite quote came from this little guy.

You can't hurry when you're sewing. The needle is sharp. Sewing is a quiet activity.
Why do I sew with children? Slowing down is precious.
Have fun! The Moody Pumpkin tutorial is here as a pdf download. All tutorials are property of Forest Fairy Crafts. Please contact us for use permission beyond sharing with friends and linking back to our site.