

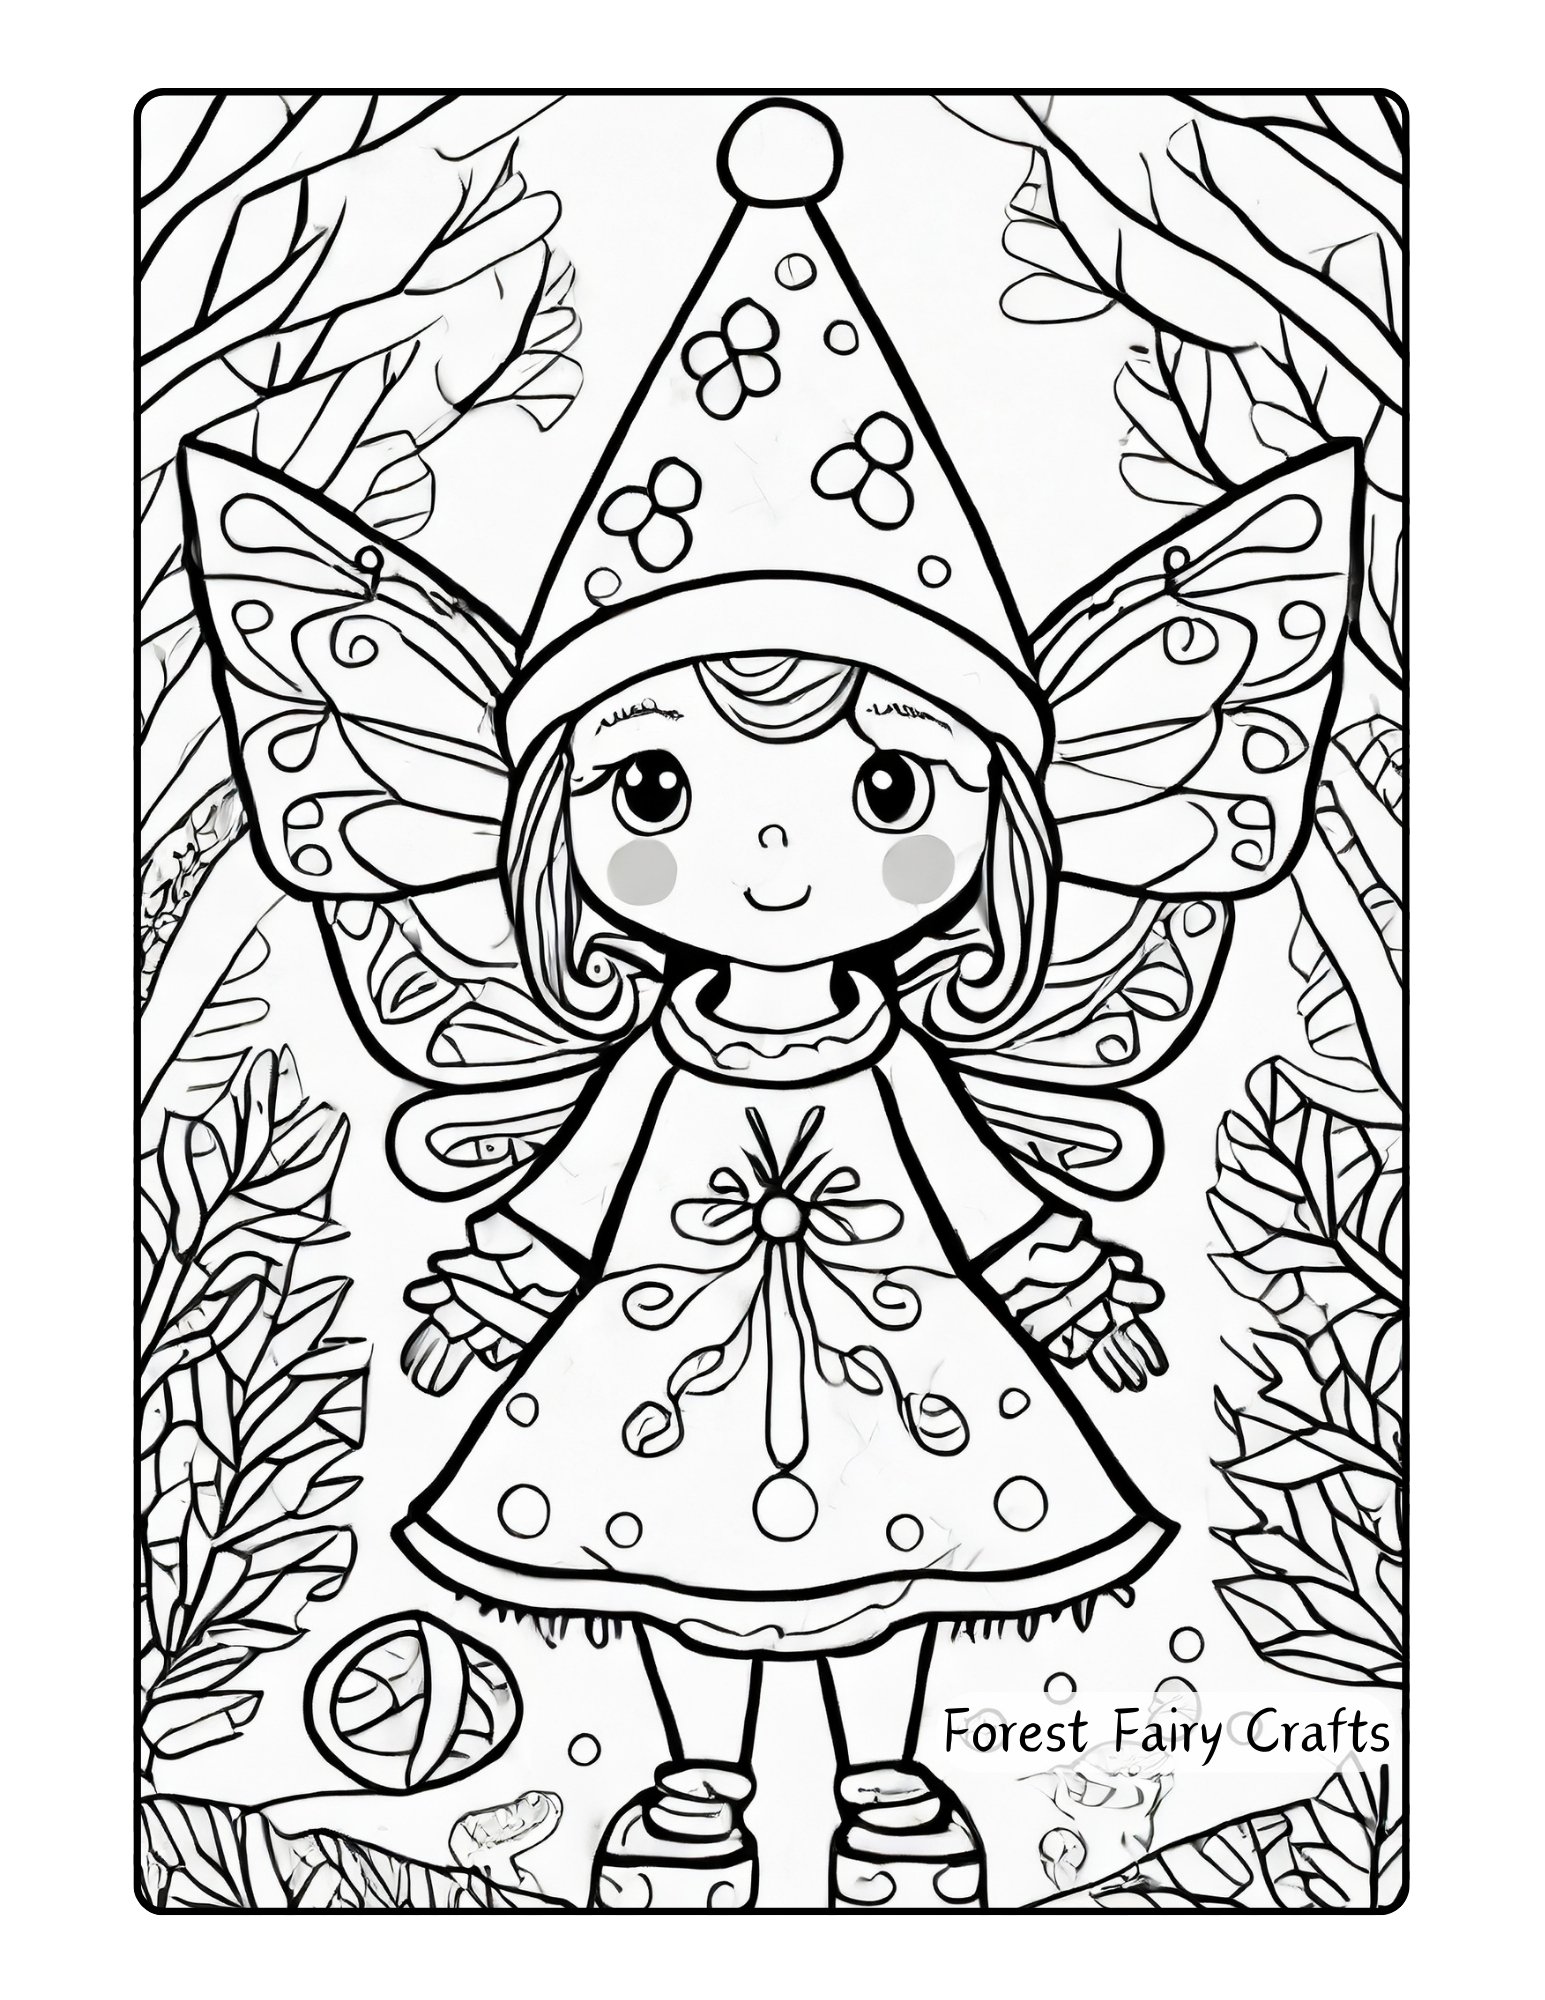
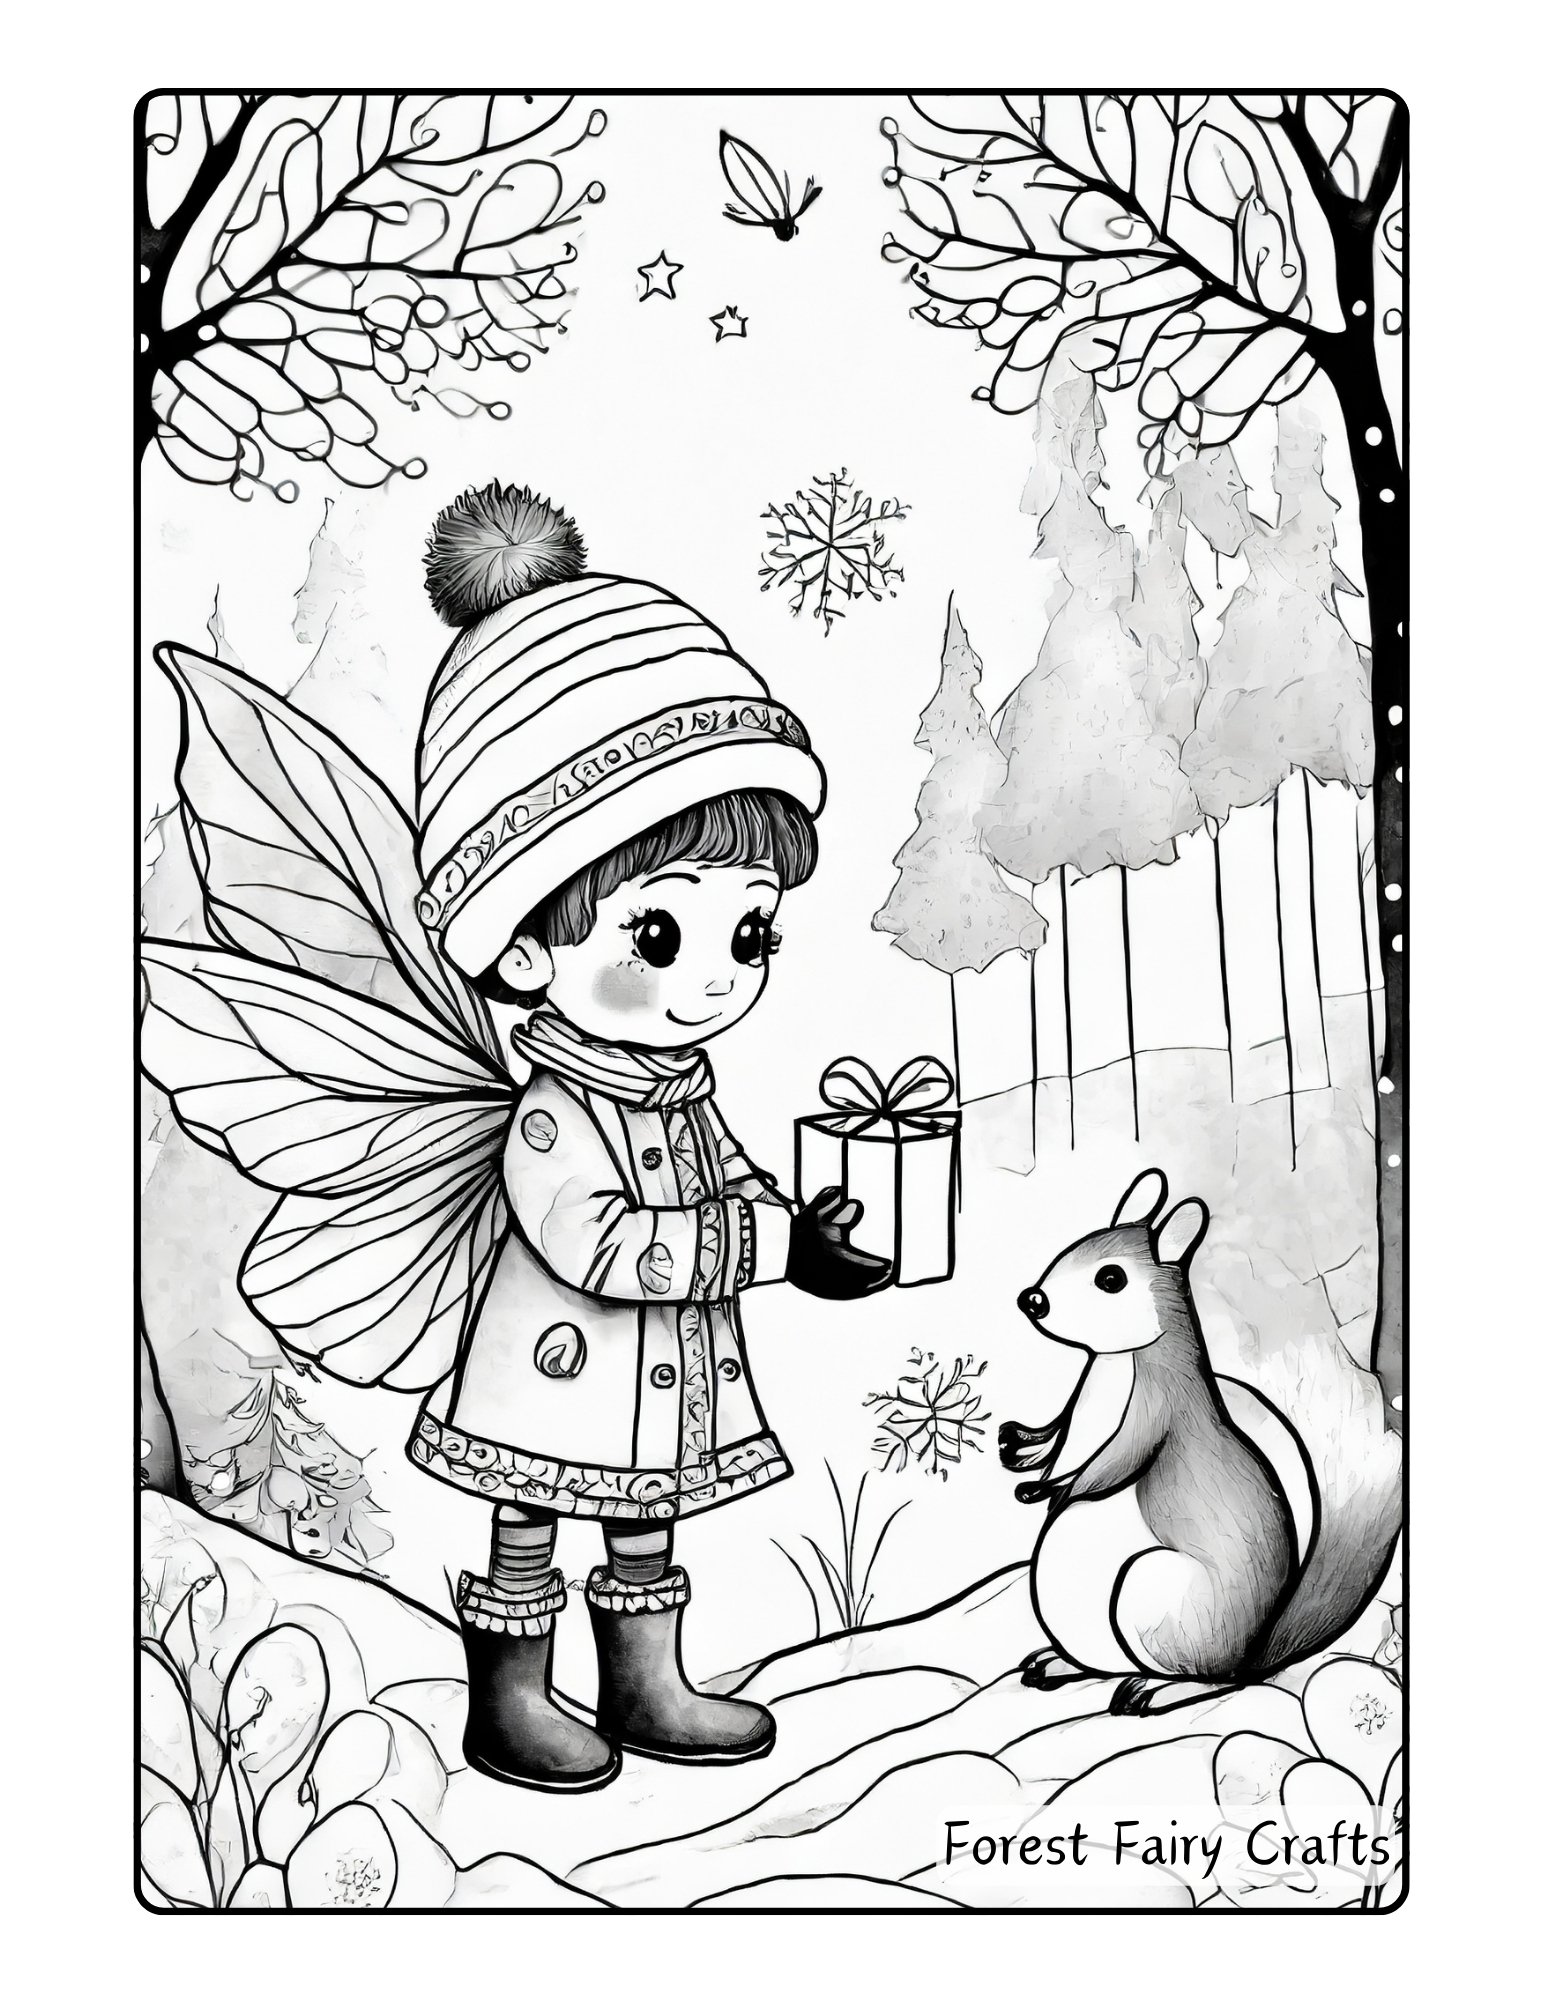
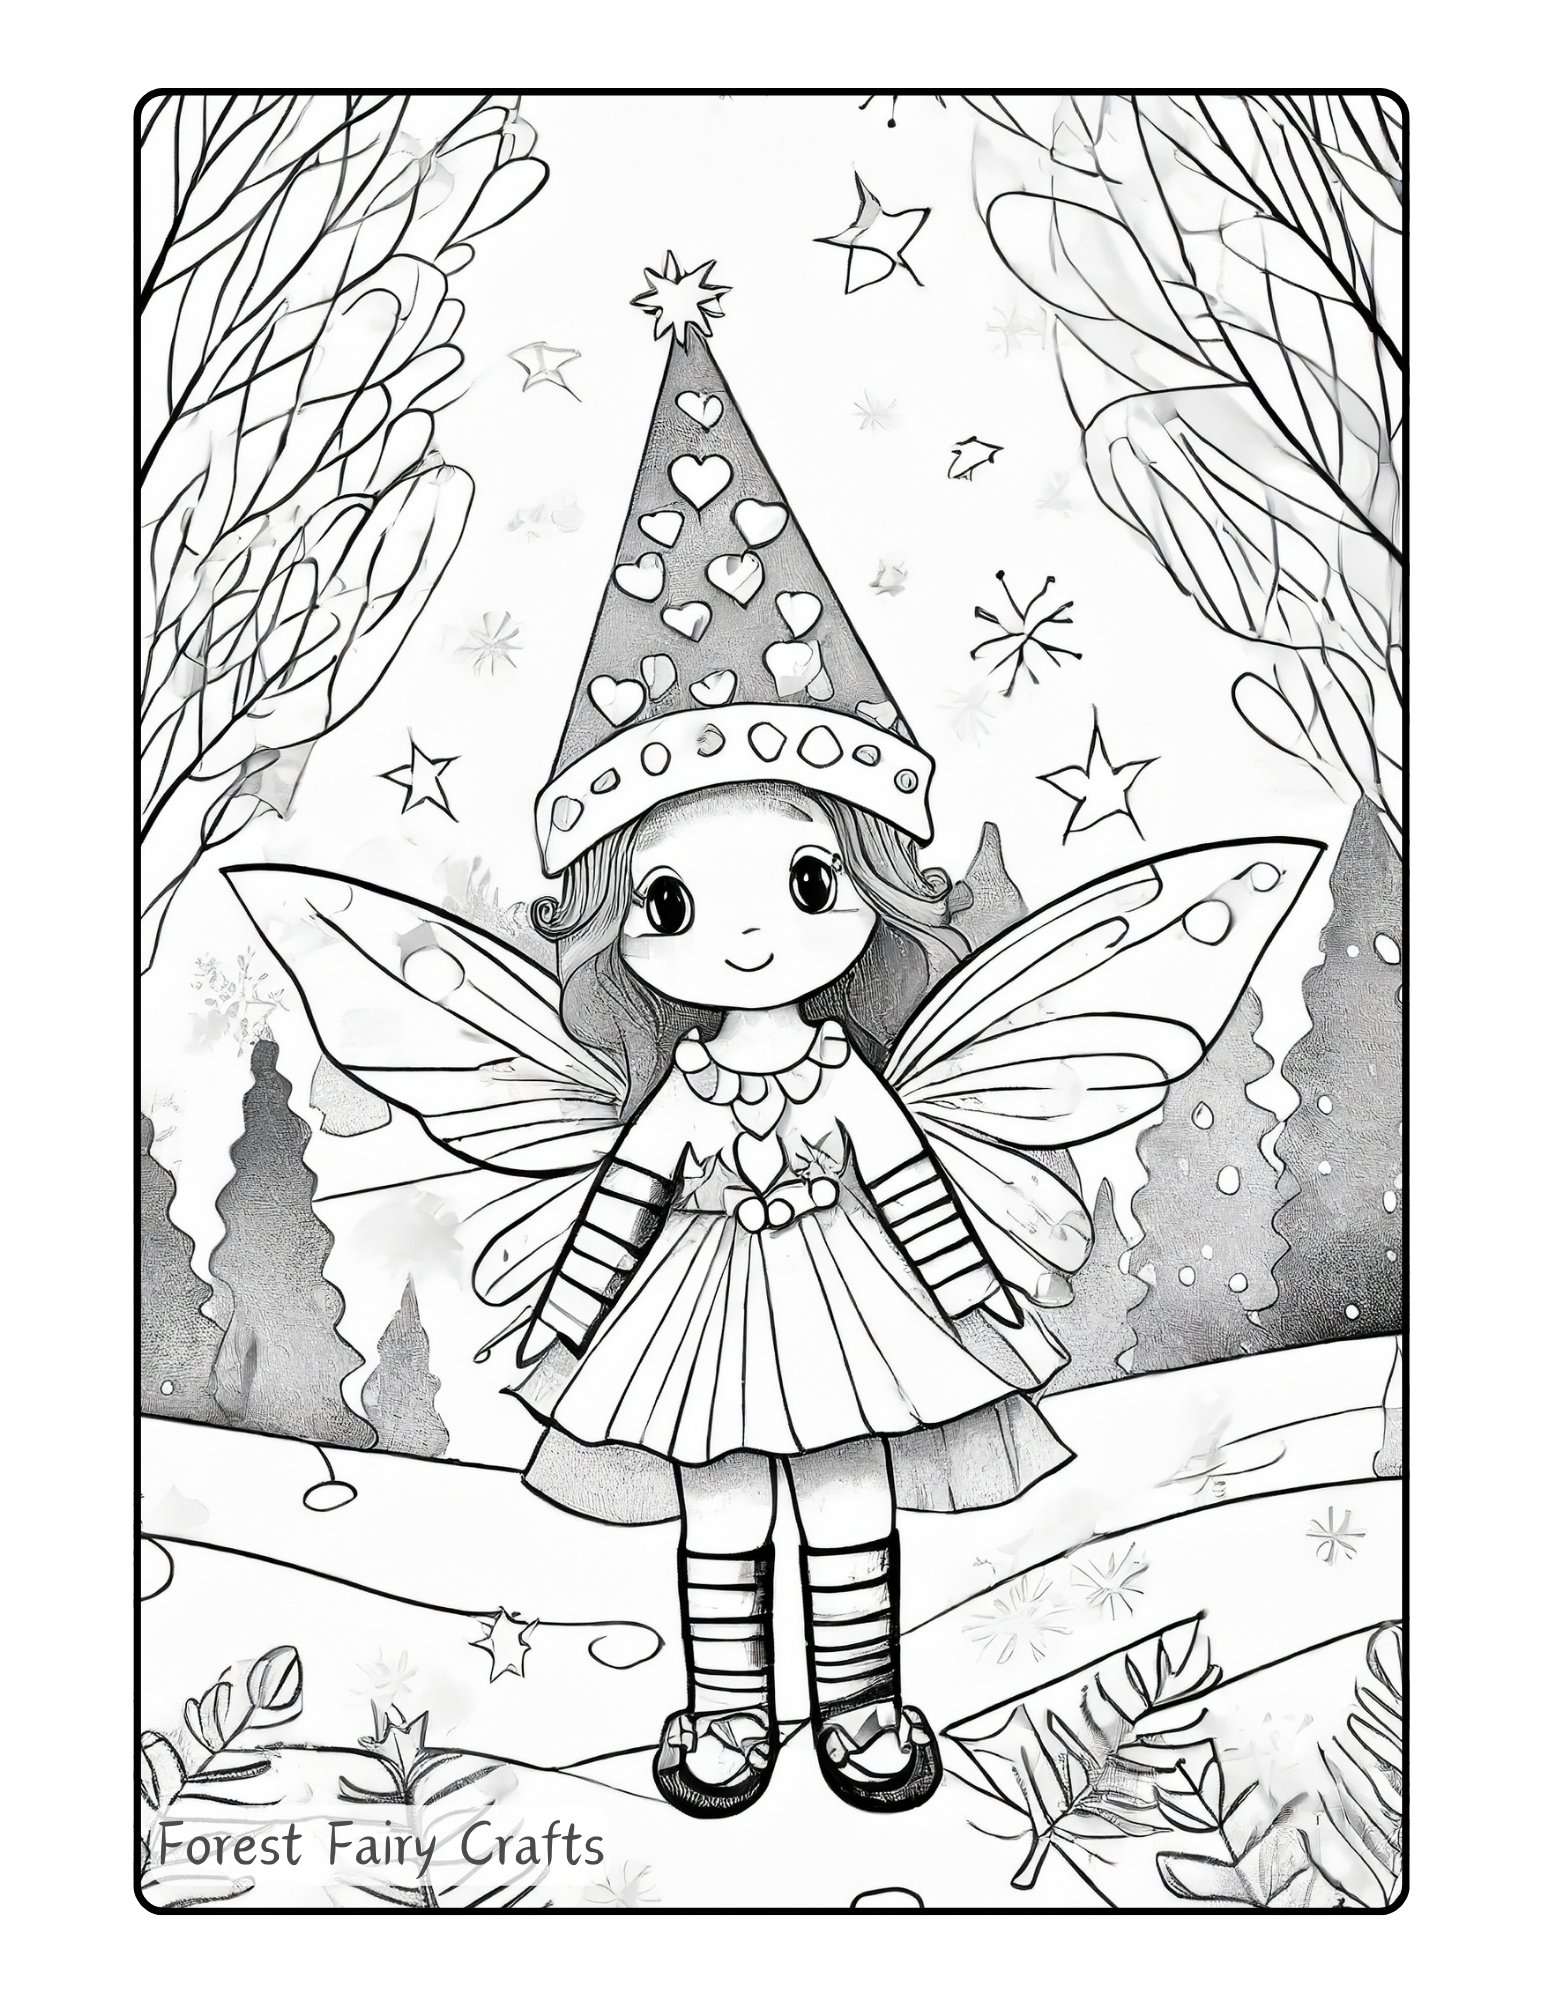
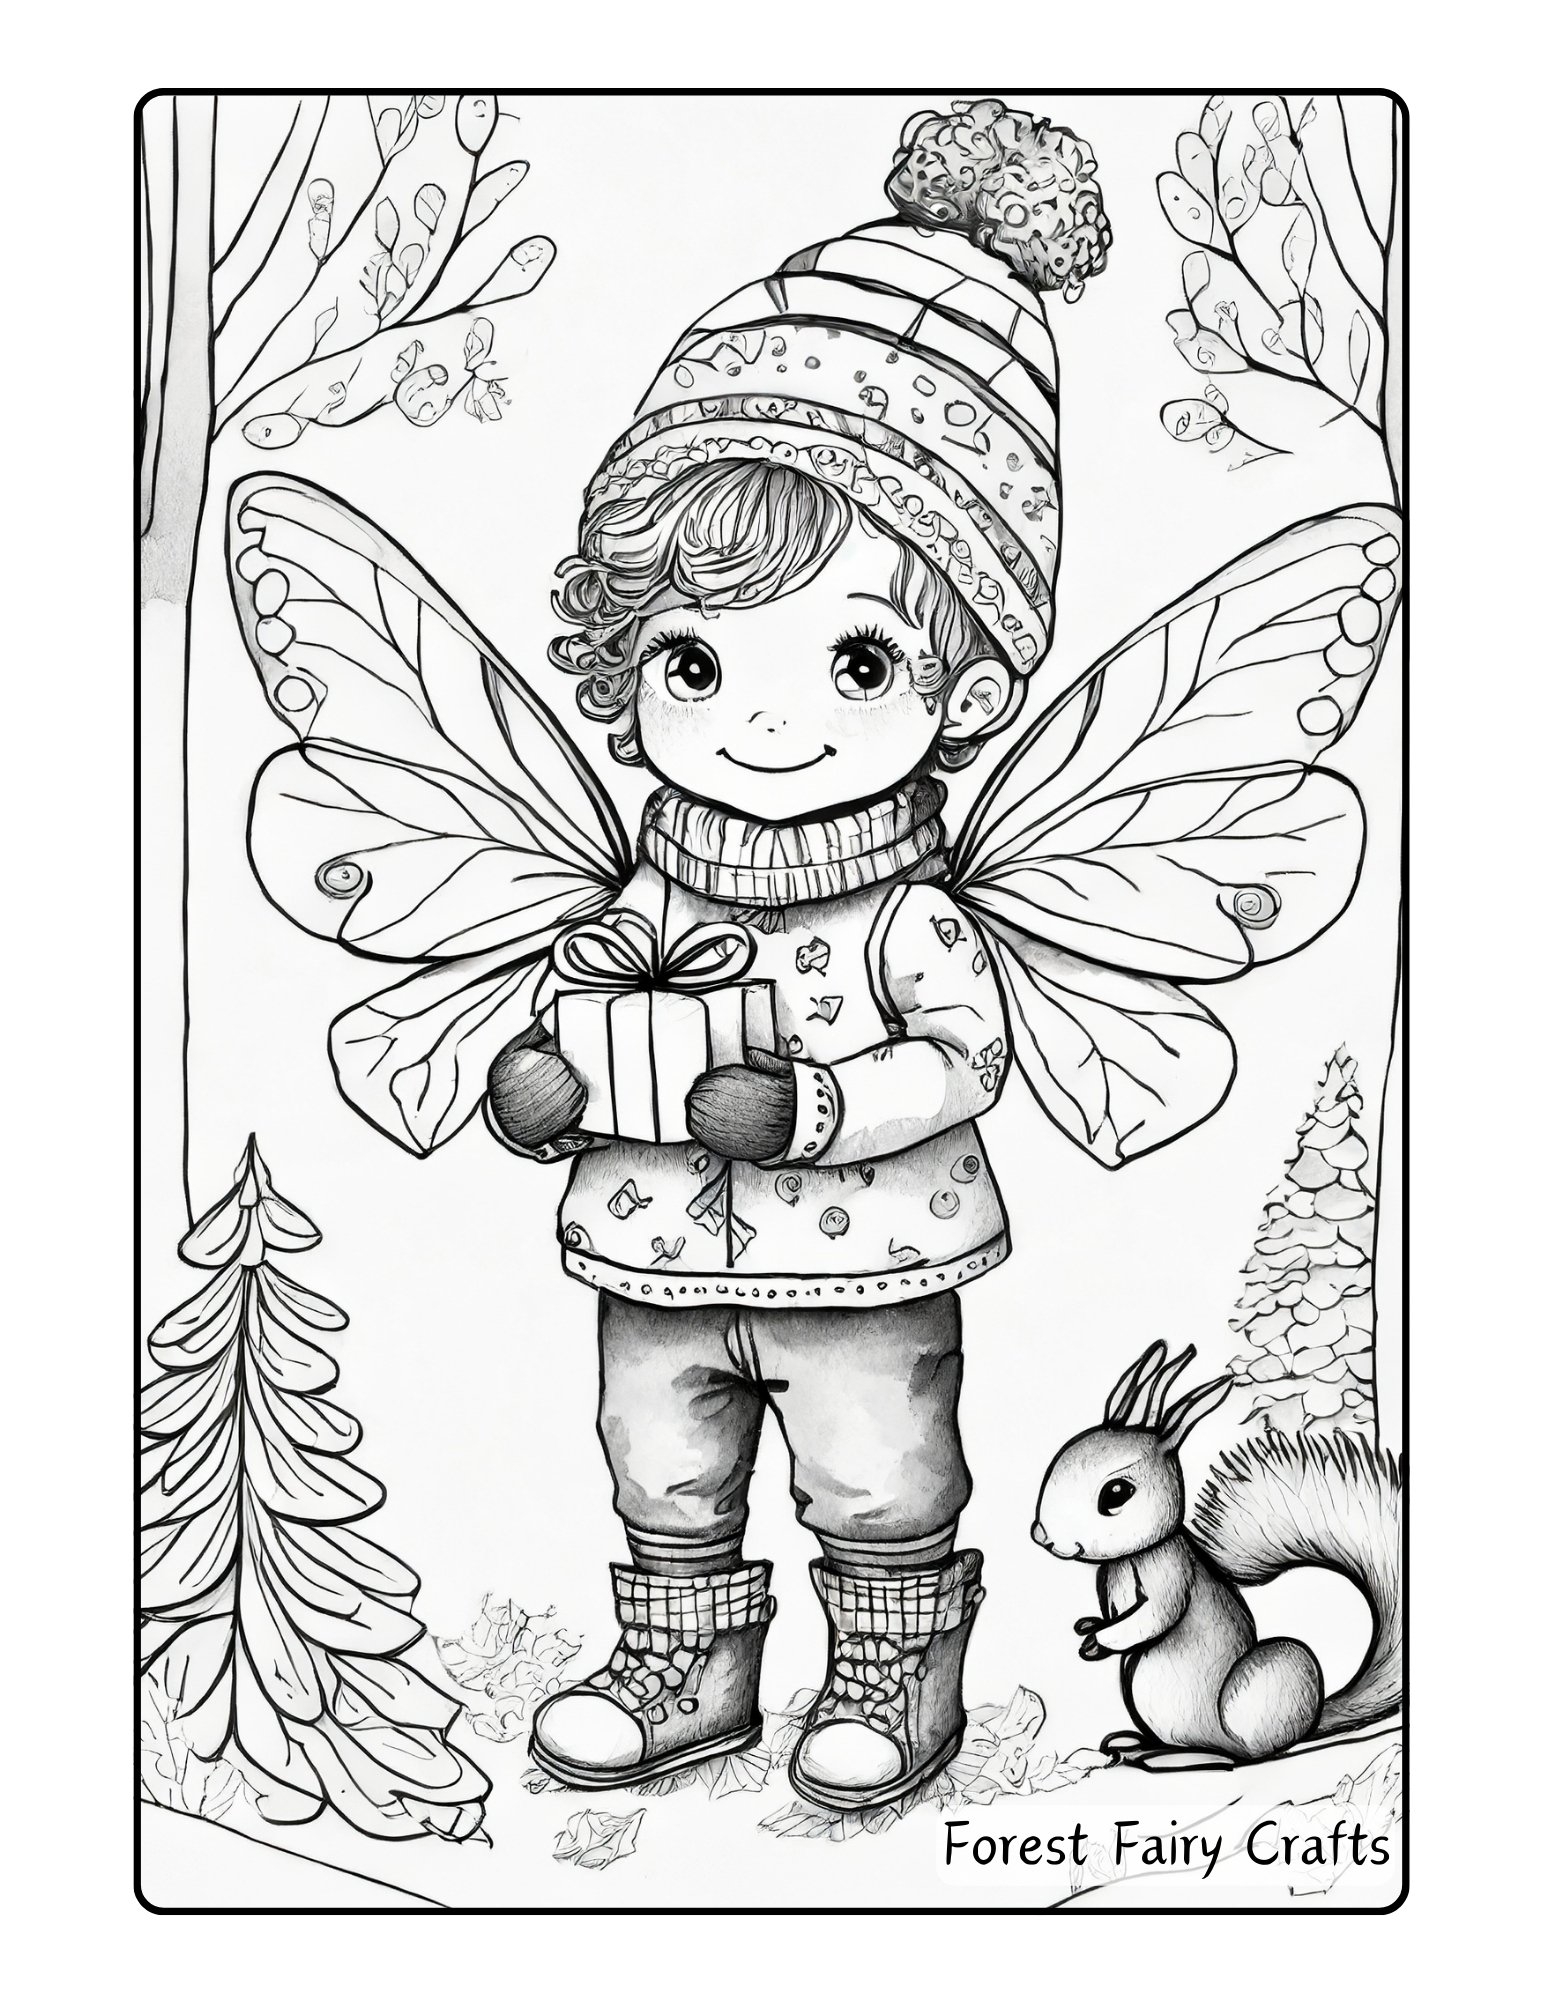
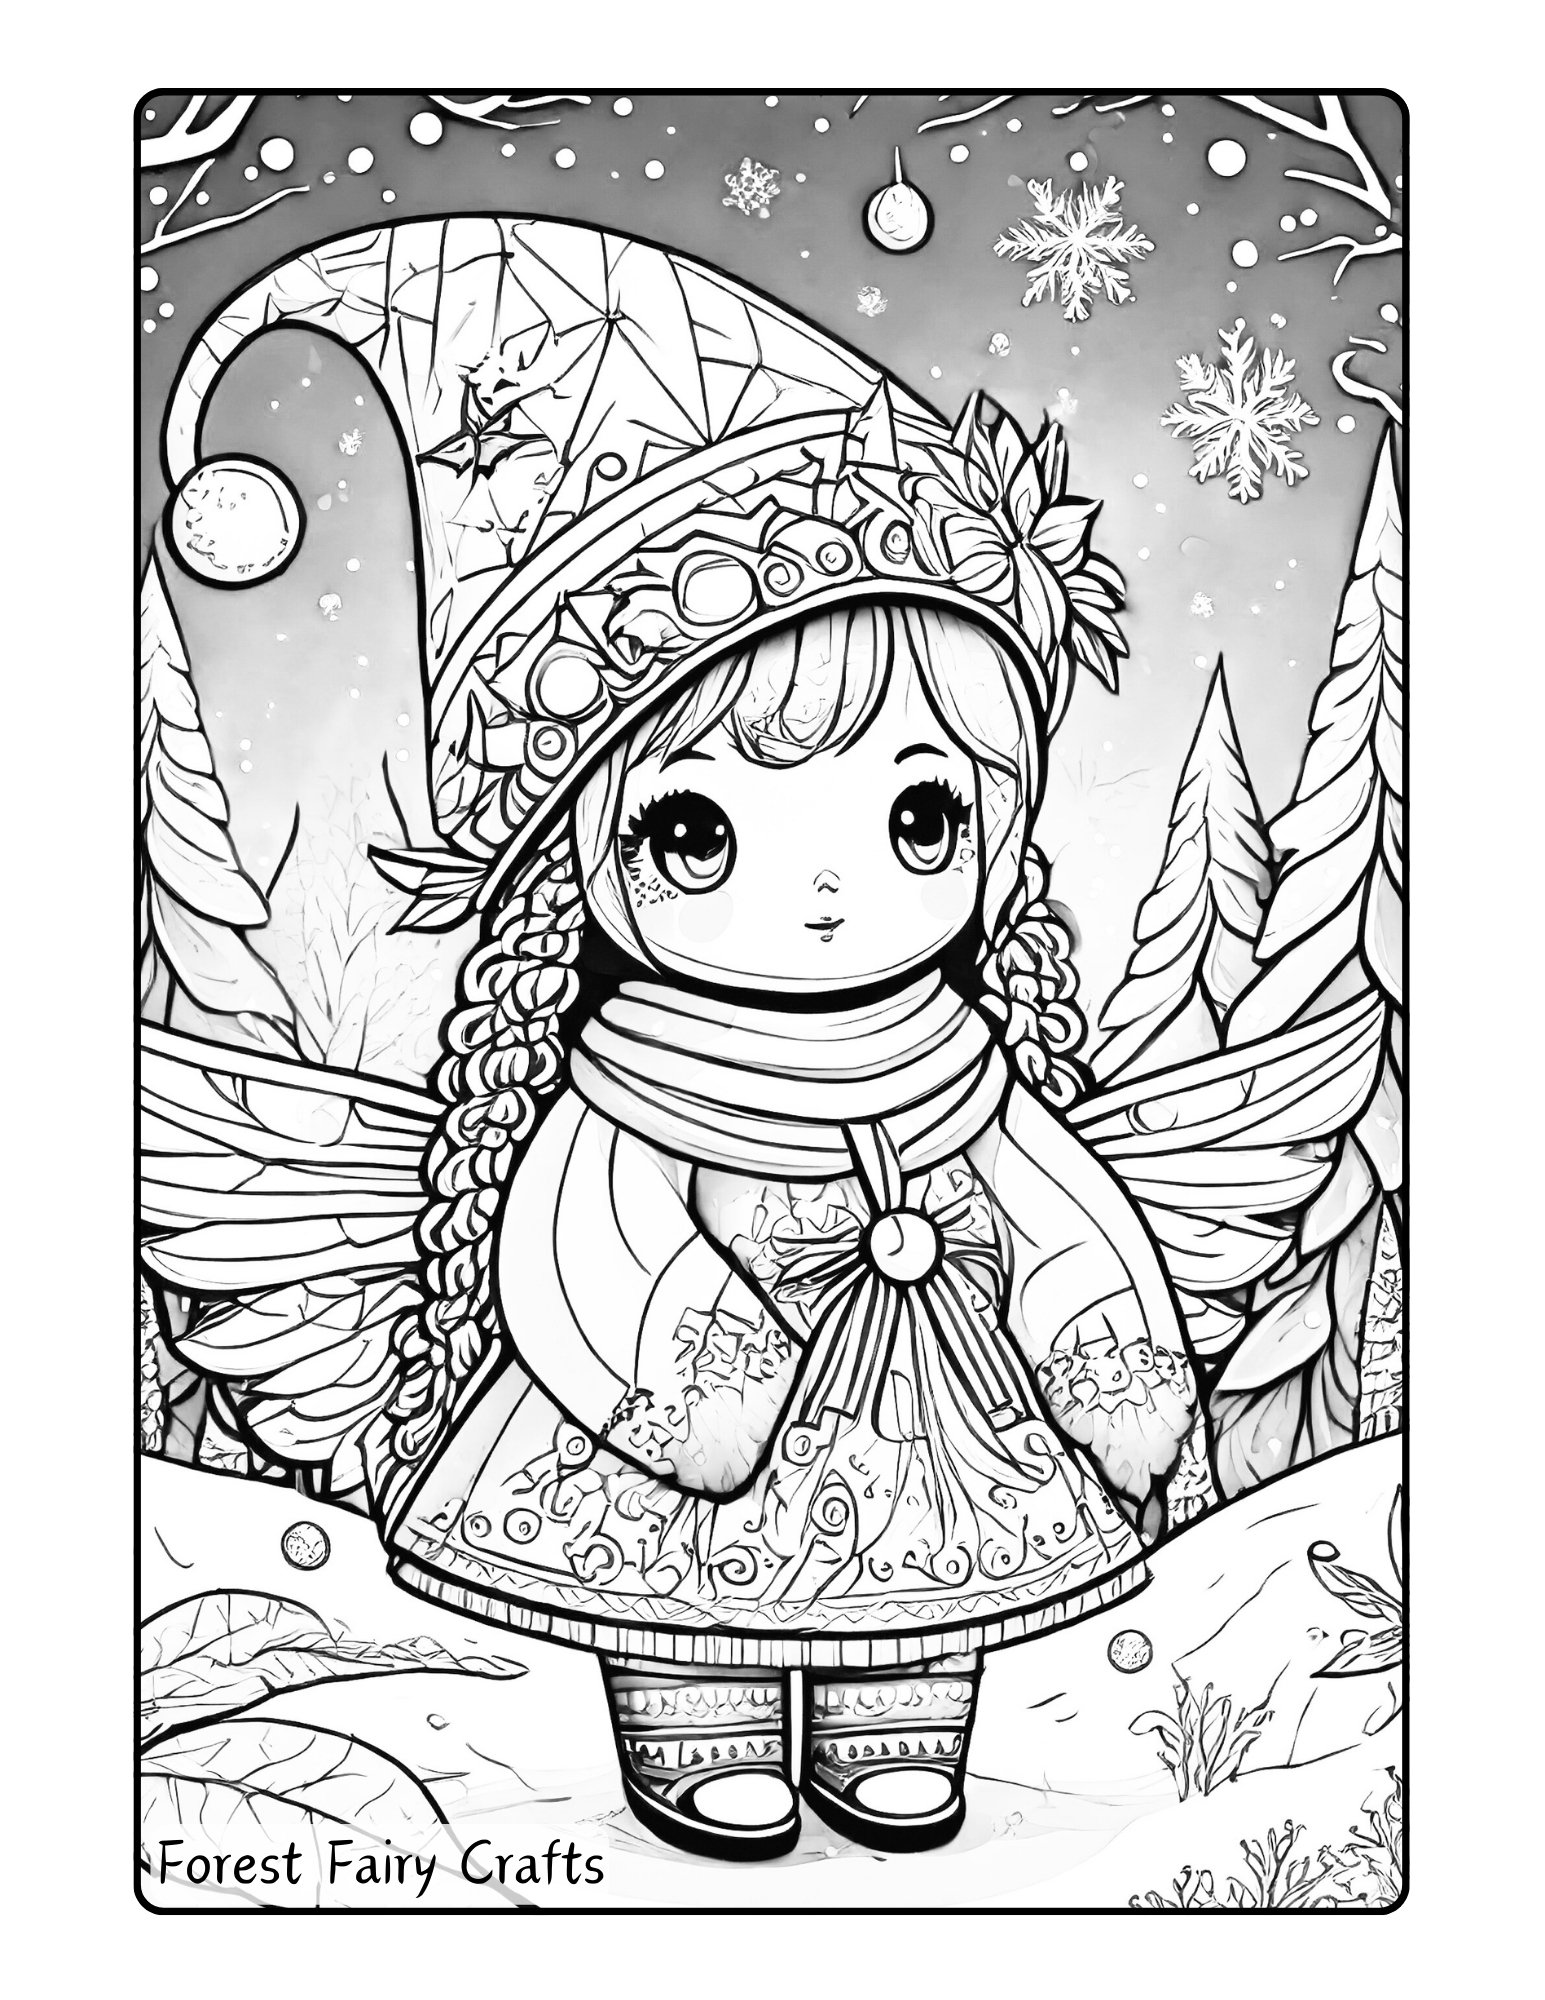
Coloring Book Pages for December
The Forest Fairy Crafts December Coloring Book is not just any ordinary coloring book. It’s created to inspire downtime for children and adults. December is fun, and exciting, and routines are disrupted. Which can lead to emotionally sensitive moments too. All of us can be both things at once. So activities that help us slow down are valuable. They’re perfect for cozy afternoons or evenings, waiting for cookies to bake, or at social gatherings (or classrooms).
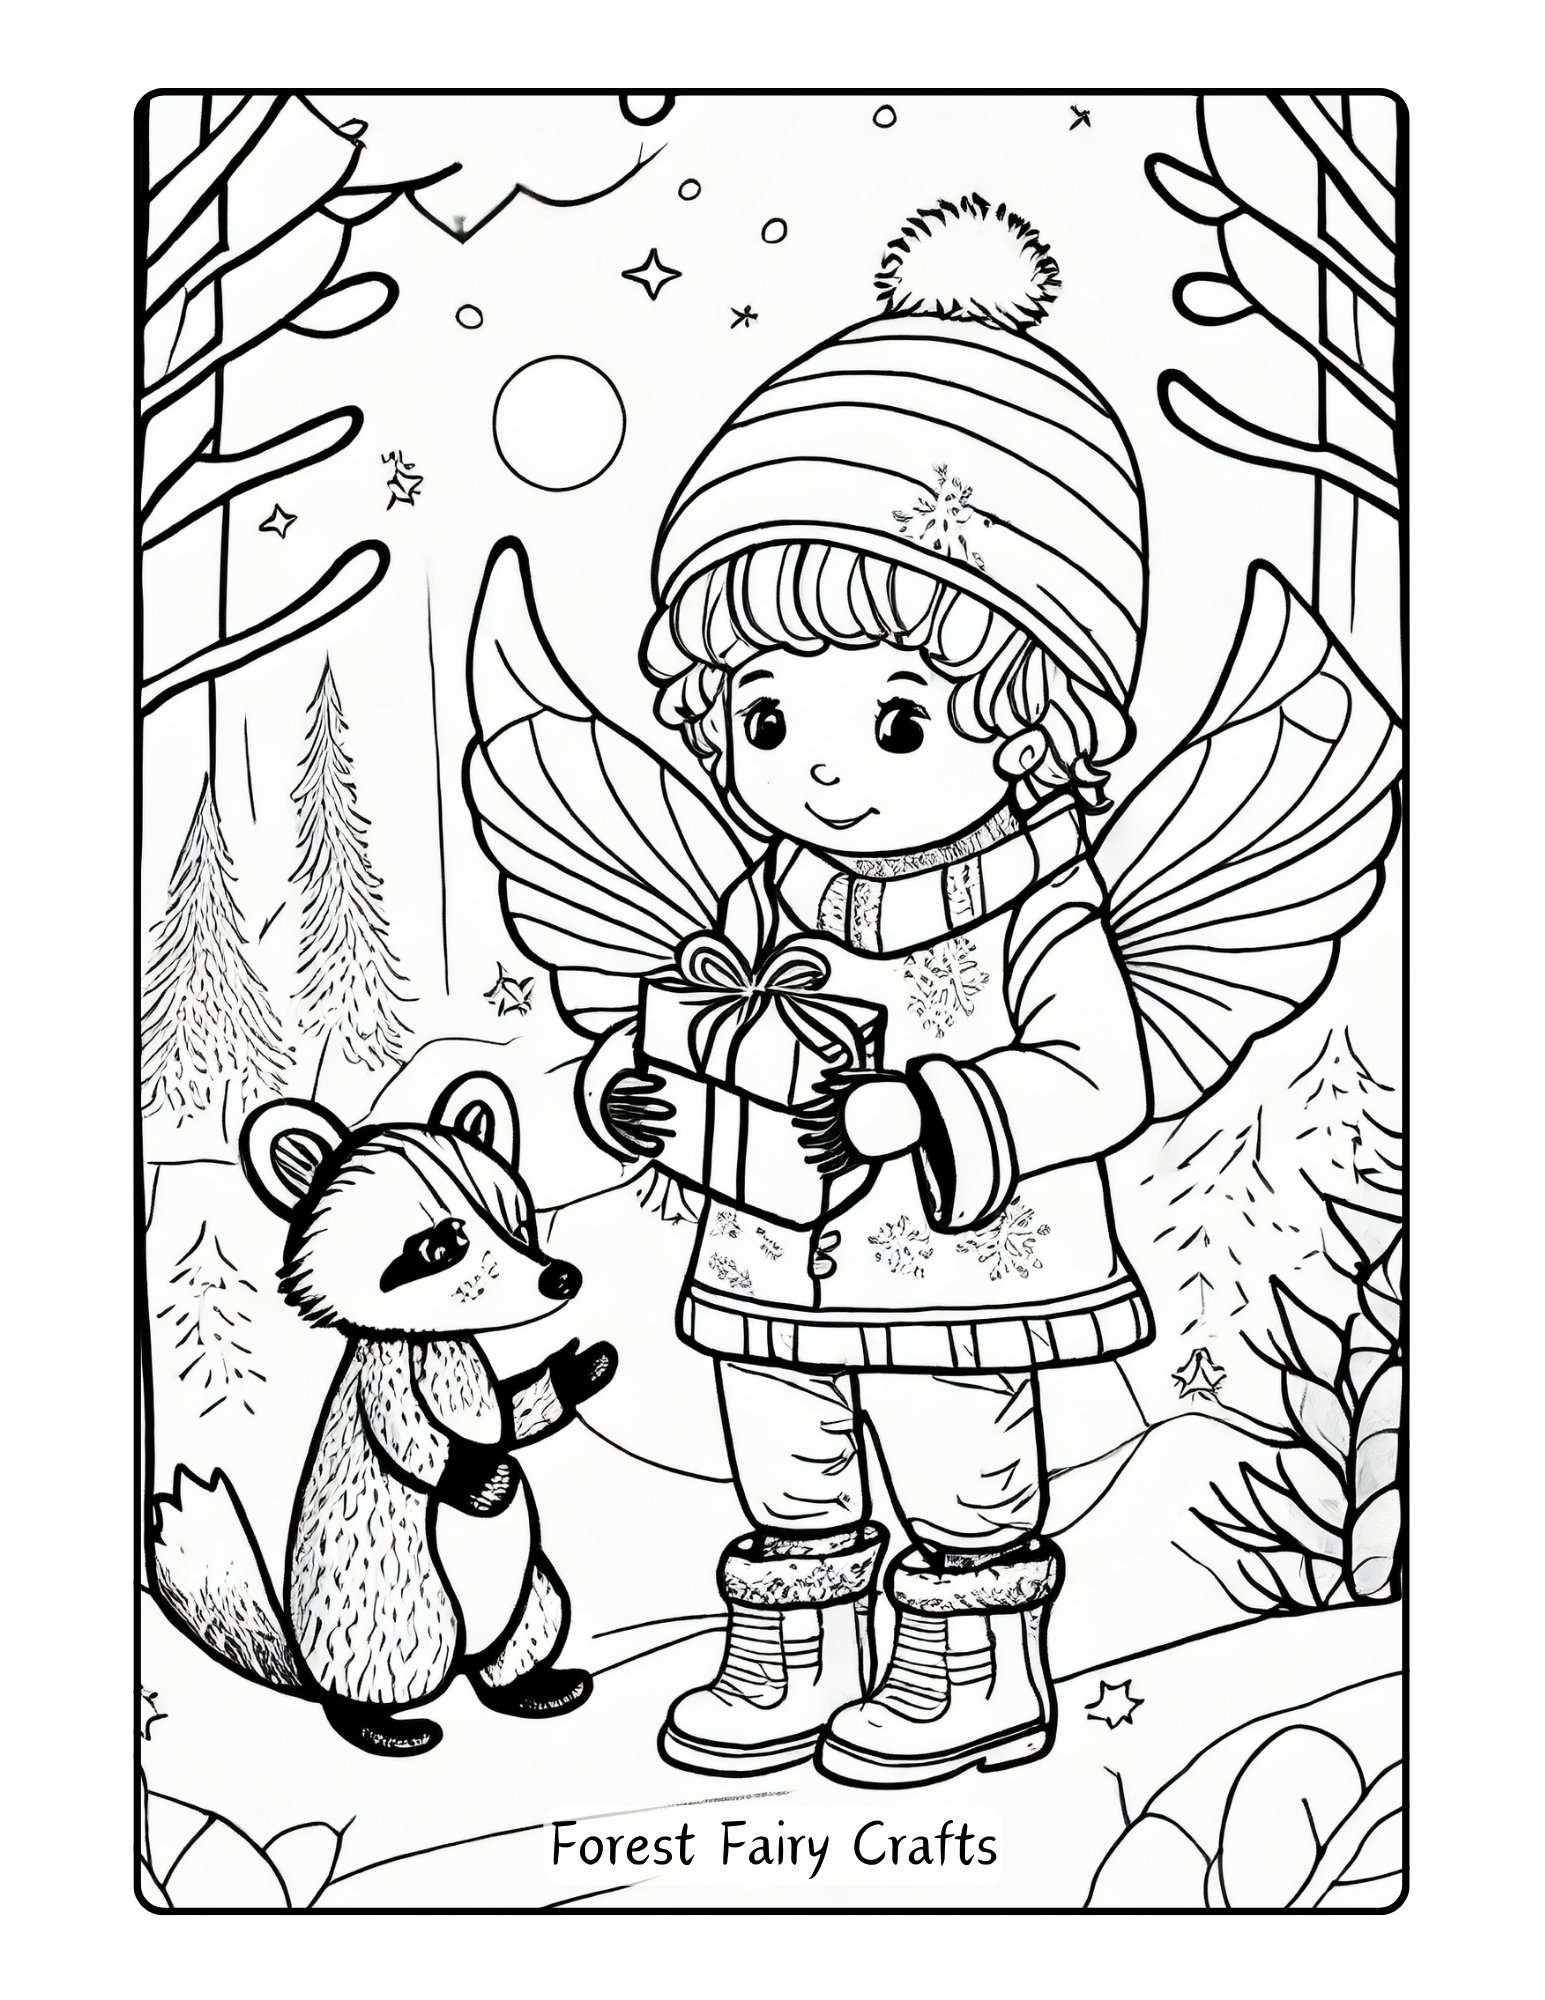
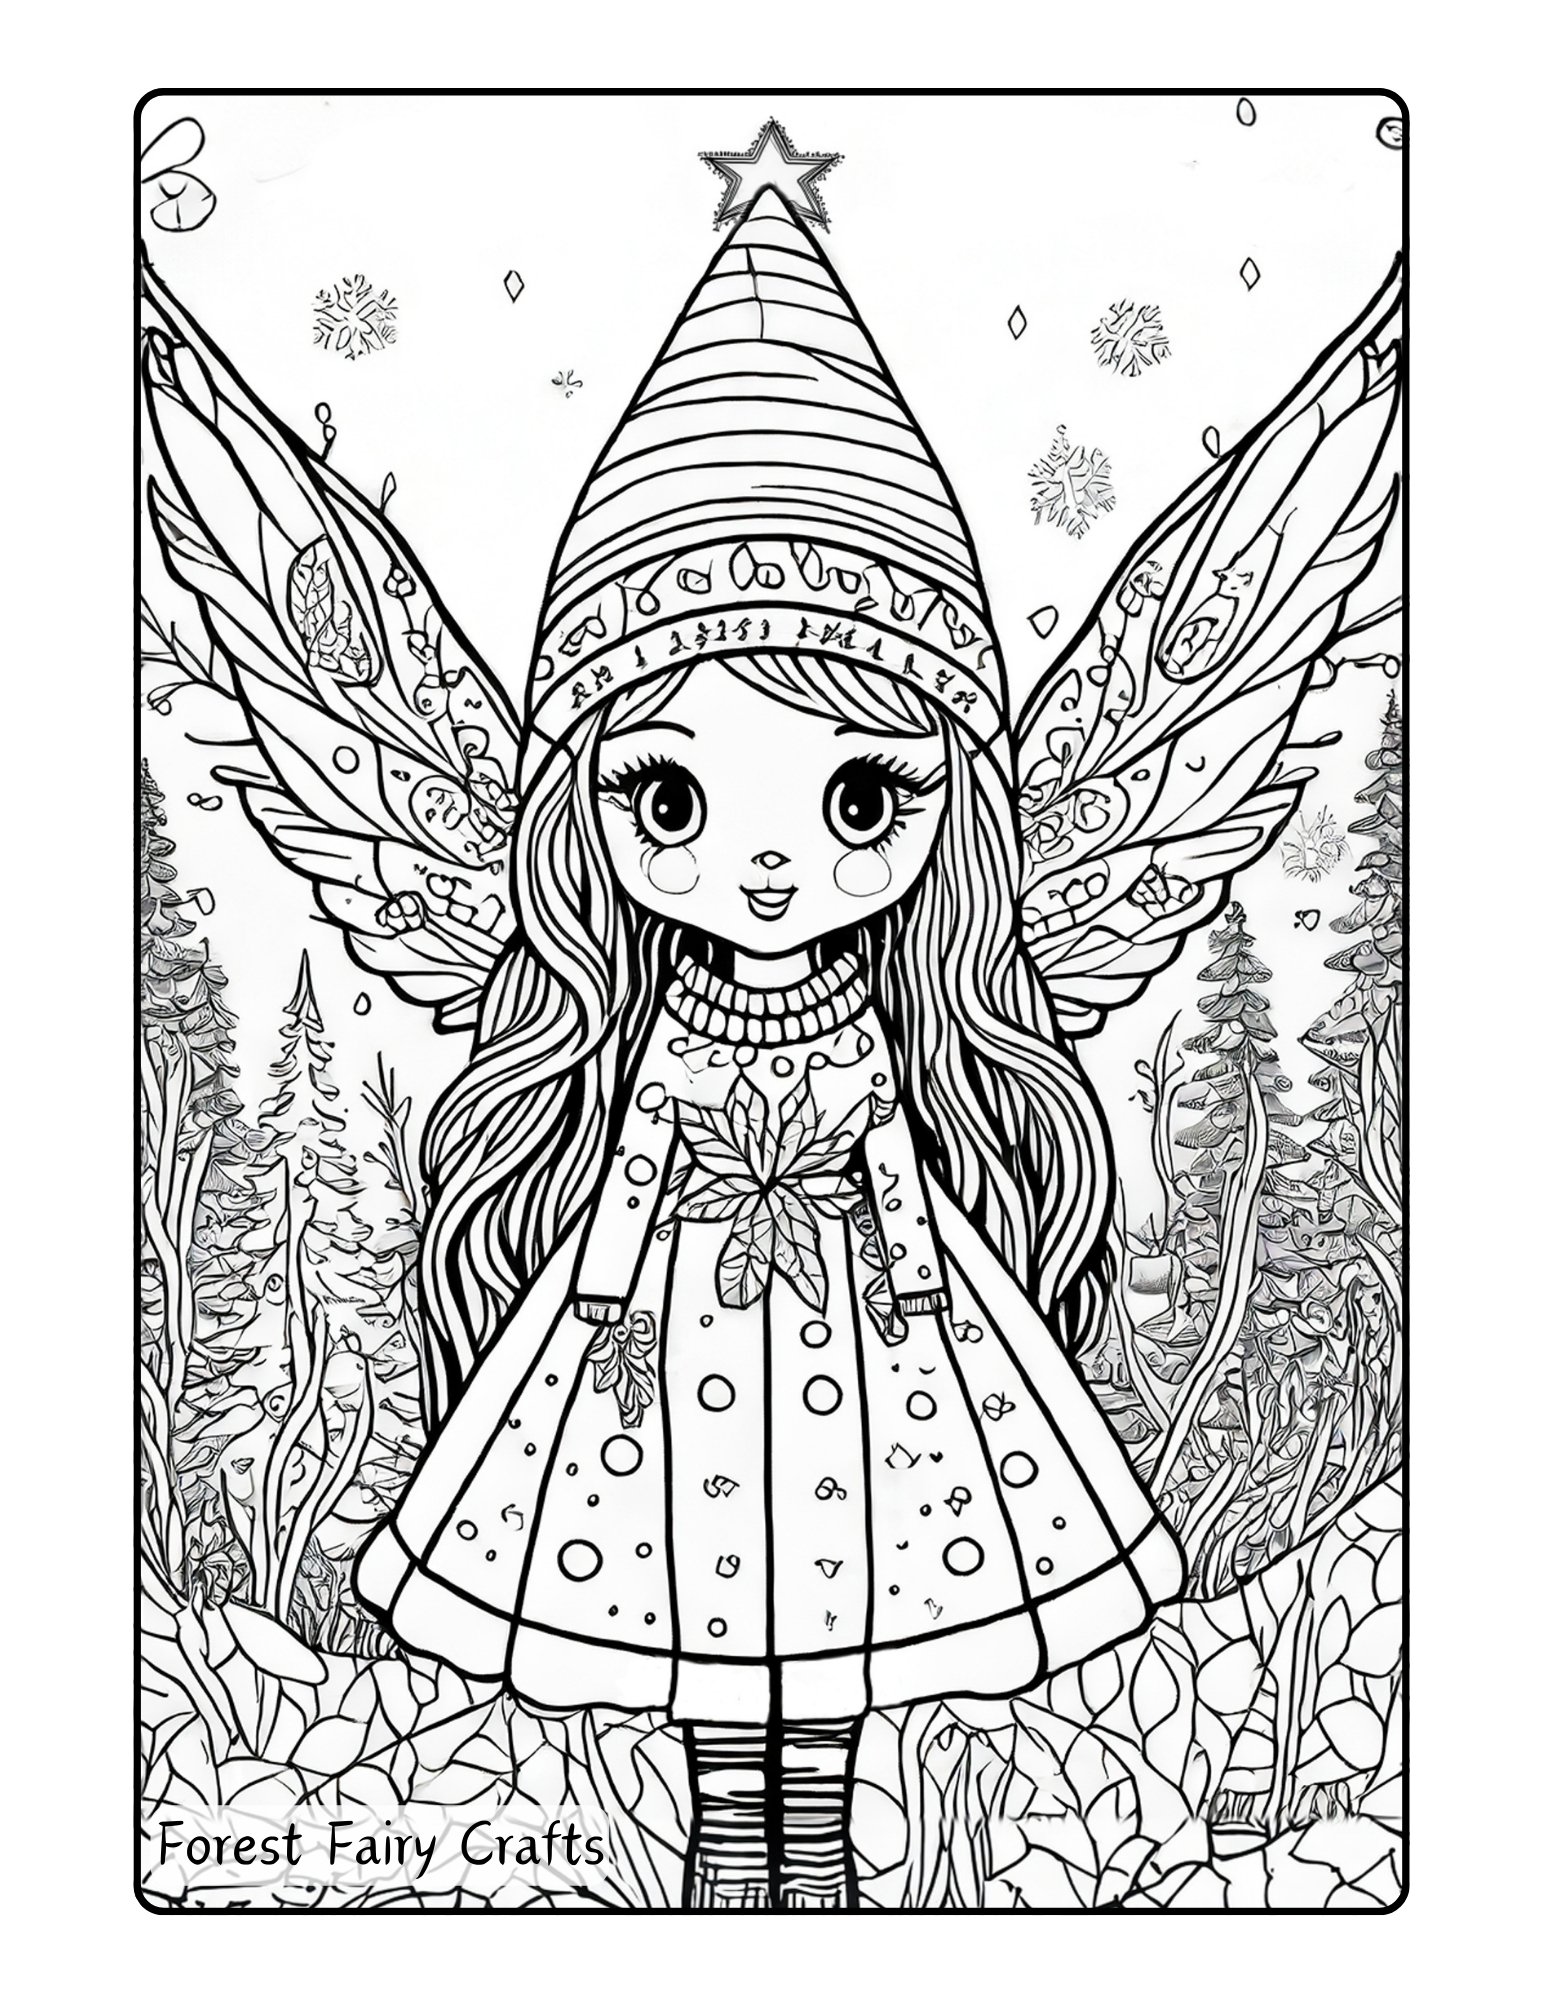
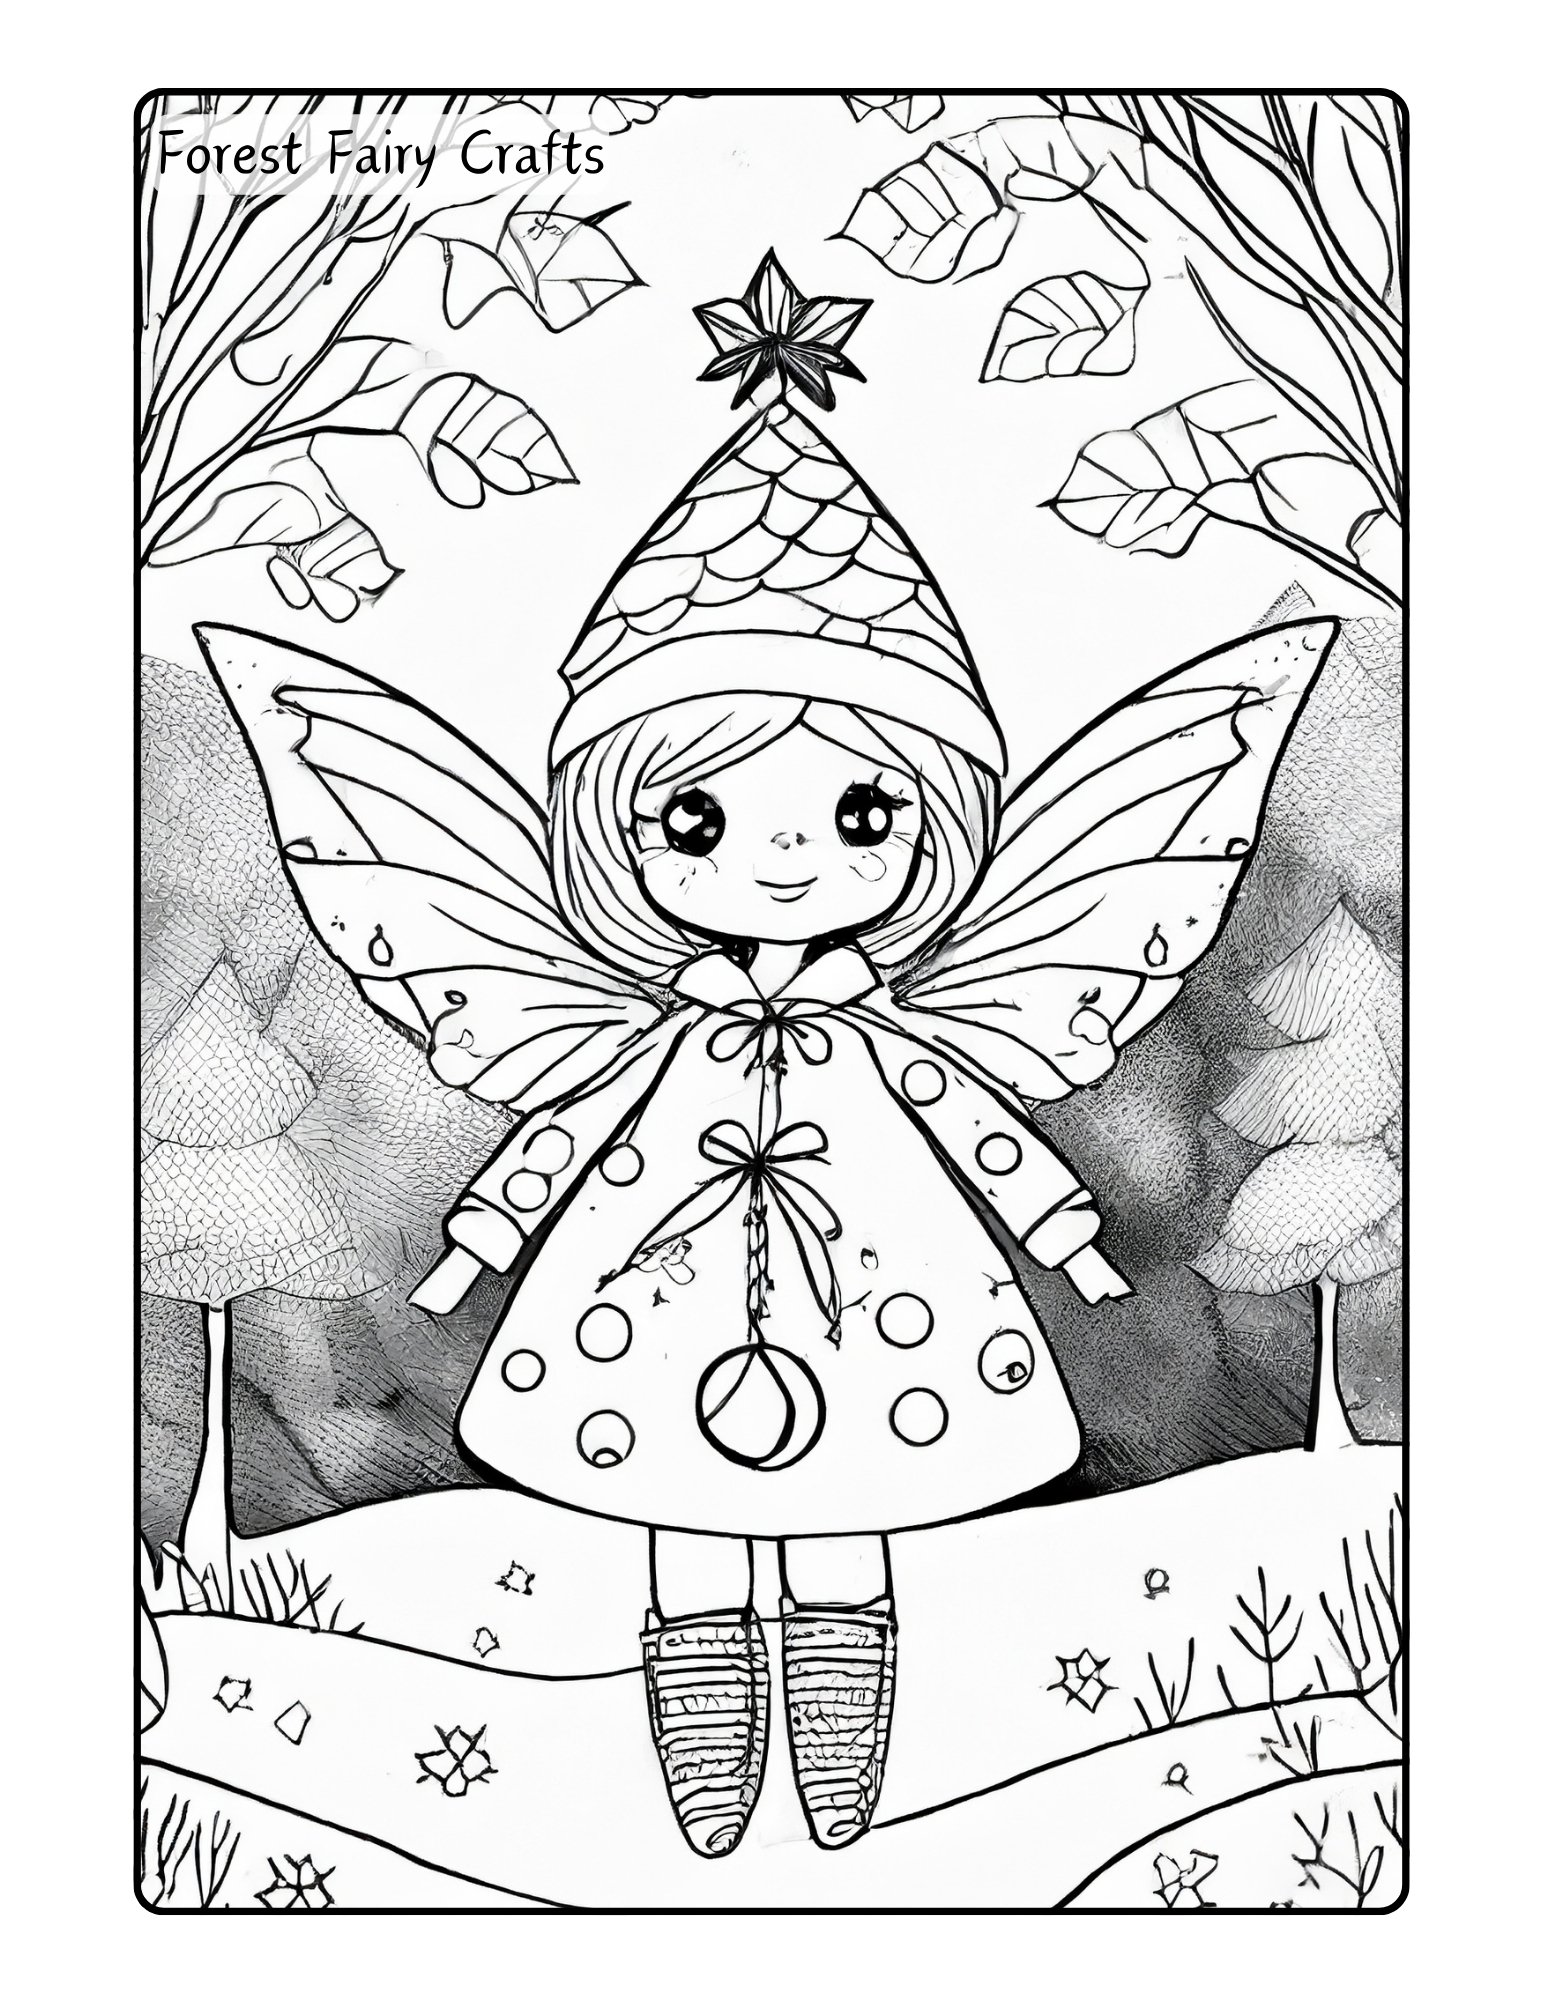
Illustrations are a carefully curated collection of beautifully detailed scenes that will captivate your imagination and allow an escape from the stresses of everyday life. Pages feature enchanting forest fairies, surrounded by winter trees and whimsical creatures. They do not show specific holidays. Use any colors that you like.
Whether you are a parent looking for a way to unwind after a long day, a teacher seeking a peaceful activity for your students, or a caregiver in need of some quiet time, Forest Fairy Crafts coloring pages are the perfect solution. You can easily download the coloring book and choose the pages that resonate with you the most.
And the best part? They’re free. Take a break from the hustle and bustle of life and immerse yourself in the magic and beauty of Forest Fairy Crafts.


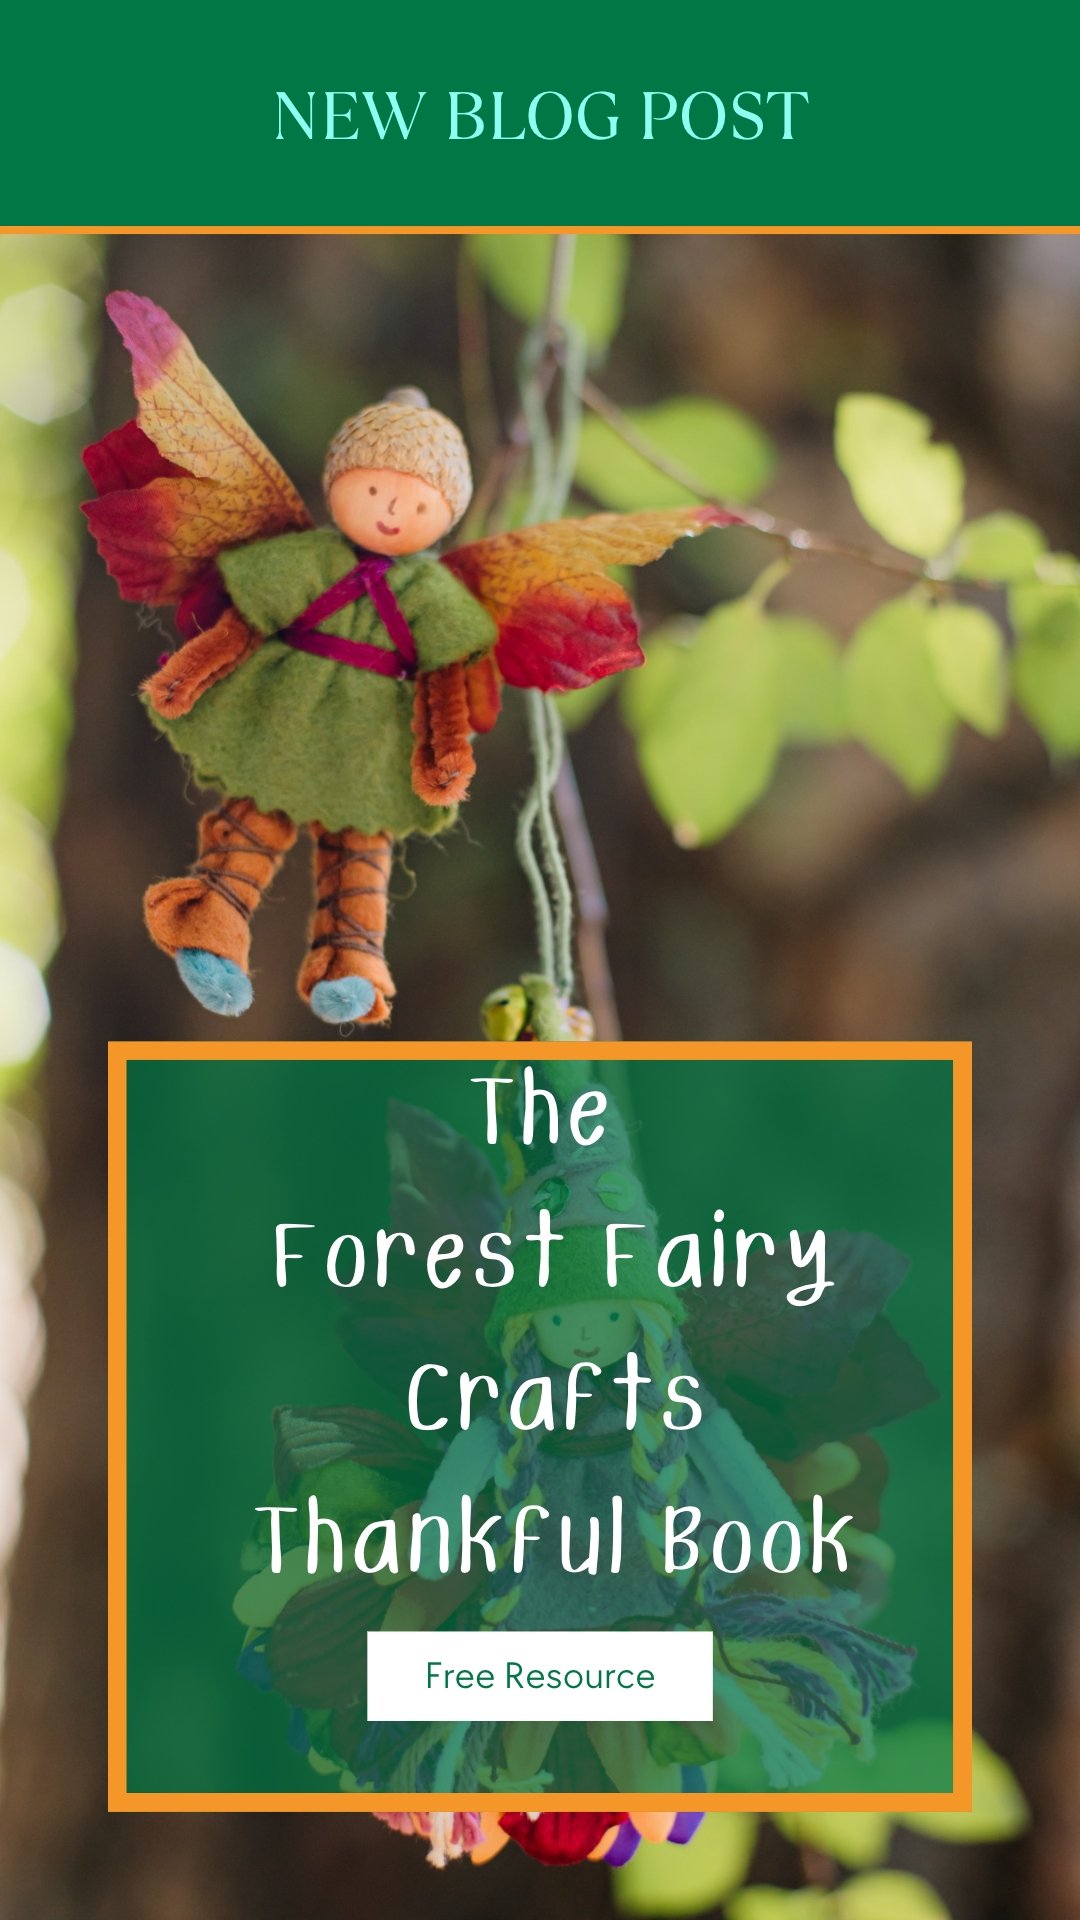
Thankful Book for Fall
In early November, we start our book of gratitudes. Each day we add a page or two or three. We collect the loose pages right before Thanksgiving. And we have a lovely read aloud for our family celebration. In my classroom, the pages became an activity center. At home, we write spend time together creating a child and adult version. Children appreciate hearing about adult gratitudes too.
A guideline that I gave myself was to not give children ideas. Beyond a vague, “family, pets, etc.” Some would go big with “air, earth, water.” Others went more detailed. Eventually, the obvious answers (in their mind) were written down. And then resistance, “I’m out of ideas.” And then the real opportunity- “I’m going to remember grapes to write, they’re so good.” Or, “I’m thankful for goodnight stories.” They took their authorship away from the table to open their mind to ideas away from the table. Which, for me, is the real goal all along. To recognize the many gifts in our day.

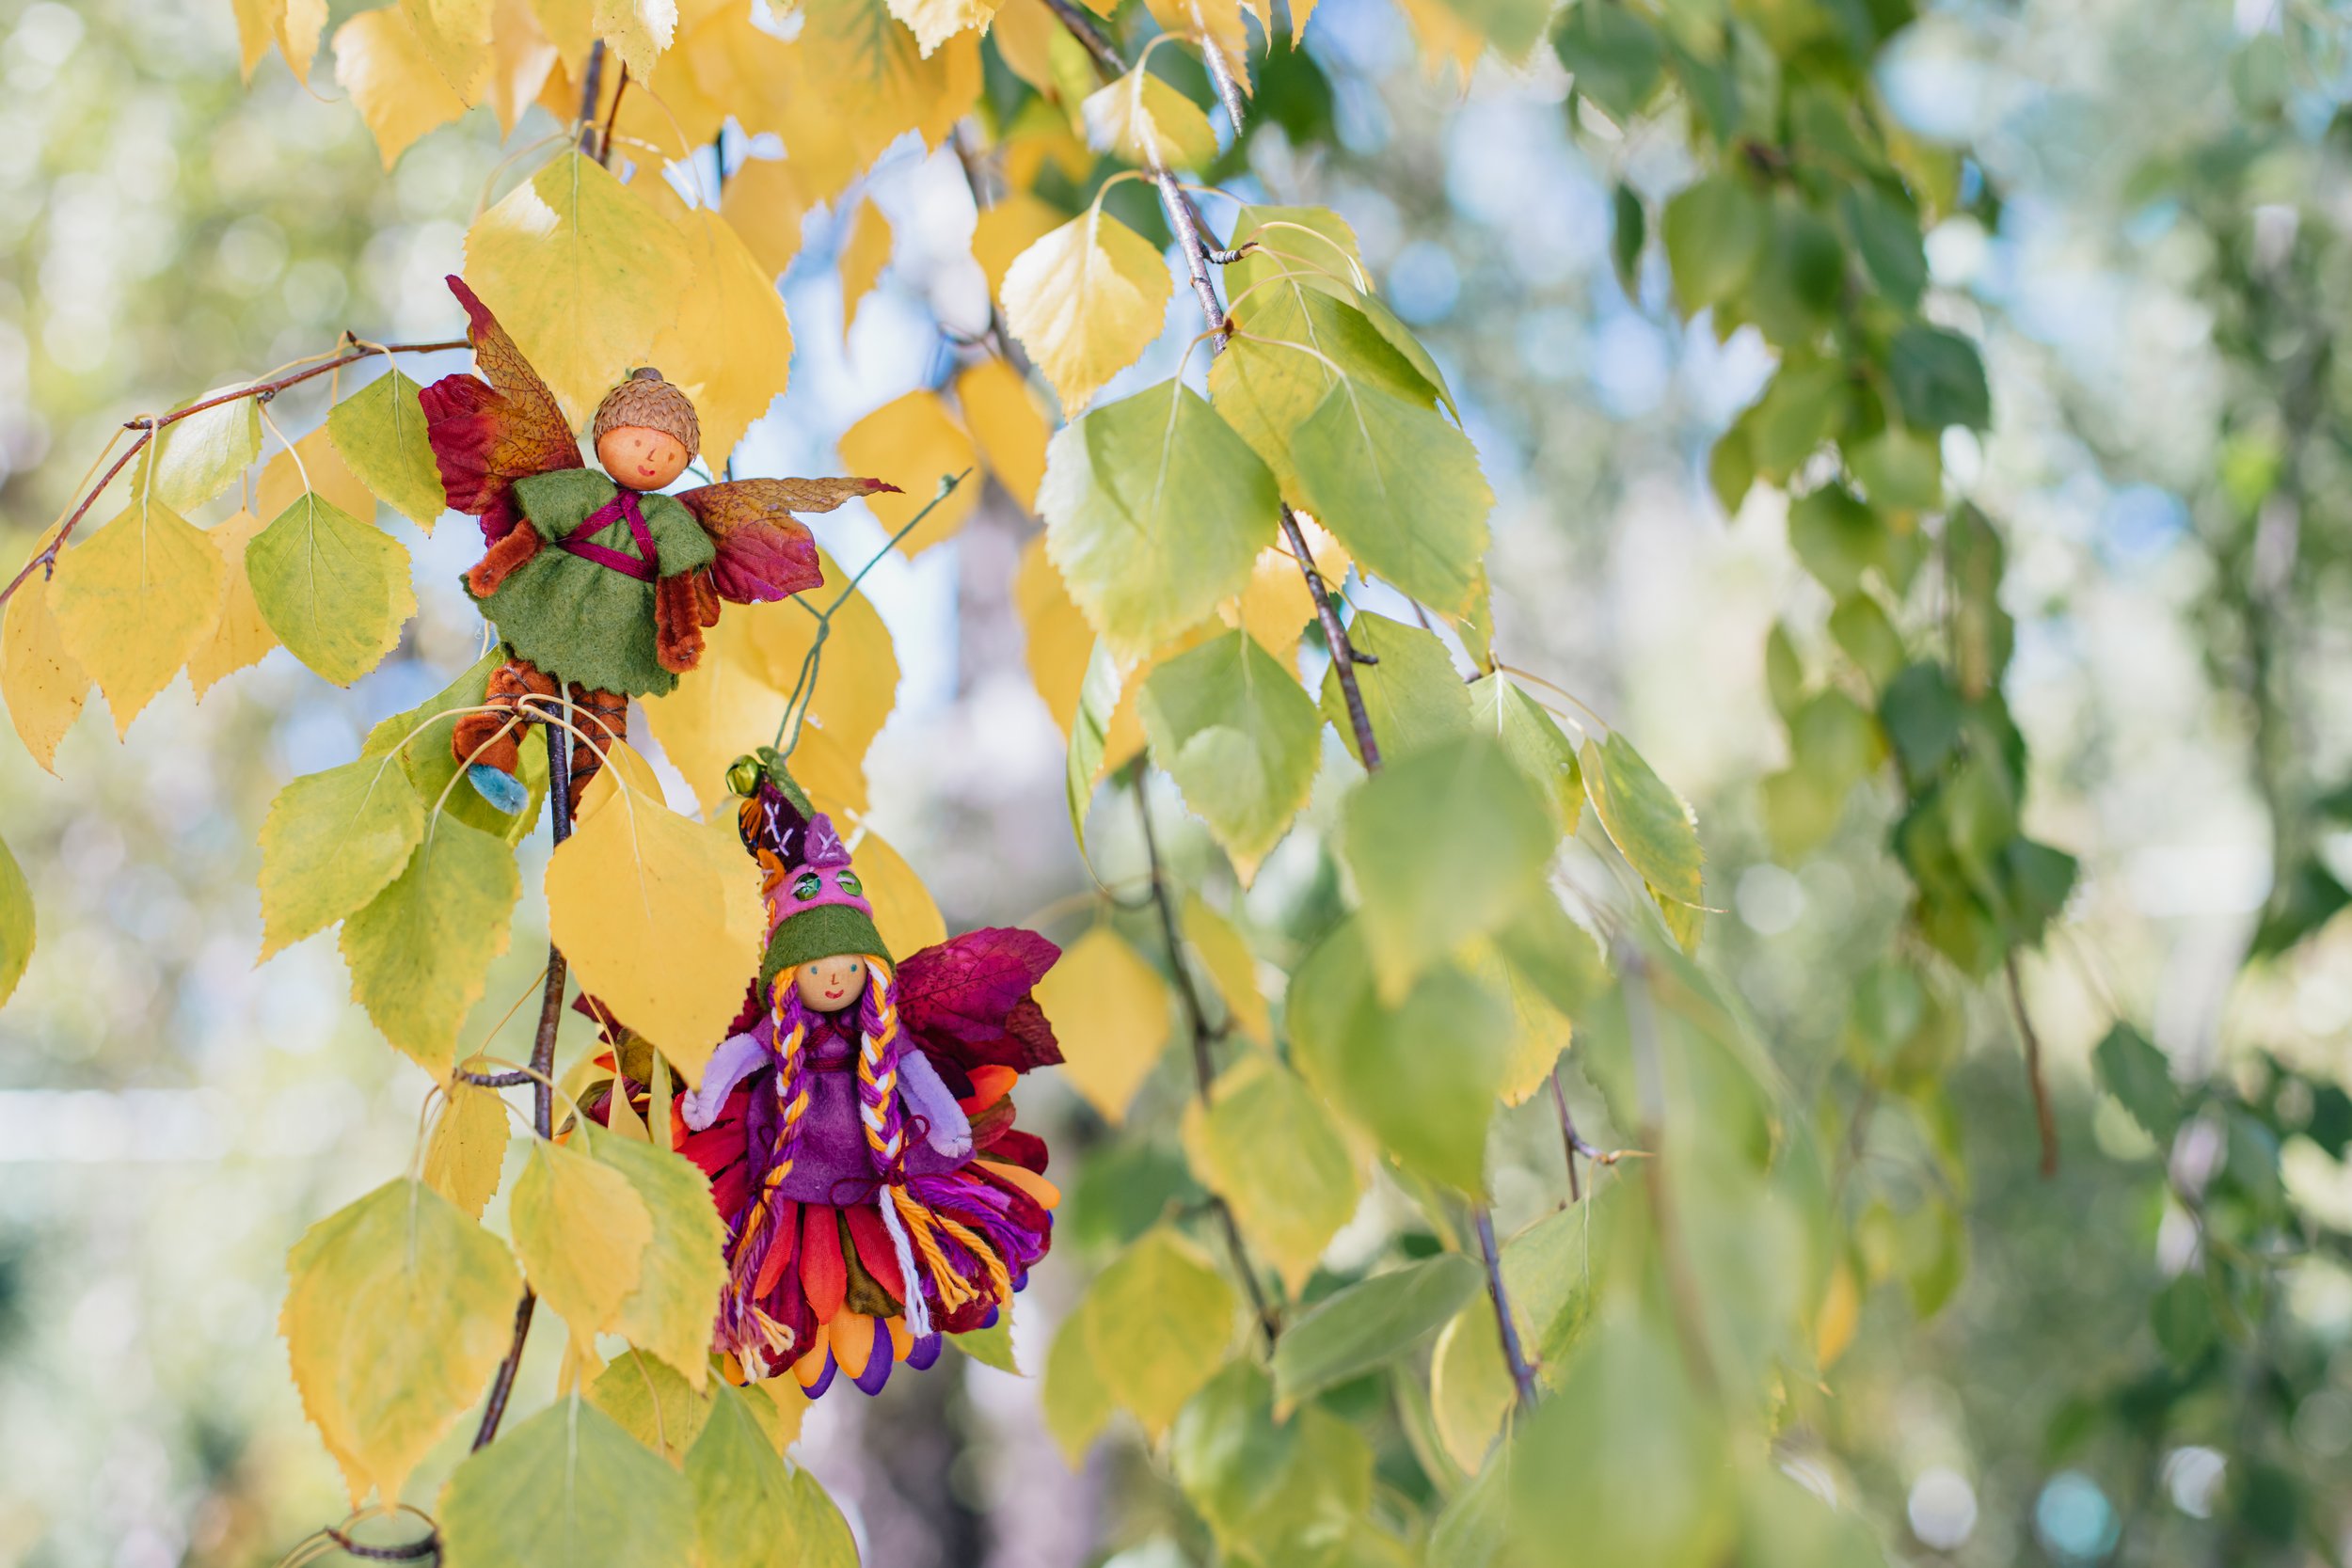
Autumn Fairy in Magical Forest Fairy Crafts Through the Seasons
I created book pages that you can download to use with children in your life. *Not for sale or resale. When you download, you’ll notice the book has 4 pages. Why would I do that? This way, each family or child gets to create their own number of pages. Save them as loose leaves until the day before Thanksgiving. That way, an author won’t run out of pages, or face a pile of empty pages on the last night before binding. Customize your book.
For older authors (6 and above), I use the smaller version which fits two pages on one piece of paper. I recommend cutting in half before binding, or you will have blank pages. Since writing instructions don’t often come easy for authors, here is my ladder of support. A conversation with authors that they understand is that the audience matters. Is this for Grandma and Grandpa to admire? Or is it just for the author? Because one way, the spelling may be more important that the other. And the main goal for a young author is to feel proud of their work. Not for us adults to judge or micromanage to the point that writing feels like a chore, but simply for the author to celebrate what they created. You may choose different styles of support based on the audience for the book.
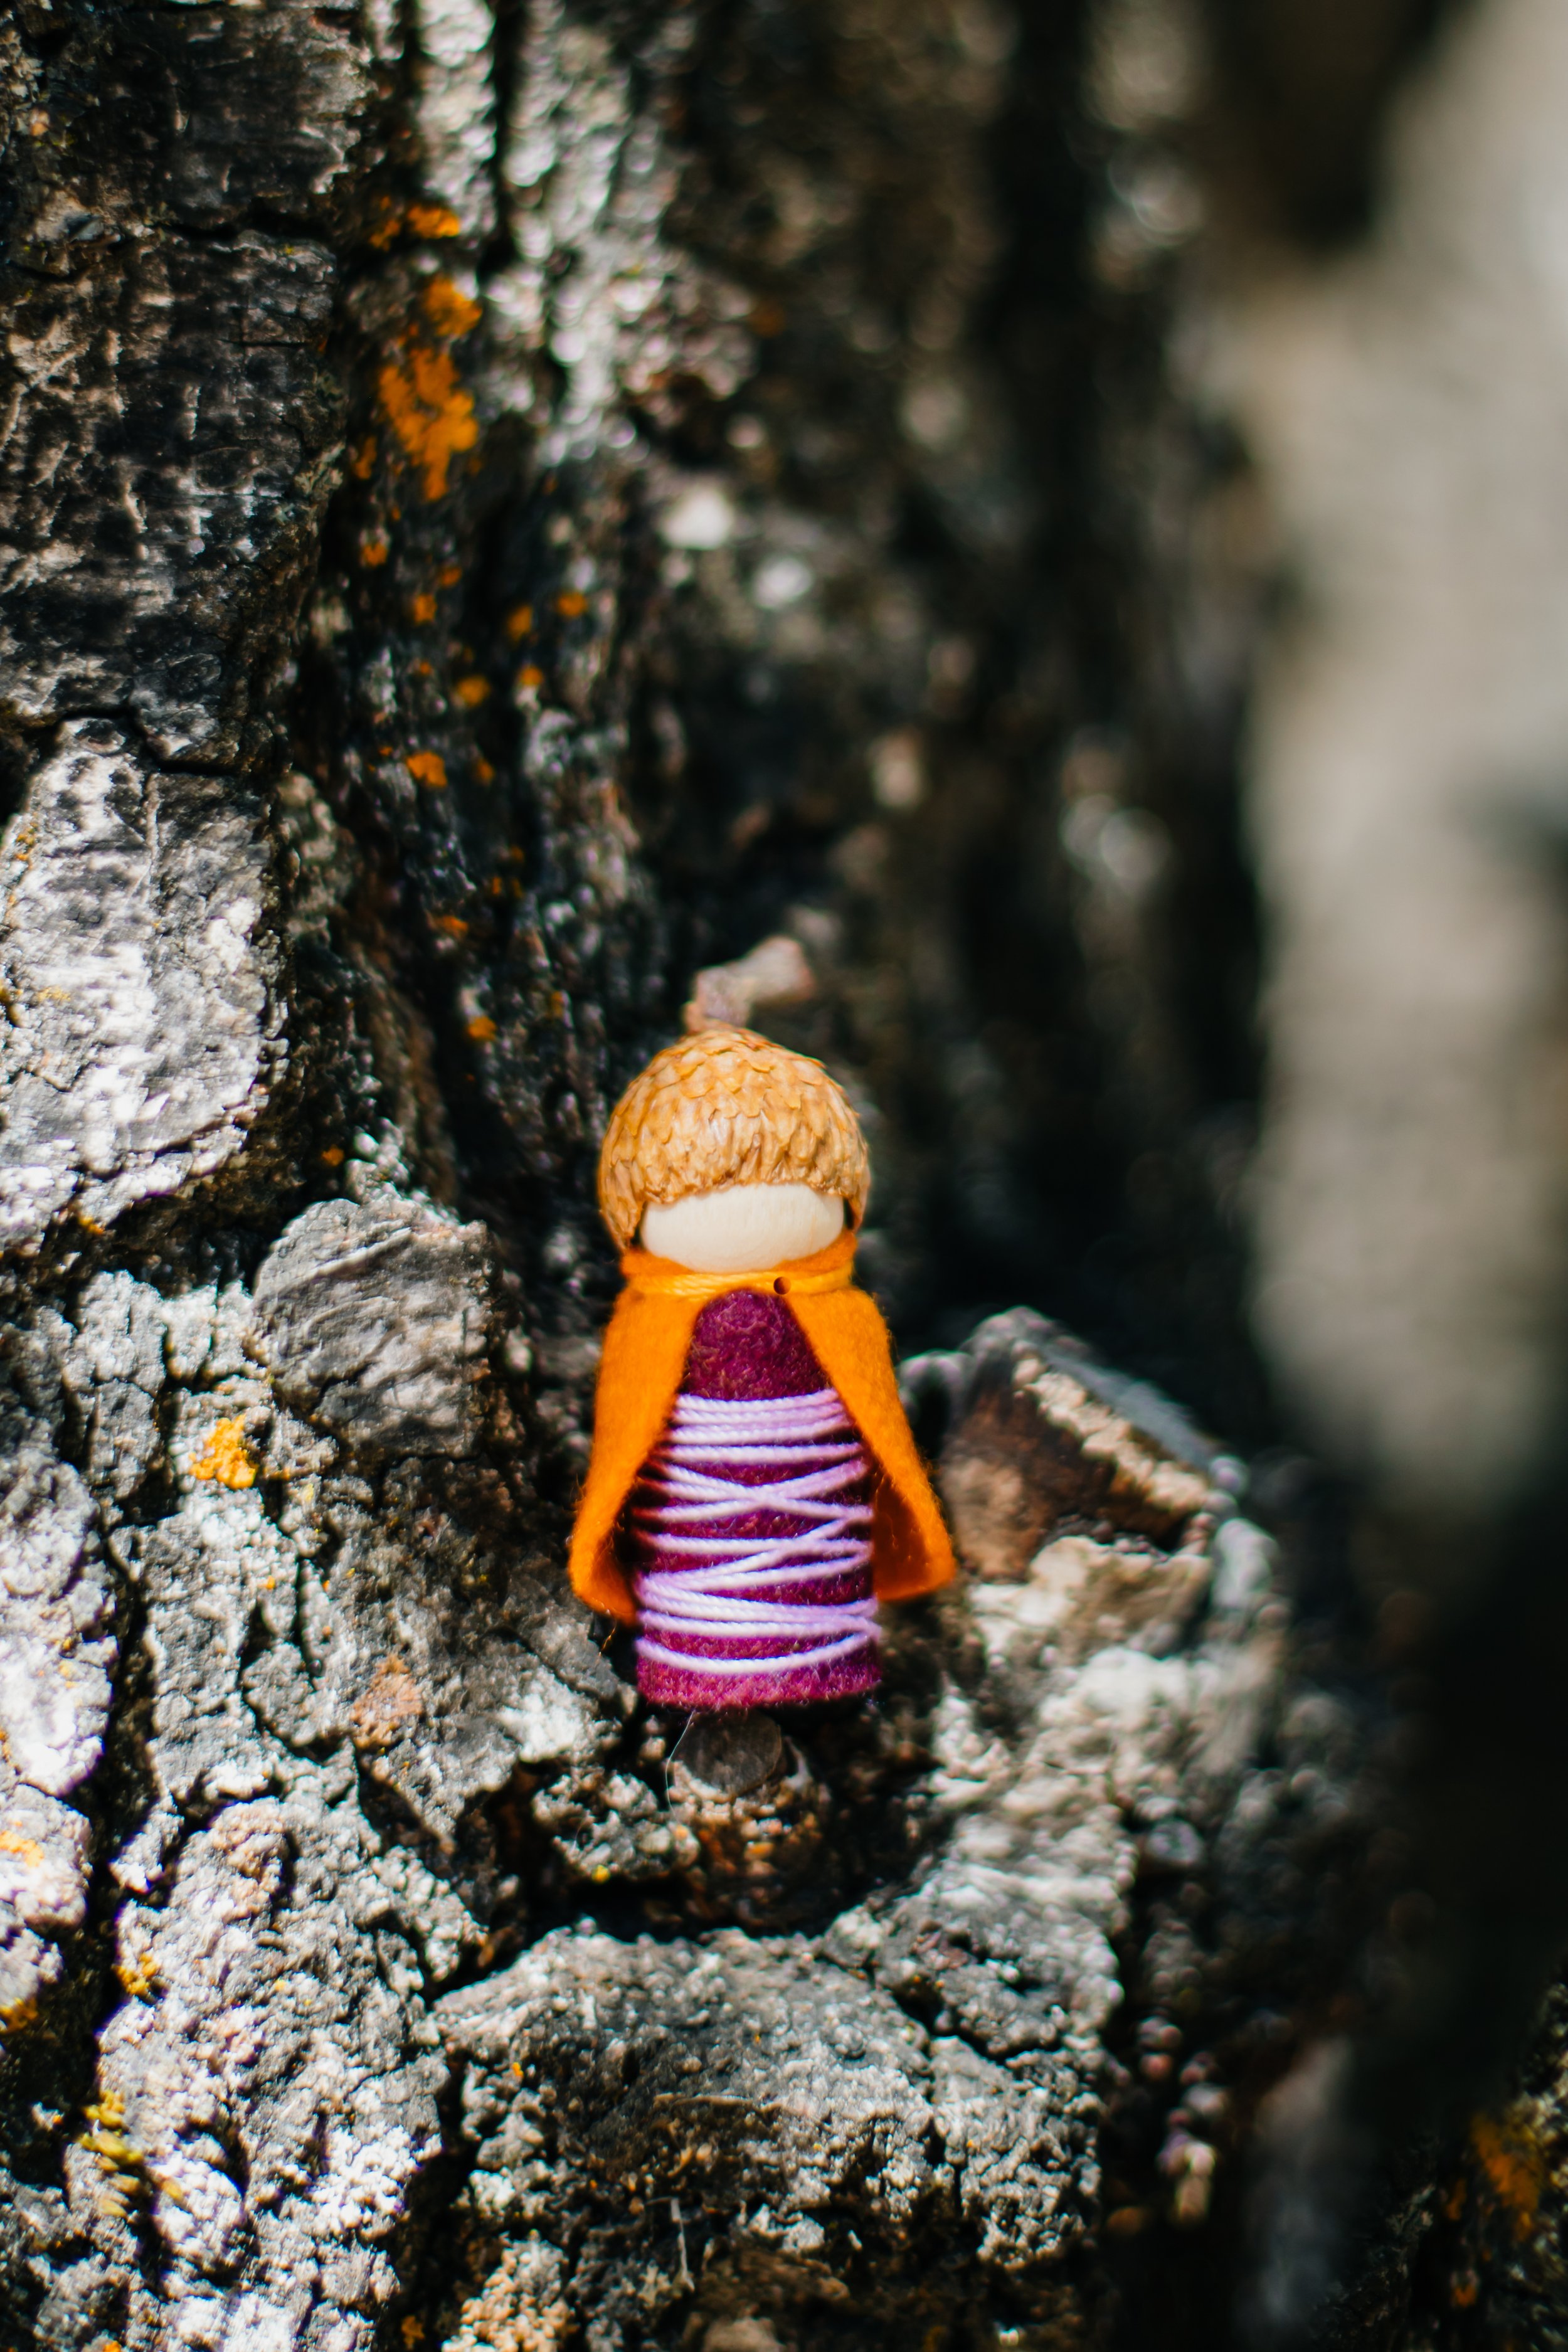
Autumn Gnome in Magical Forest Fairy Crafts Through the Seasons

Also, many supports may be appropriate for different learning challenges. I let my dyslexic daughter dictate while I typed well into high school. She’s in college now and doesn’t ask me to type any of her papers anymore. So give writers the support they need to express their ideas. Which may change from day-to-day.
You can mix and match within the same day/on the same page. They can write until they’re turned and then an adult can finish. Choose a ladder plan, then adjust as needed.
Step 1- writing for the author, letting the author dictate. This is the way to catch all the thoughts and details. This can happen alongside scribbles or attempts at “sounding out” words so that they can be read and understood later.
Step 2- writing and tracing. Use a highlighter or light handwriting that the student can trace with their own pencil. If used, the dictation from above with a step for authors to explore writing it themselves.
Step 3- Write what you hear. This may look incoherent to adults. As long as the child can read it late, then it accomplished the purpose of writing to remember your words later. It doesn’t really accomplish the write-and-share idea, but I can’t read books in other languages, so, for this stage, I let the author reading their own work be enough
Step 4- Write to share. This time, another person needs to be able to understand your words. They don’t seem to be spelled perfectly or have all the right spaces, but another person may want to read them one day. This can be supported with verbal spelling help and room to make spelling mistakes.
Step 5- Write to impress. By this time, sight words should be pretty intuitive. Writing shouldn’t be so much work by this time. Now, spelling corrections and punctuation are involved in the process.

Autumn fairies in Magical Forest Fairy Crafts Through the Seasons
Realistically, think about how long this book will be around. This was created as a process-project meant to help authors notice the world with a spirit of gratitude. Many of these books will go into recycling. You may want to keep them. But then they’ll be a time capsule of where your author’s writing skills were at that point in time. I want young authors to enjoy writing. This project is close to my heart for inspiring young authors.
Feel free to print for personal or small-group use. Print pages 2-3 (large) or 2 (small) for as many middle pages as you may like. Usage rights do not include other teaching sites or third-party websites or sales. I appreciate sharing resources with you.
Add the last page as a bookend, because we are thankful for each and every author.
And of course, Autumn Fairies love to help write these books or hear these books read aloud. They’re always up for an adventure to find more things to appreciate!
We are thankful for you!

Another Way to Wind Yarn Balls
As promised, here’s another way to wind yarn balls. This way is quicker if you are making a pile of yarn balls, such as for a summer camp or basket of yarn for children to choose from. This technique doesn’t give the same level of fine motor skills, though, and it’s harder for little hands to control the yarn from slipping off of their fingers. So it’s a friendly version for adults or older children. But the other way gives children more winding practice around their fingers. Choose which one feels easier for you.
The beauty of handwork is that we all get to choose what works best for us. And I’m sure there’s even more ways to start winding yarn. It may be a worthy experiment to teach both methods to children and then ask them which way works better for them. The results may surprise you!
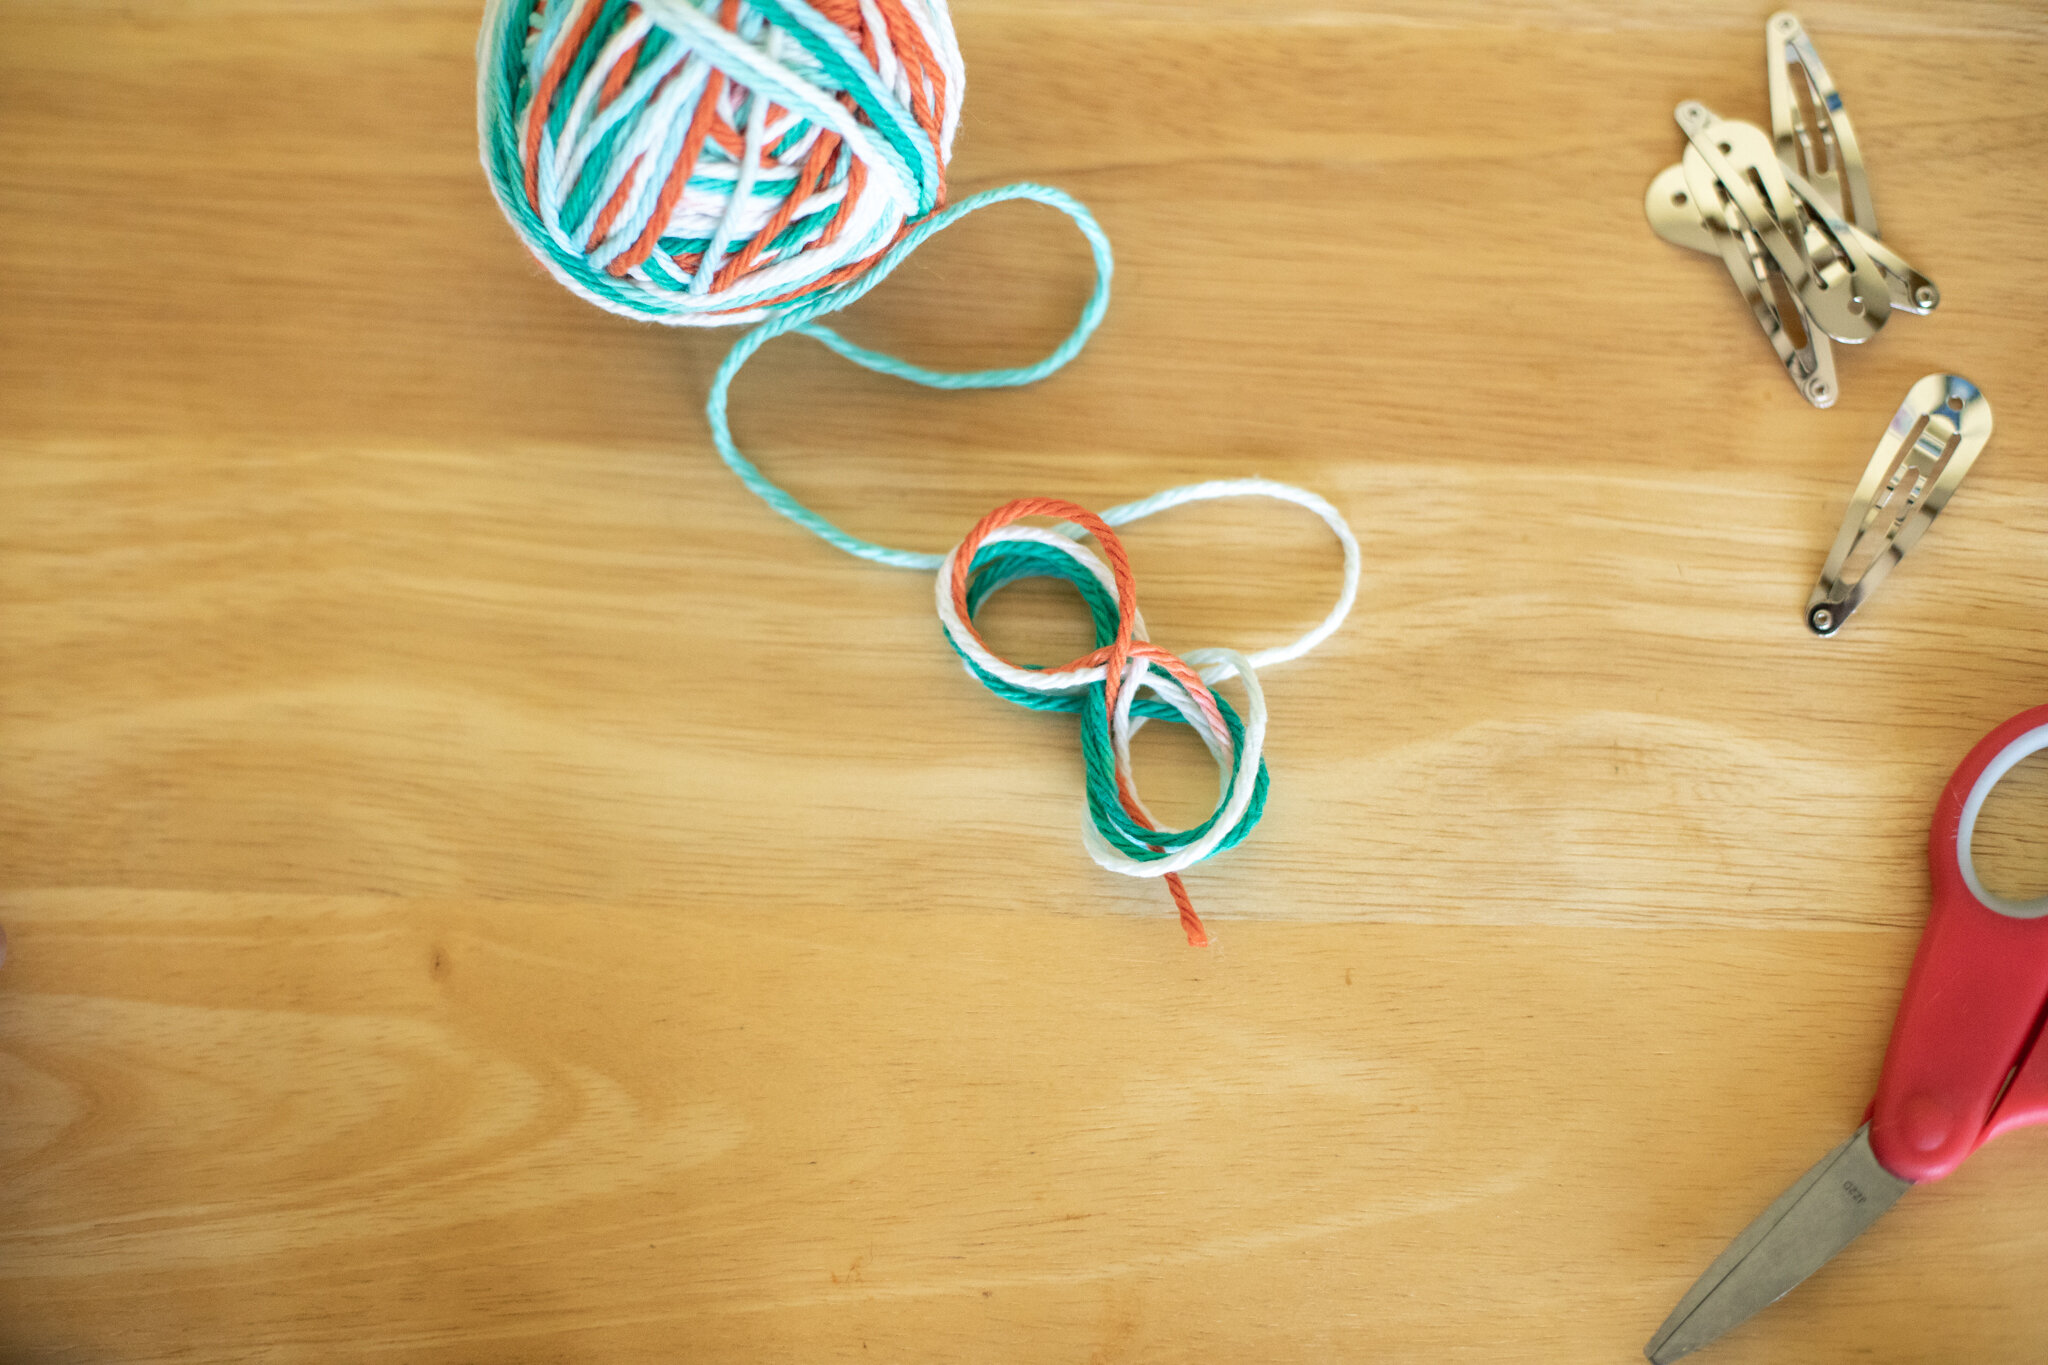
Onward to another way to wind yarn balls :)
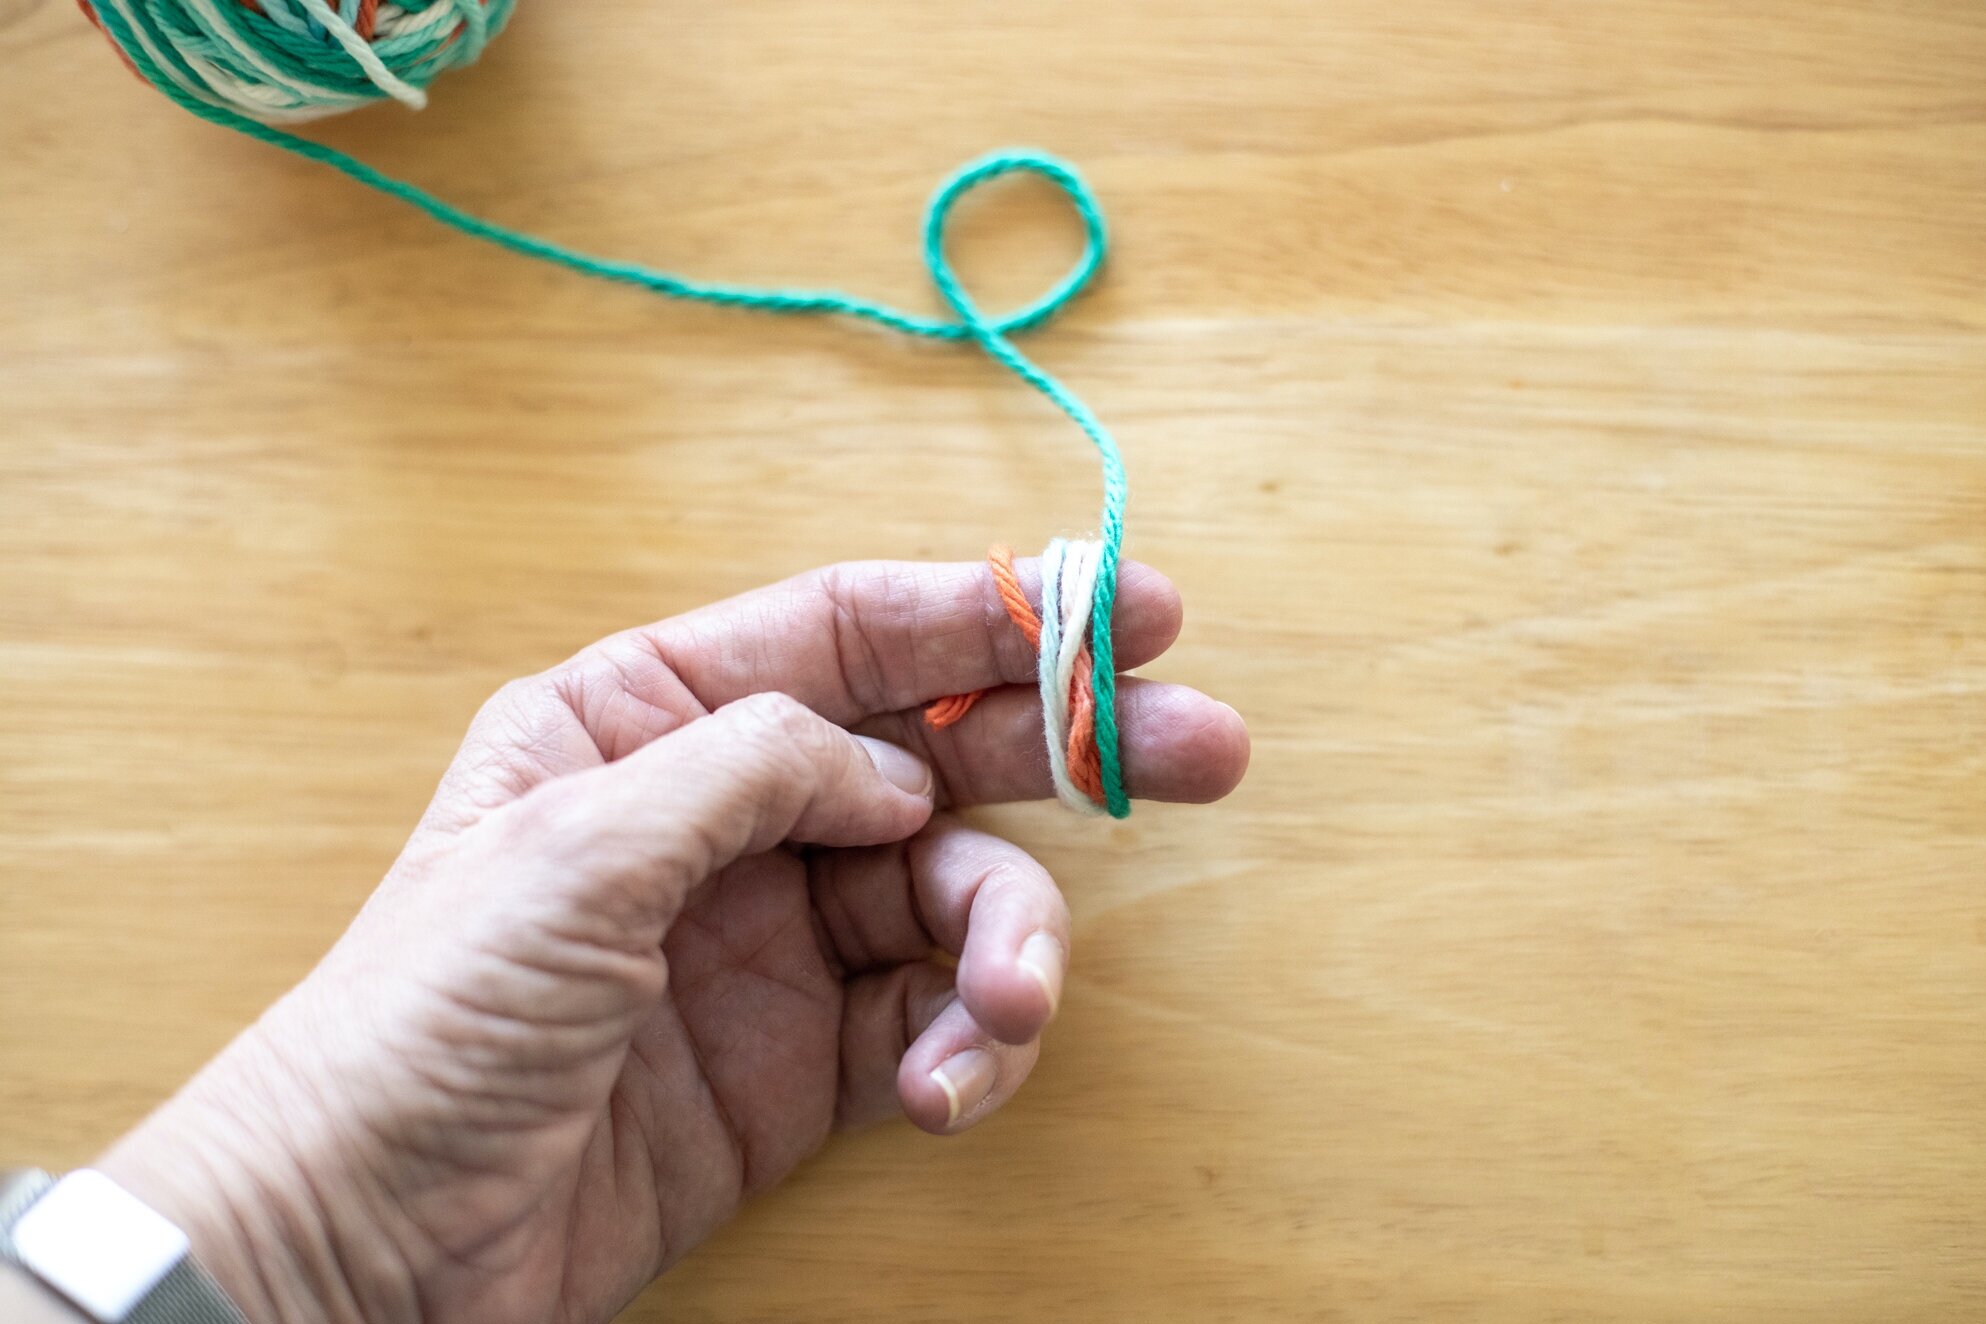
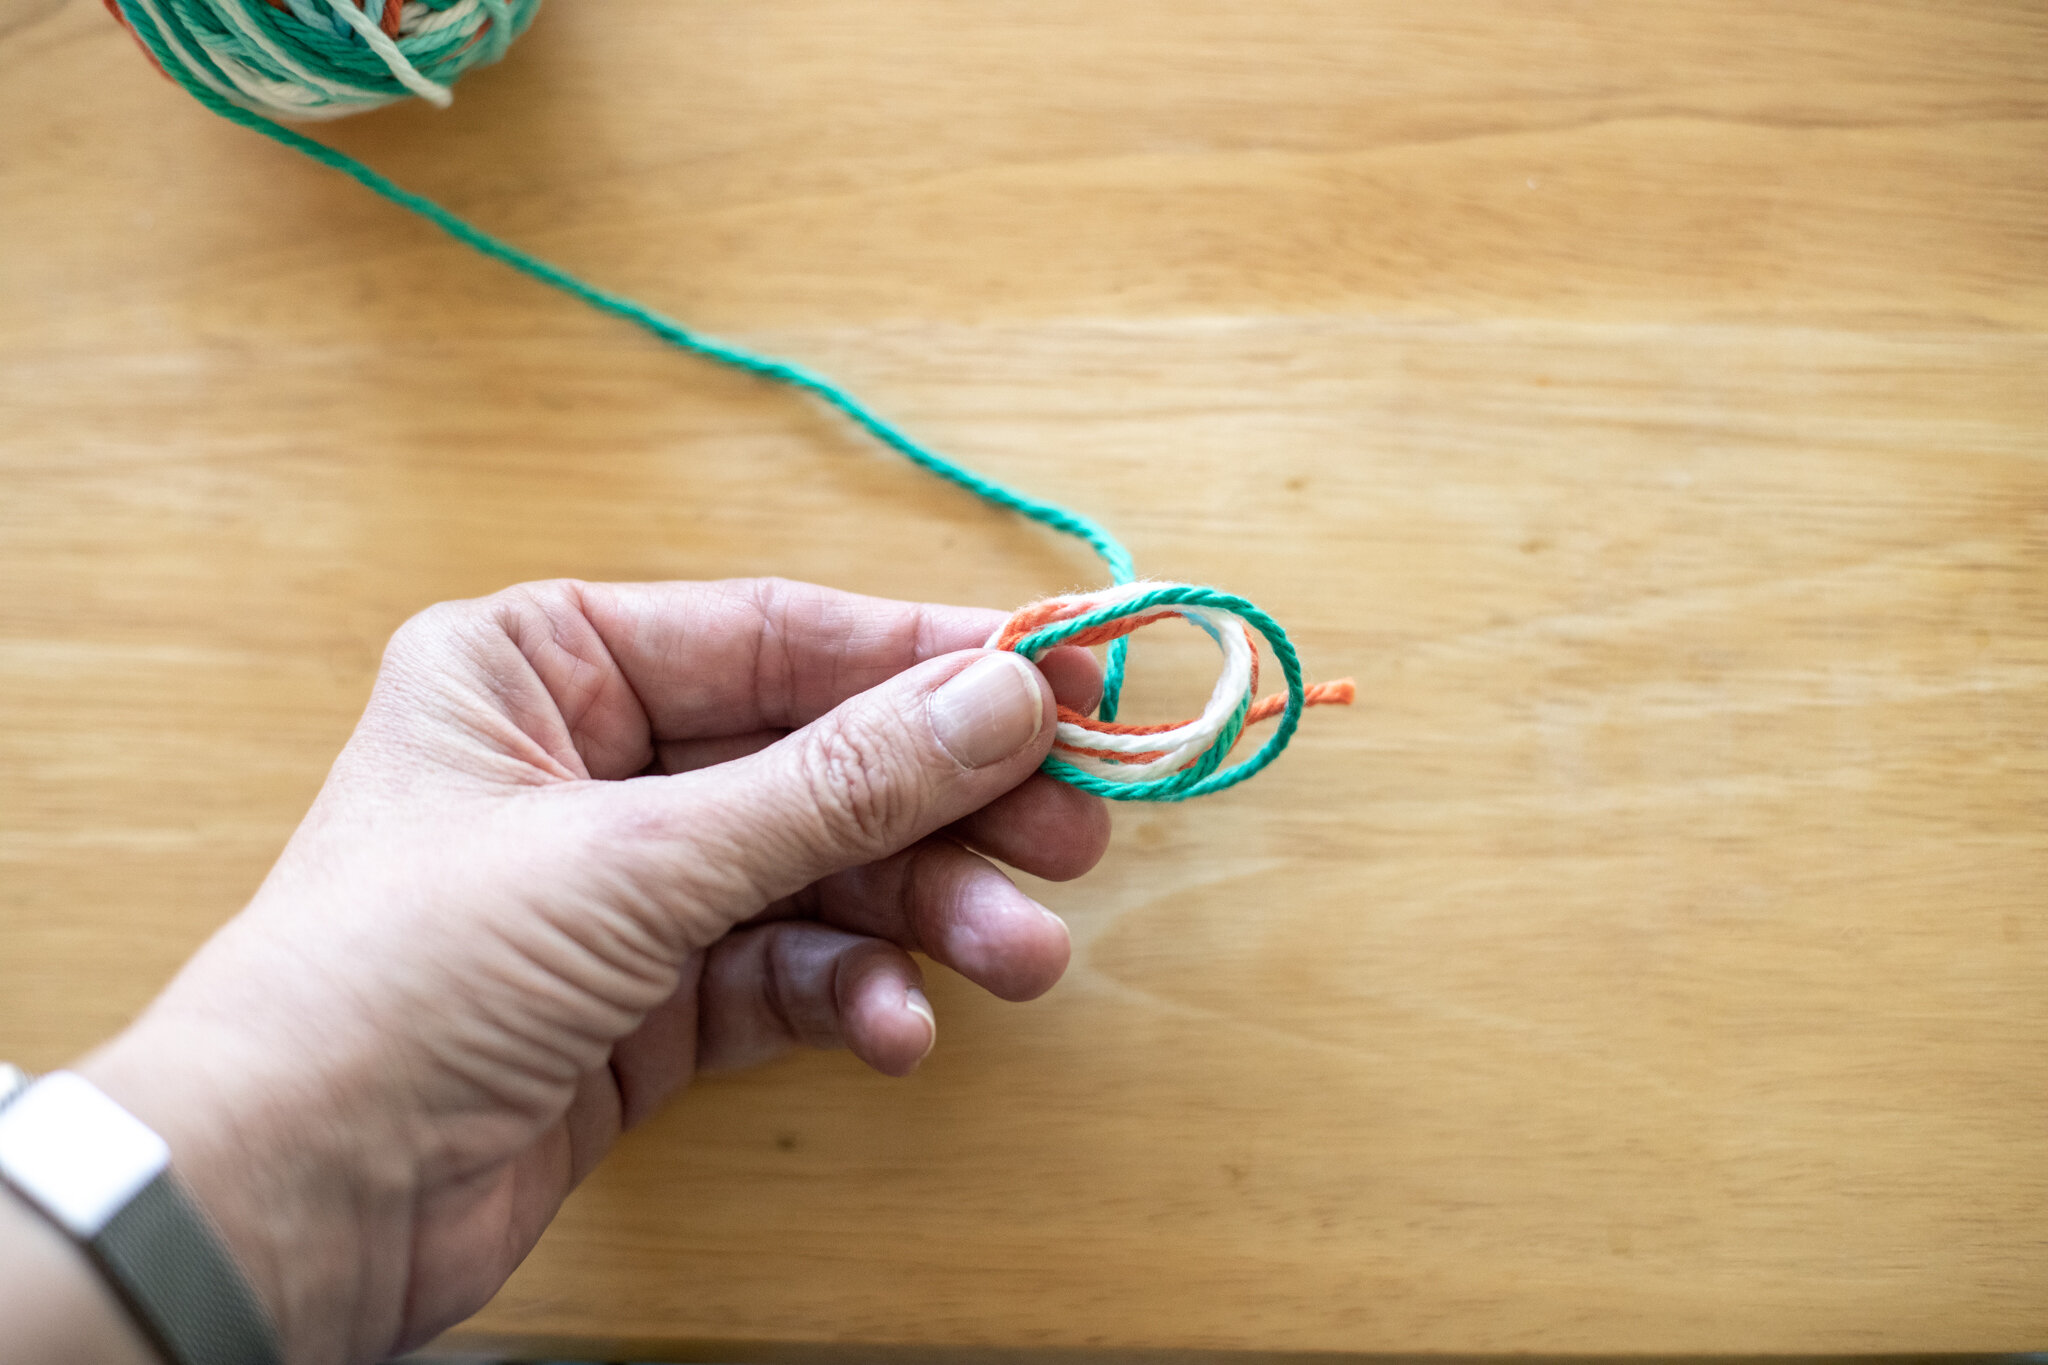

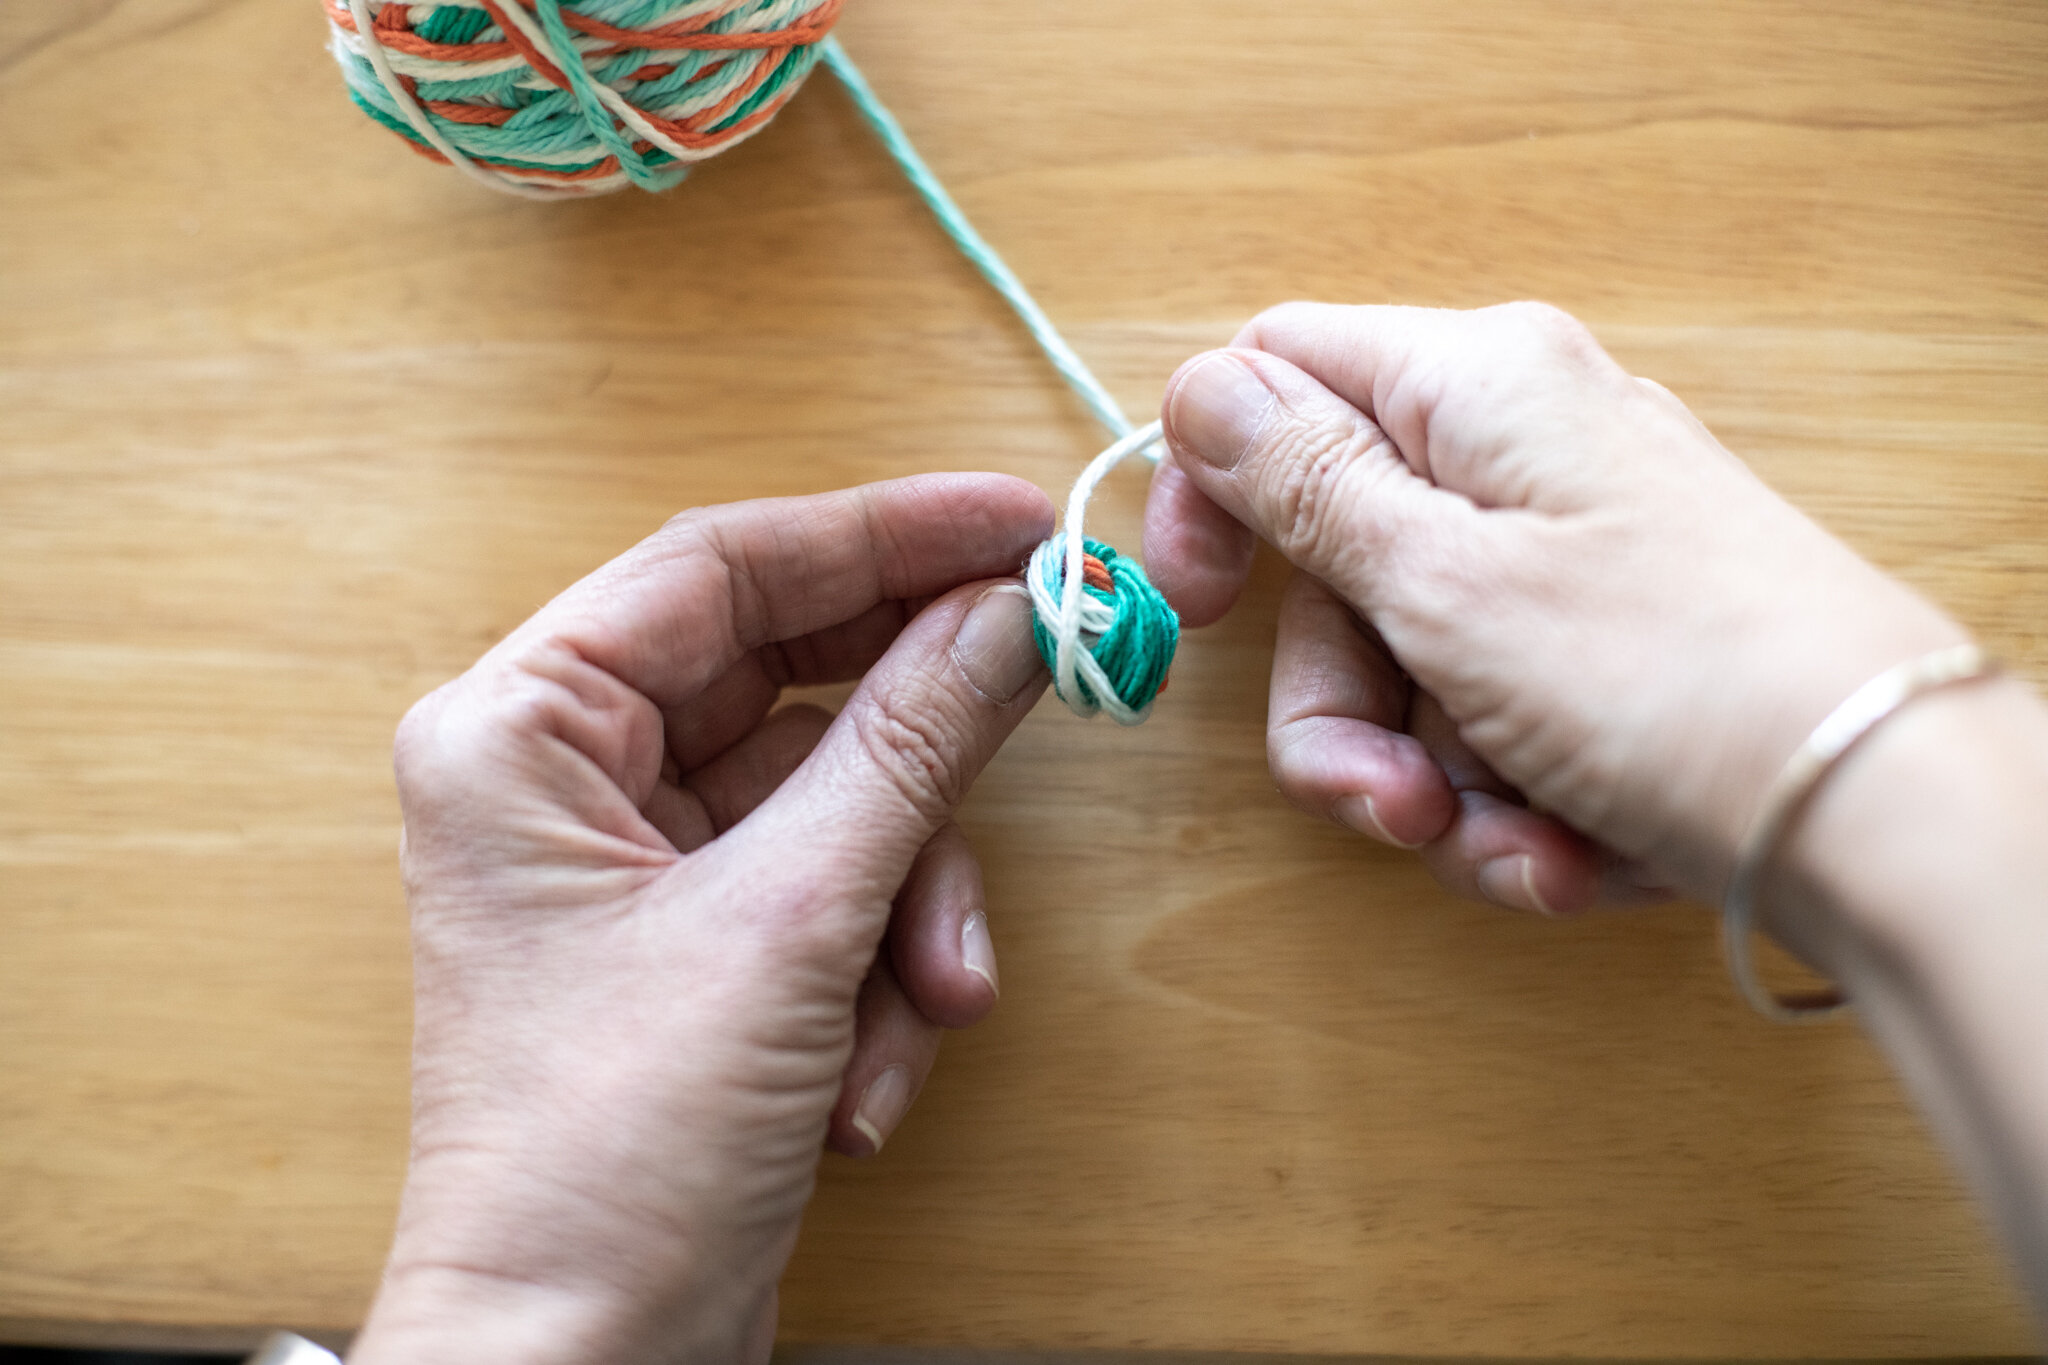


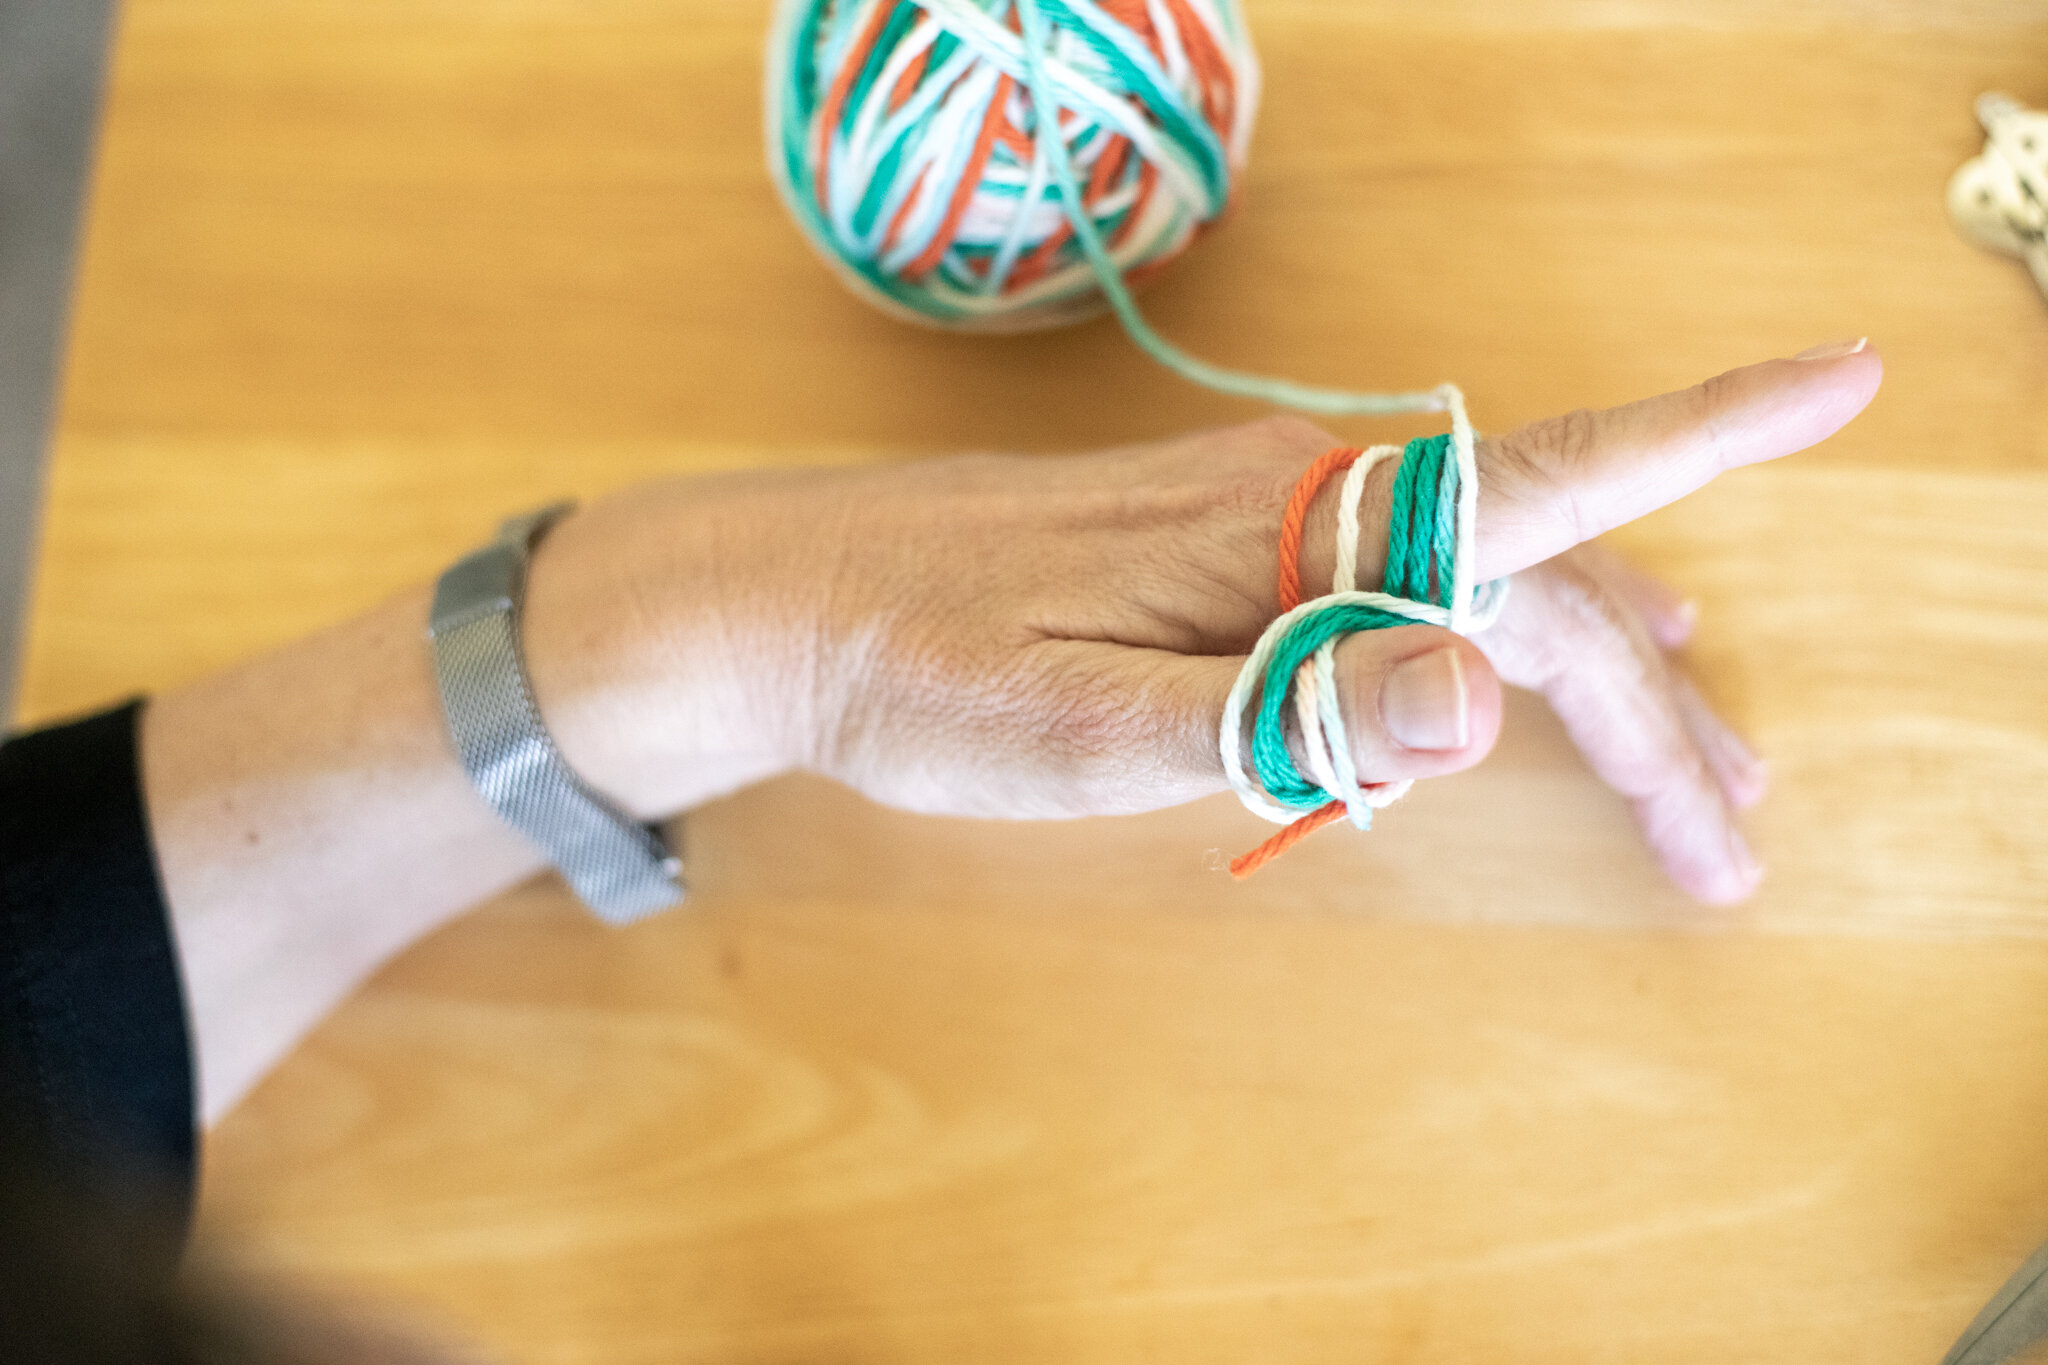
For young-young children, you can start the ball, then hand it over to them once it’s past the super-fiddly-fall-apart-if-you-let-go phase of creating them. They enjoy winding the yarn around and around. You can work towards a point where they can then use your hand to start the yarn ball. So you would hold the yarn between your fingers and they wrap it around your fingers for the first step. Eventually, they will develop the skills to hold and start the ball all on their own. It’s tricky to do two different activities with different hands.
If you know how to make a slip-knot, that’s another way to start where children' won’t pull the tail loose during the very first step. If you make a slip knot that can fit over a finger, that would hold the yarn on their finger for the first step.
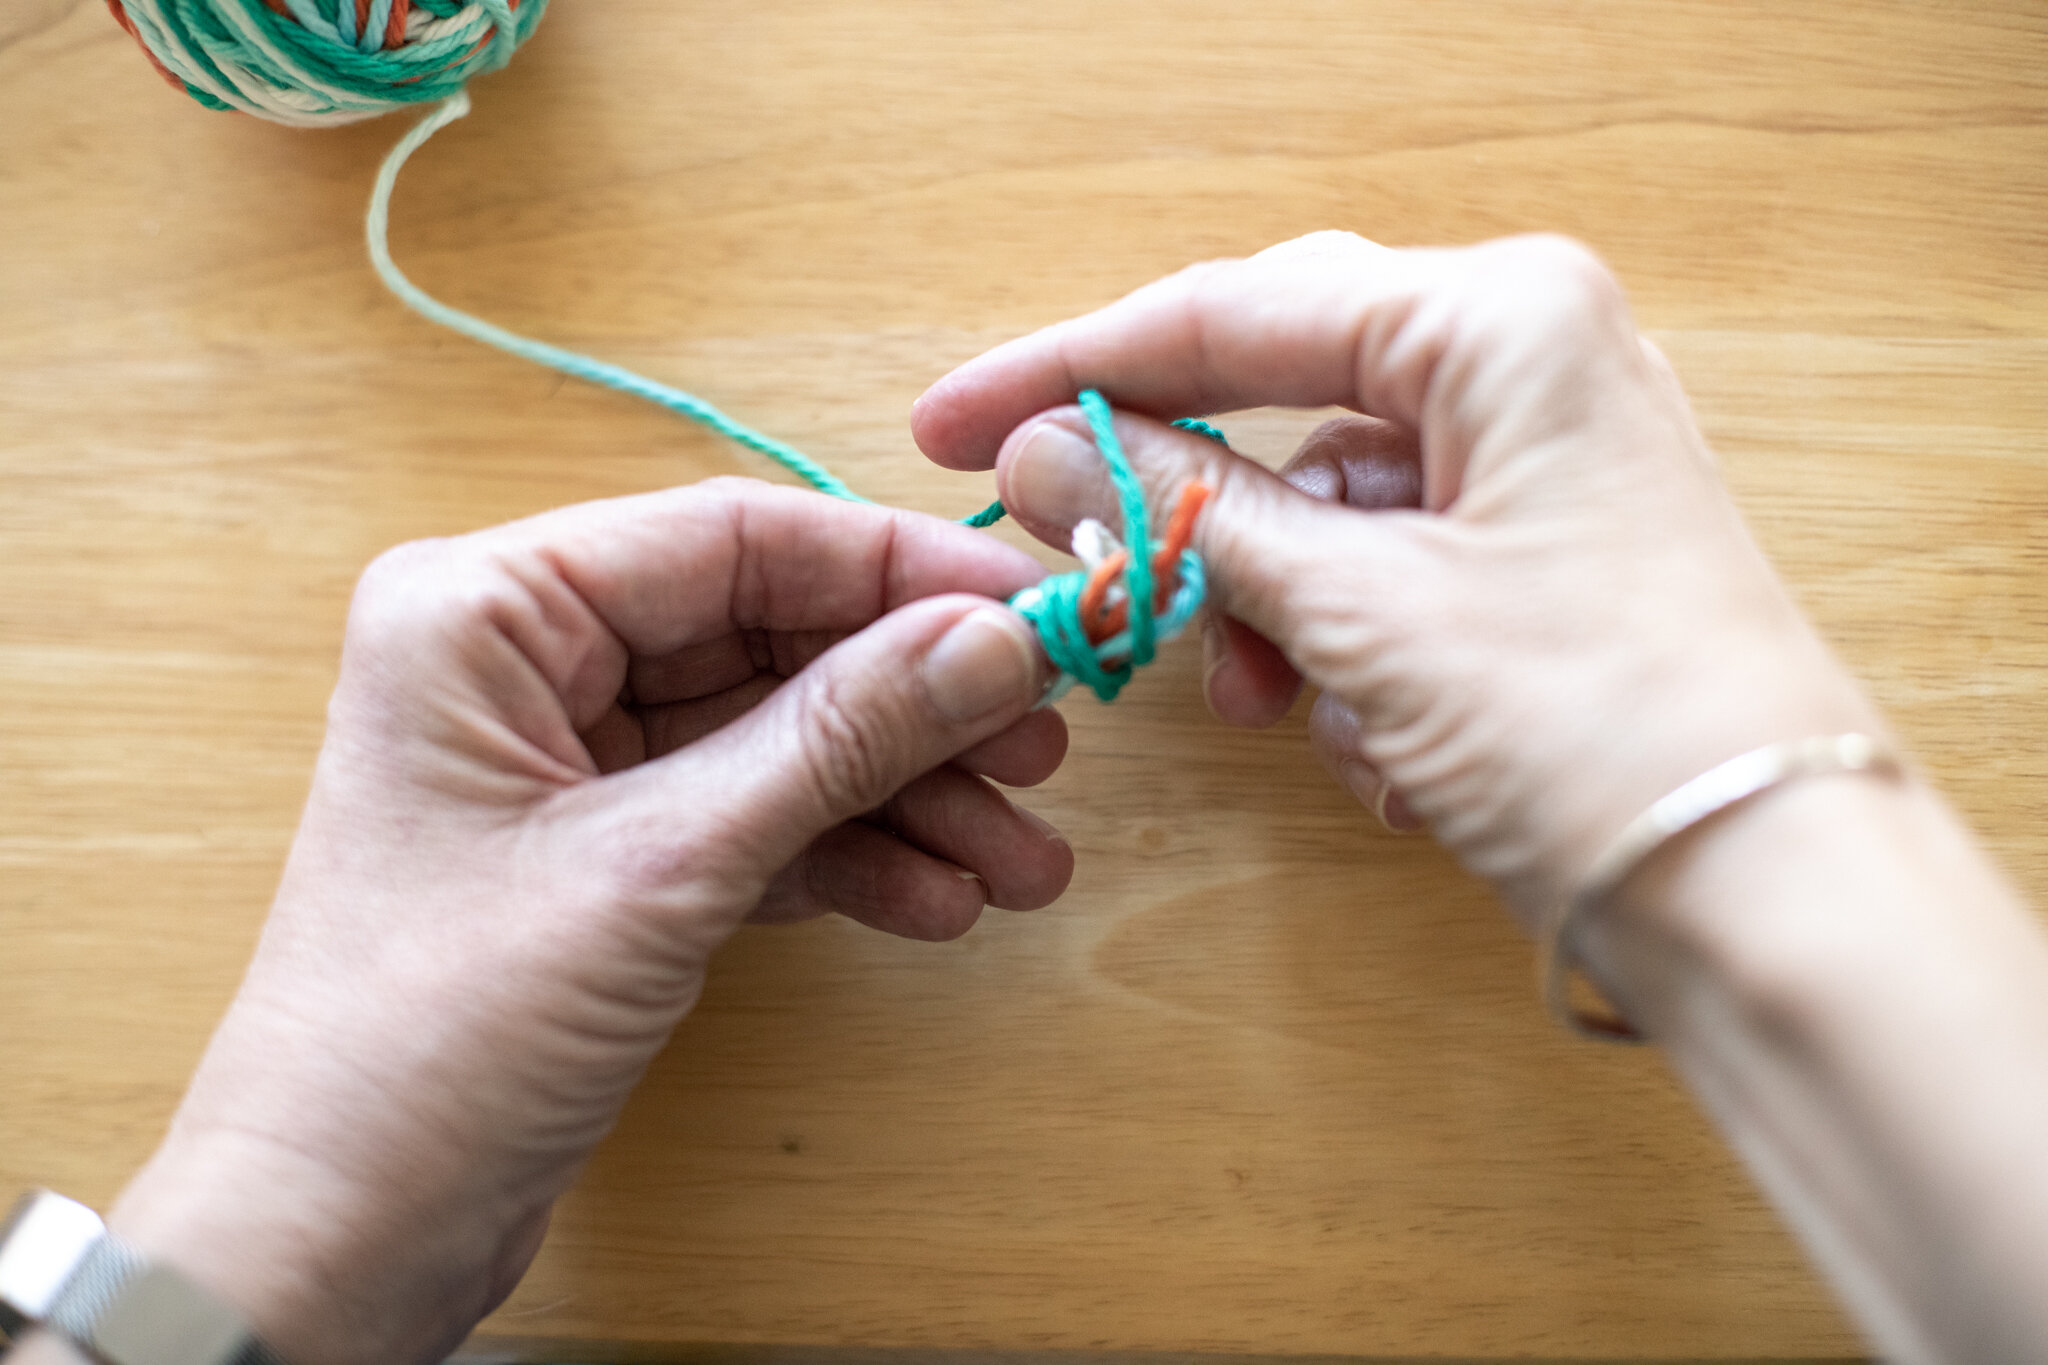
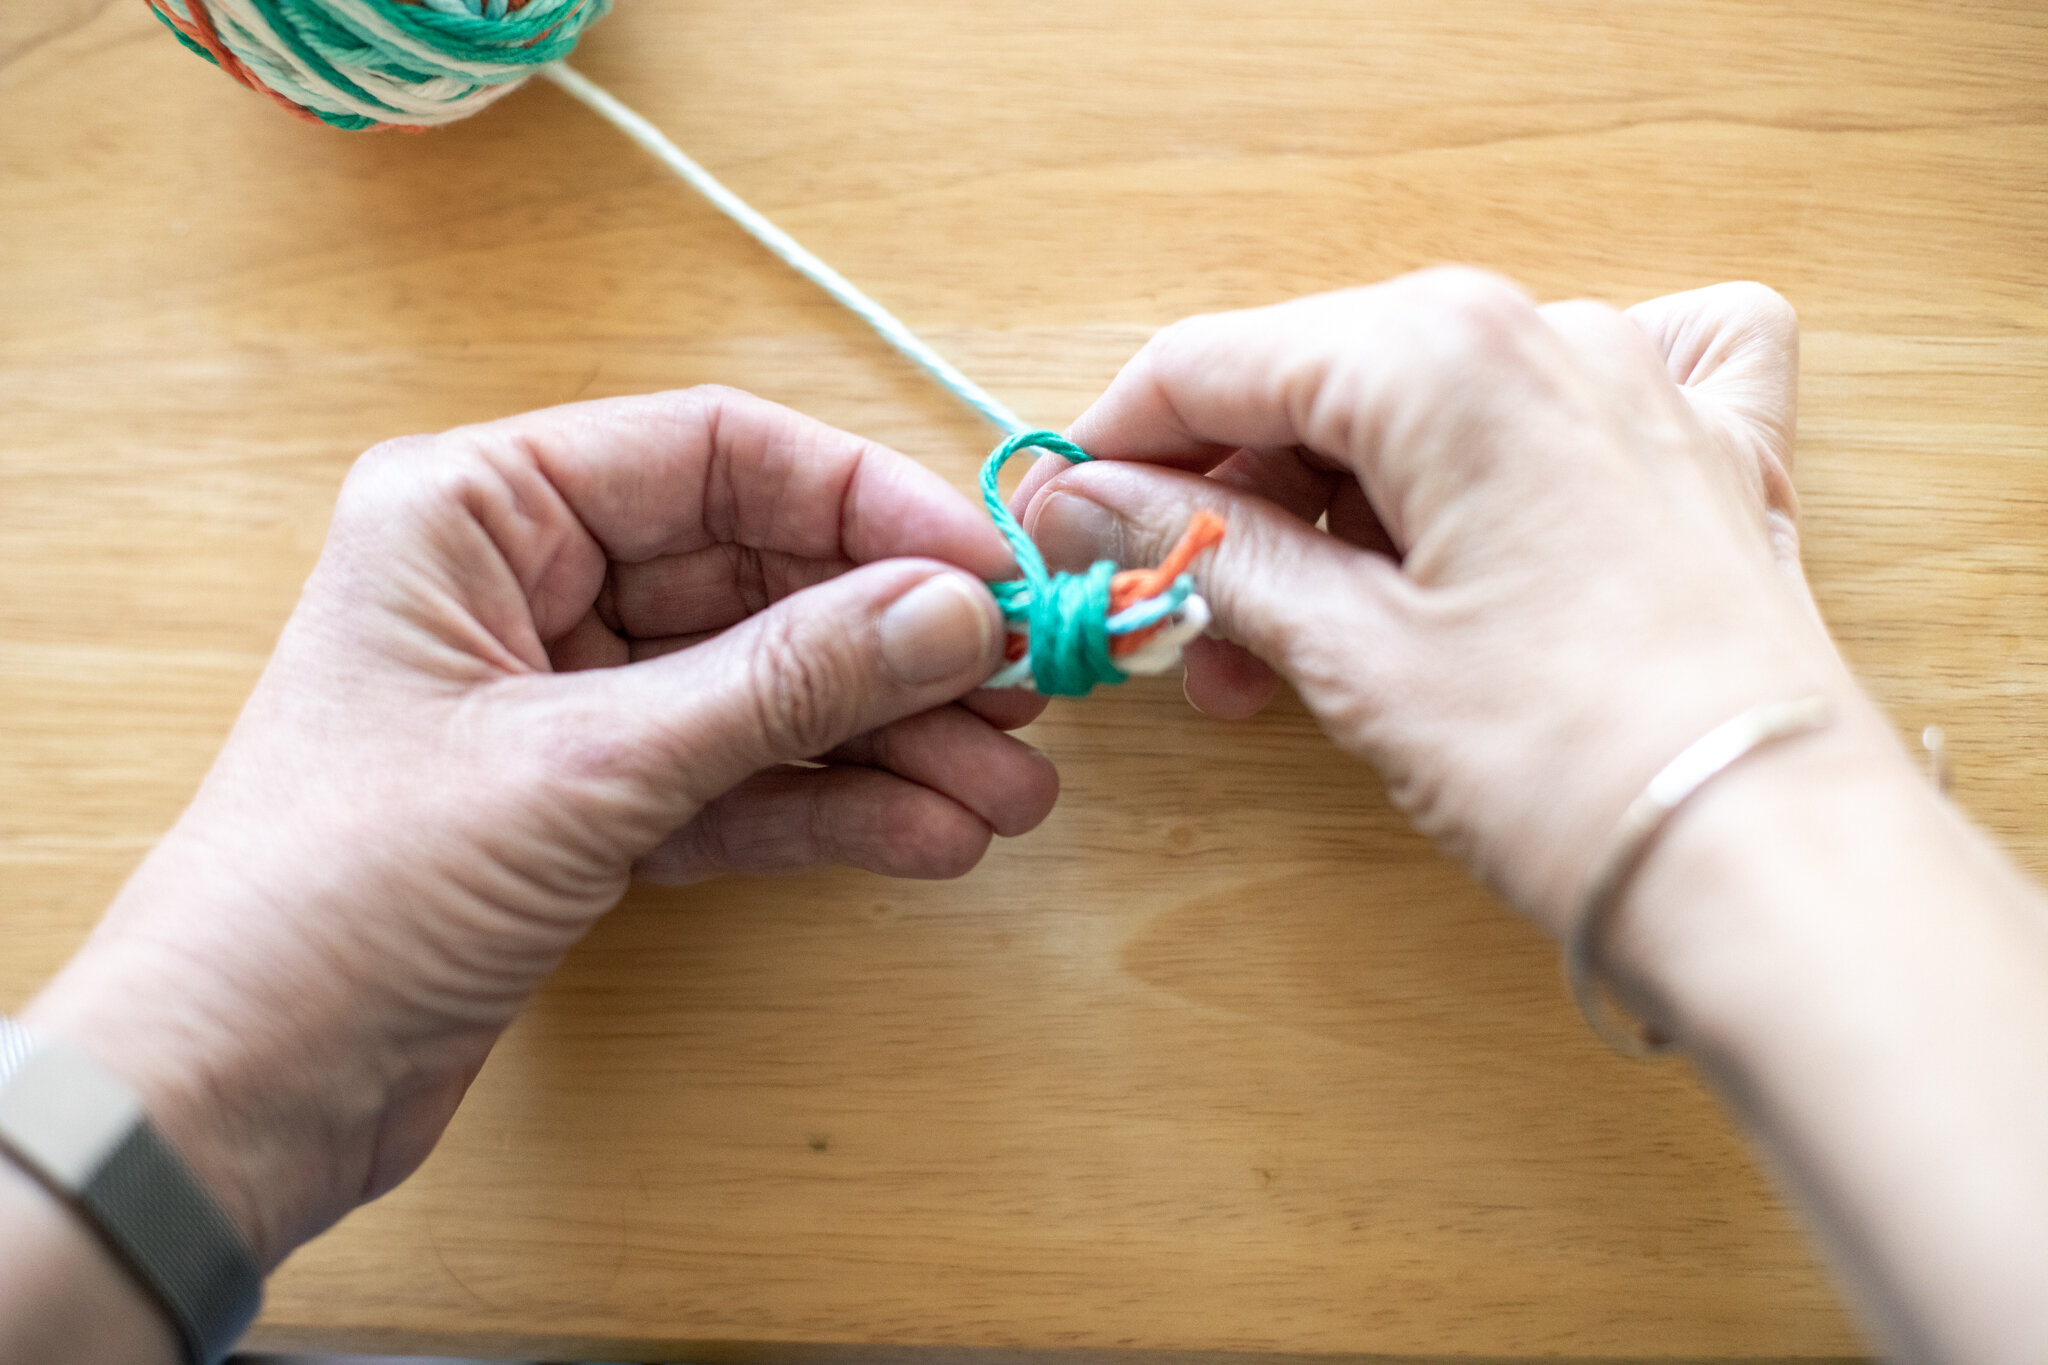
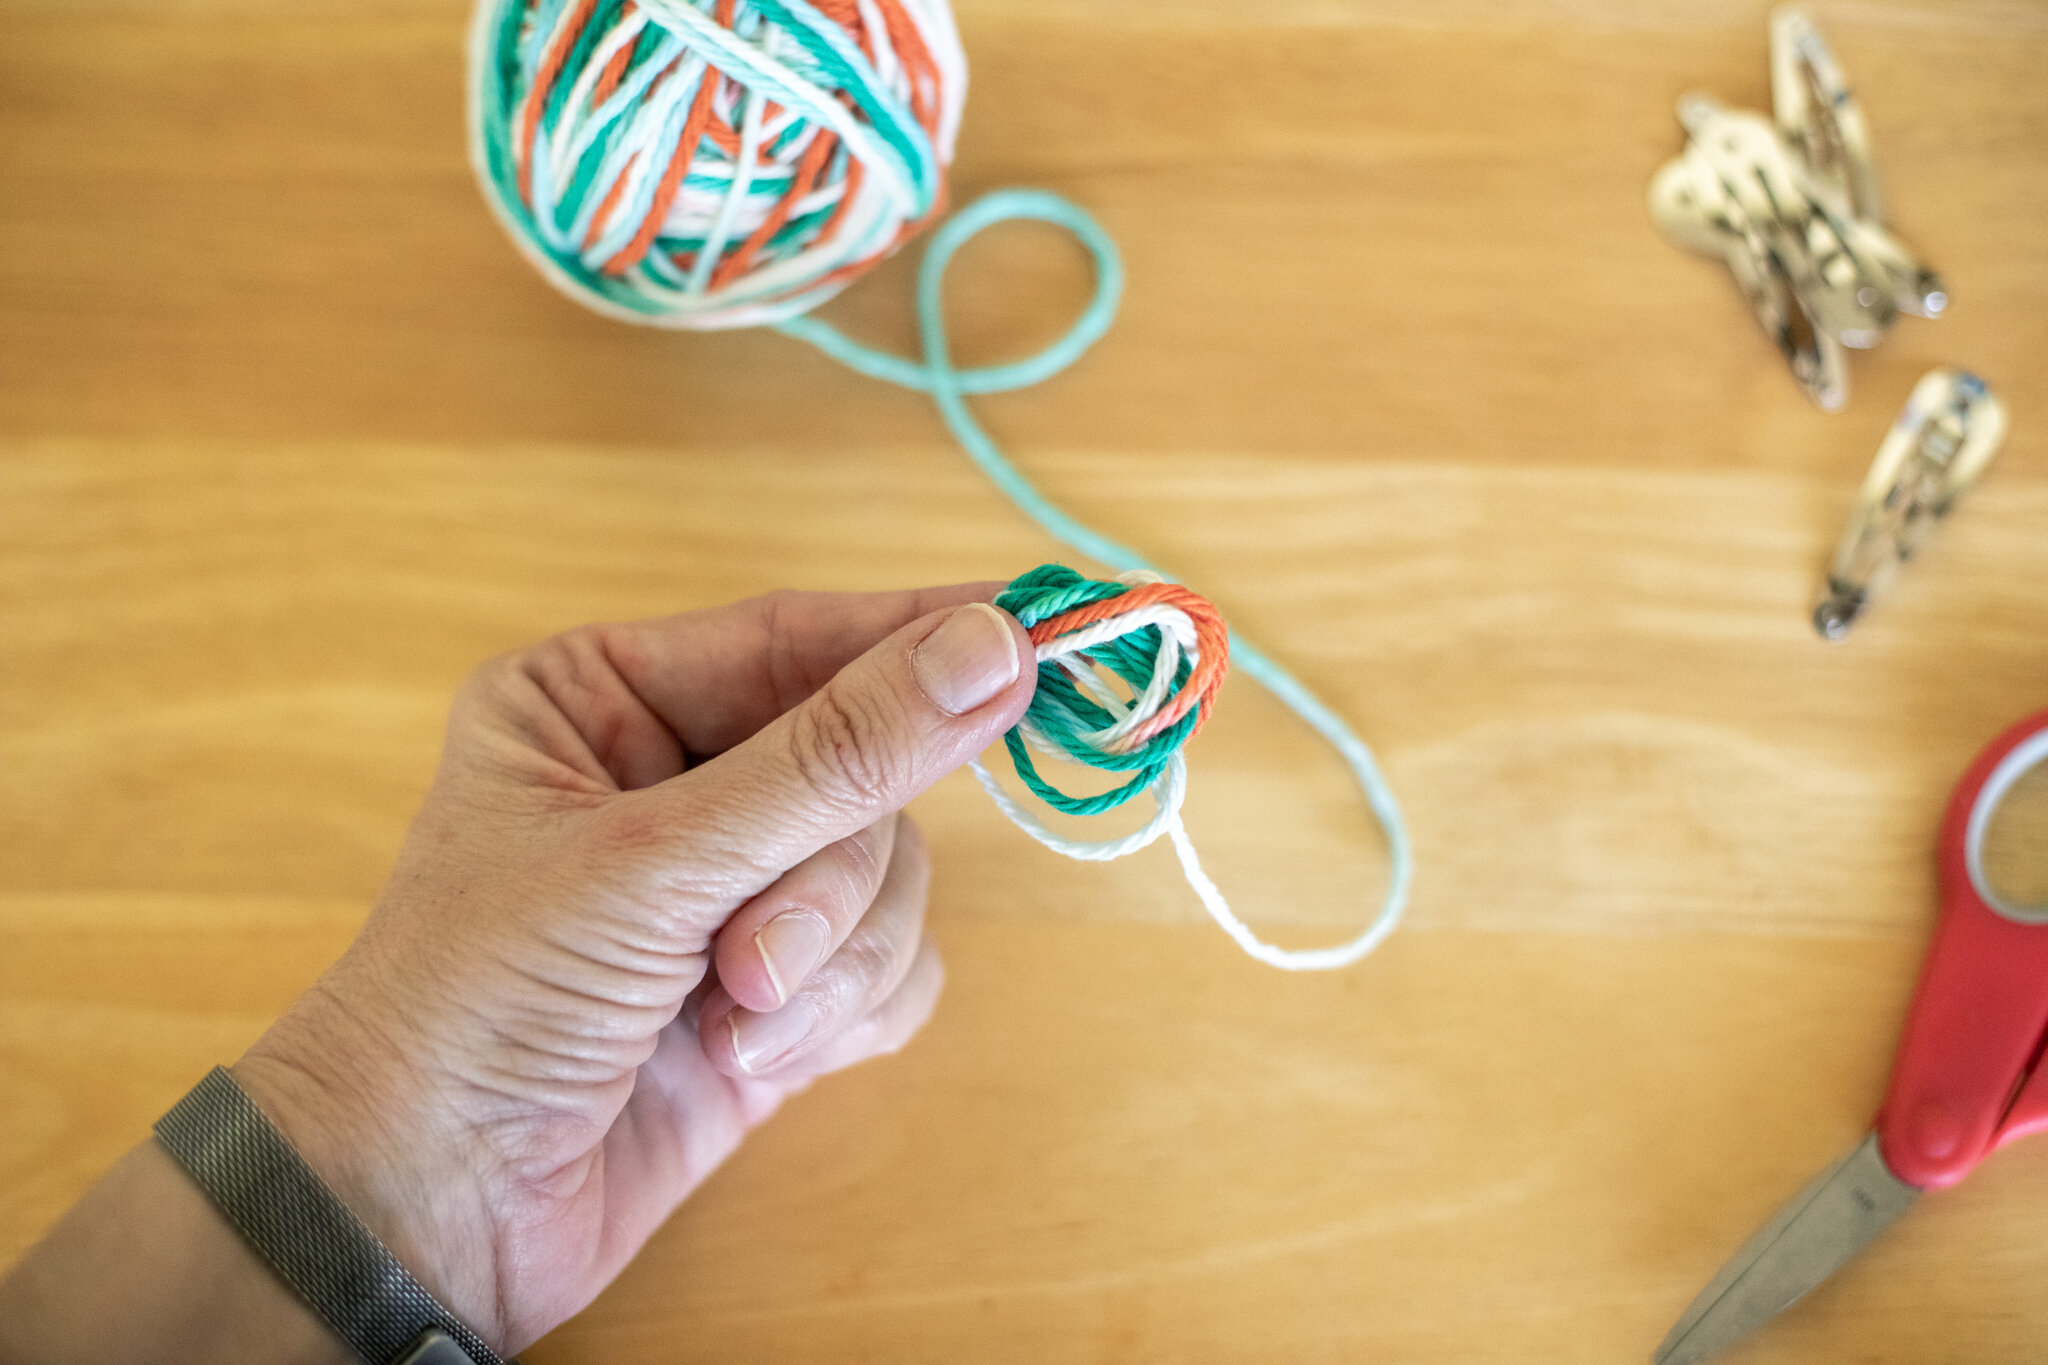
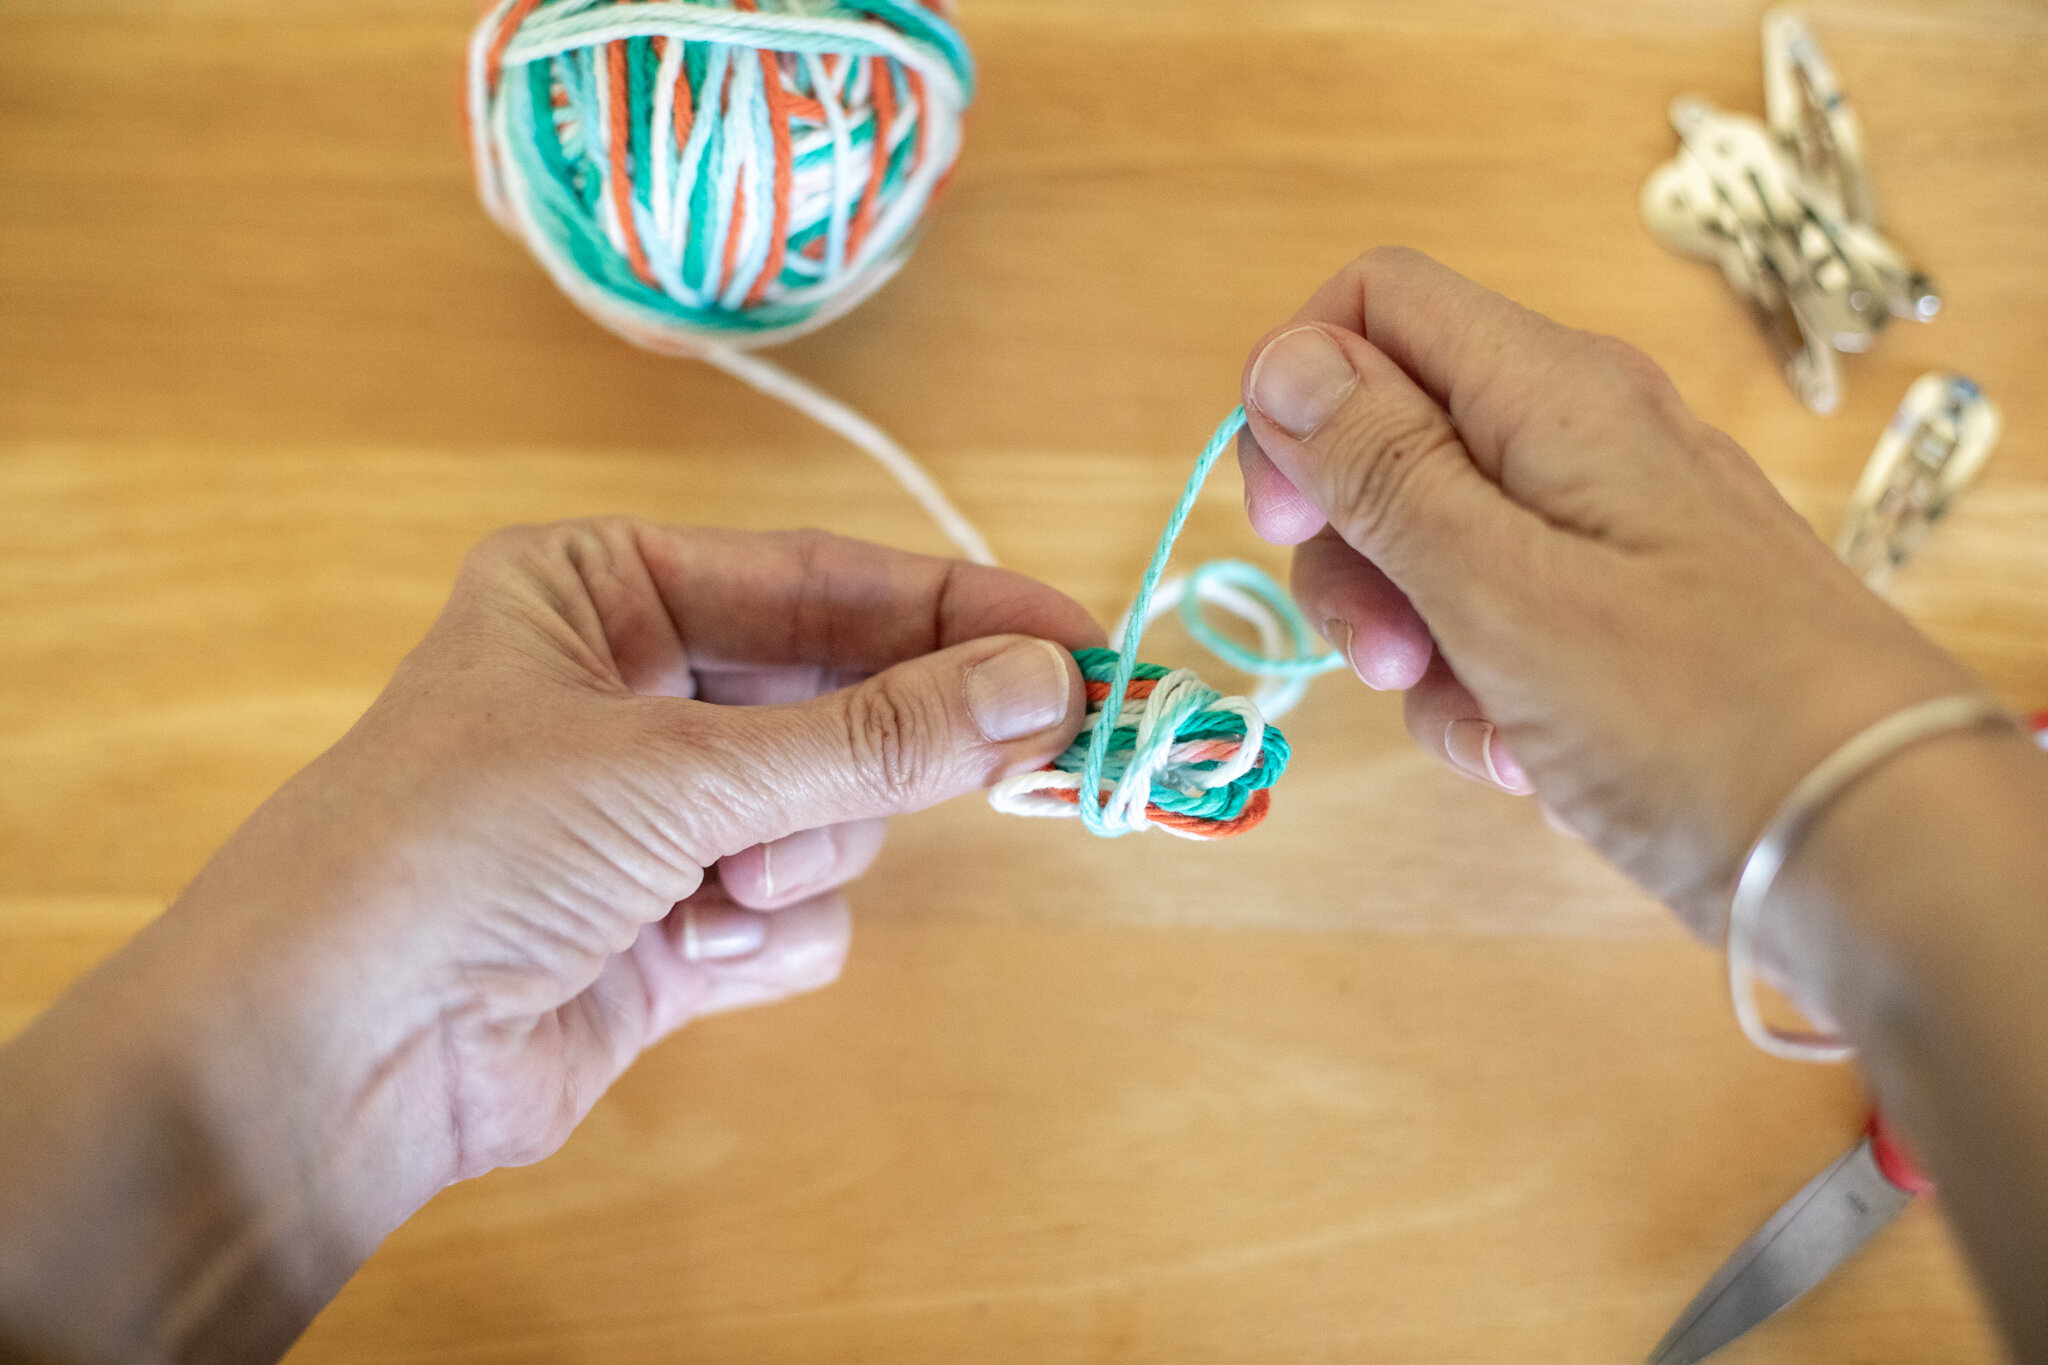
The other trouble-spot that children fall into is winding the yarn way too tight around their fingers, which makes it difficult to pull off for the next step. Learning tension is a big skill. With this mistake, it’s pretty simple to unwind and start over. It’s best to supervise until they have the hang of it on their own.
We hope these techniques help you tame your yarn collection so children can easily select different colors for different projects. The calming winding of yarn is a lovely way to pass the time. You can even wind yarn balls while reading or watching a documentary. Children love to see their yarn in a tidy collection.
We hope this week finds you healthy and inspired. And, if productivity is a struggle, that’s okay too.

Make a Yarn Ball
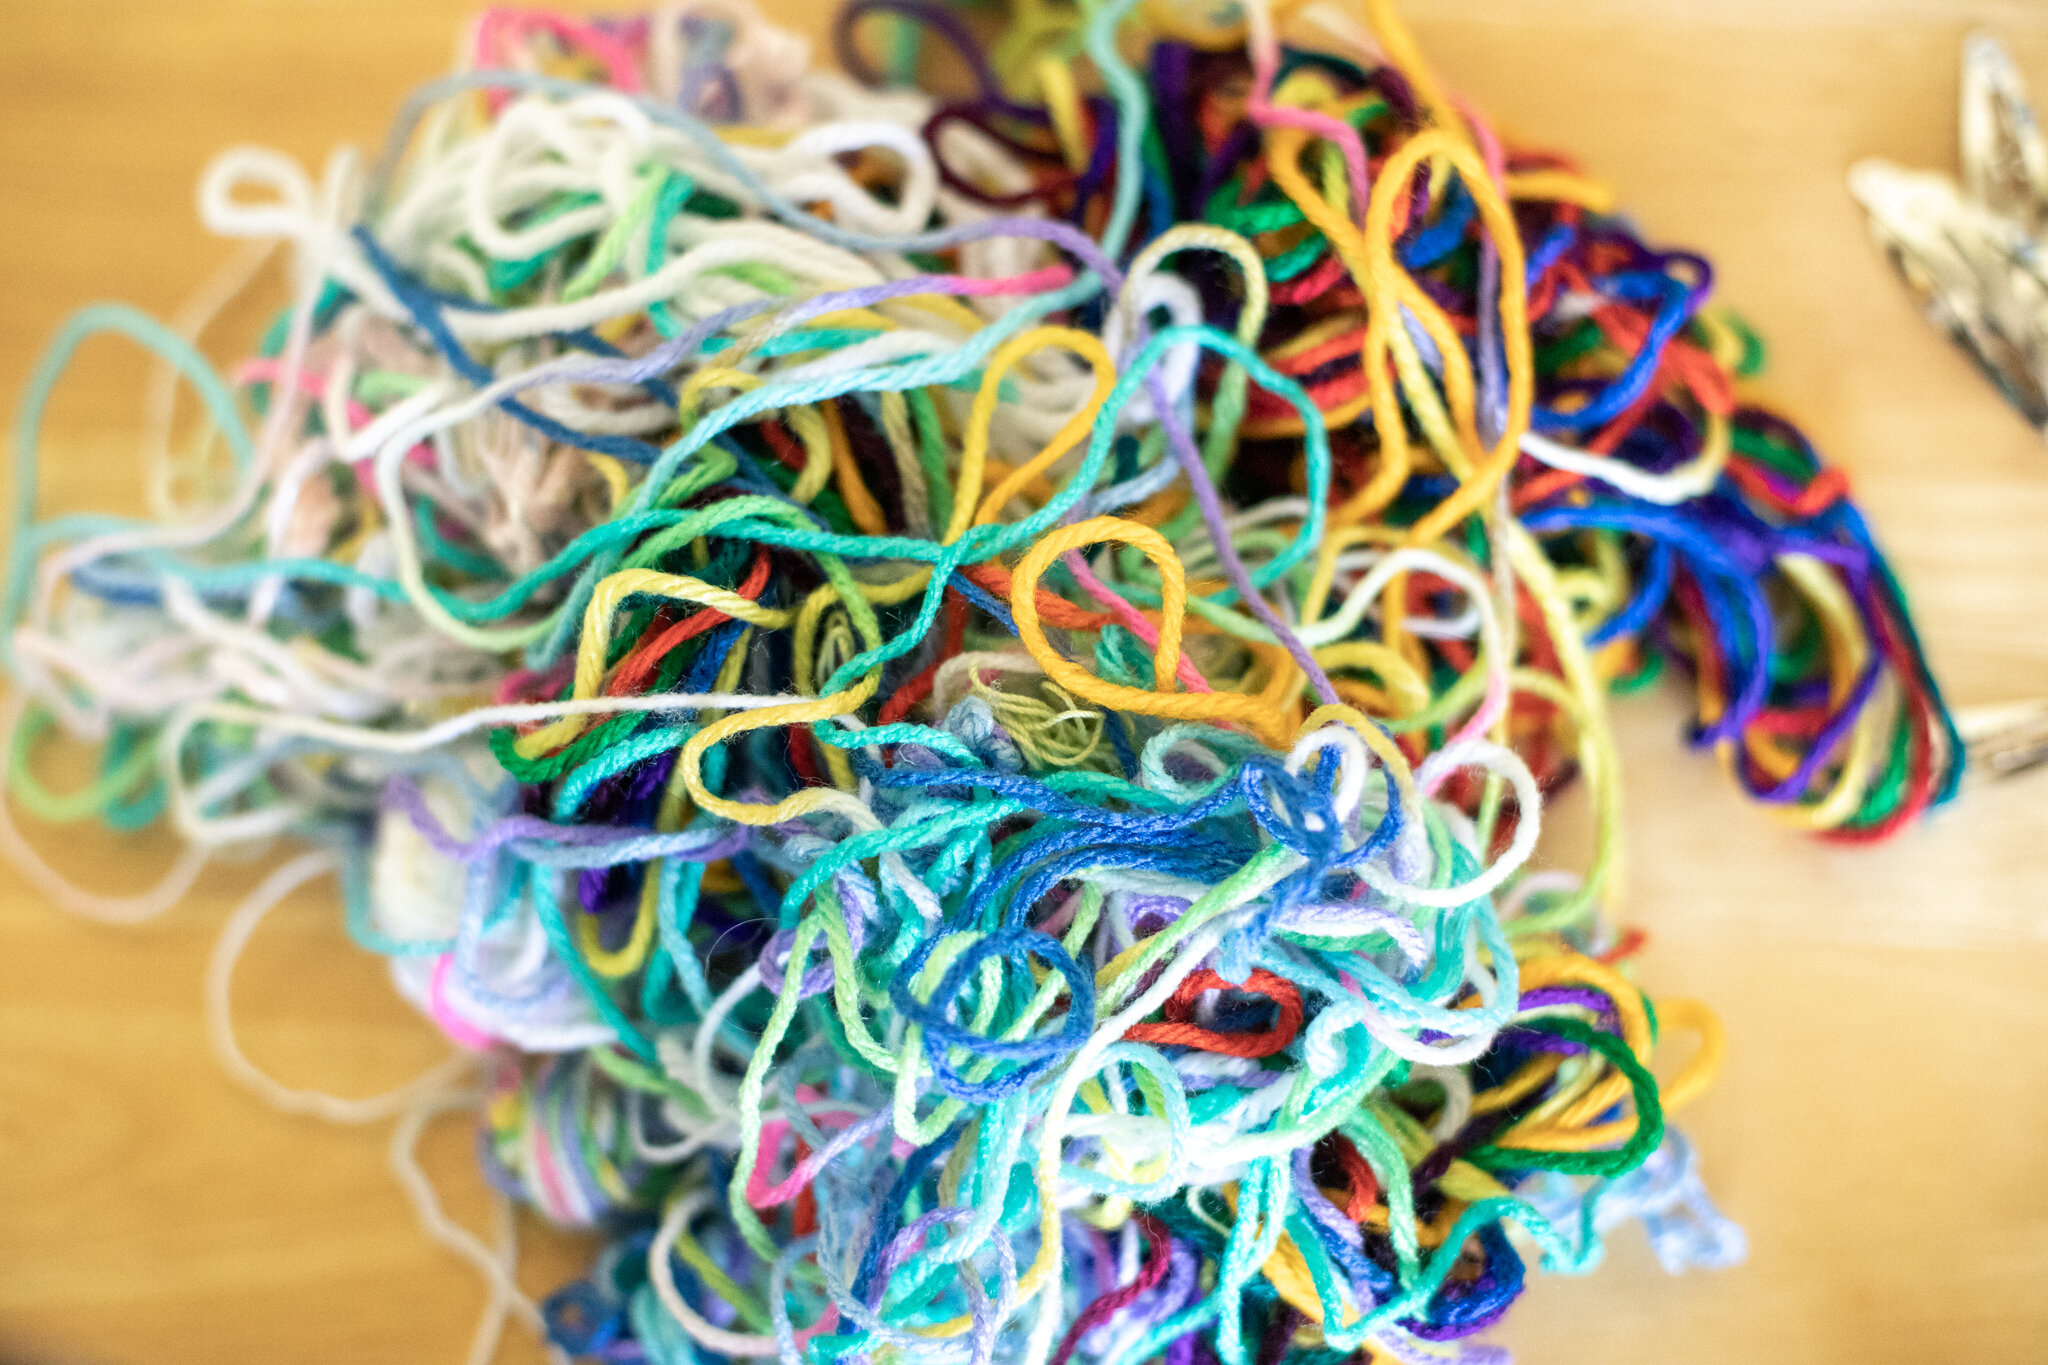
Anyone that has enjoyed yarn projects with children (or as an adult) knows this pile of tangled yarn all too well. An easy way to avoid this headache is to wind the skein of yarn into smaller balls. This can be especially handy if you work with different children, because then one skein of yarn can easily be made into many balls of yarn.
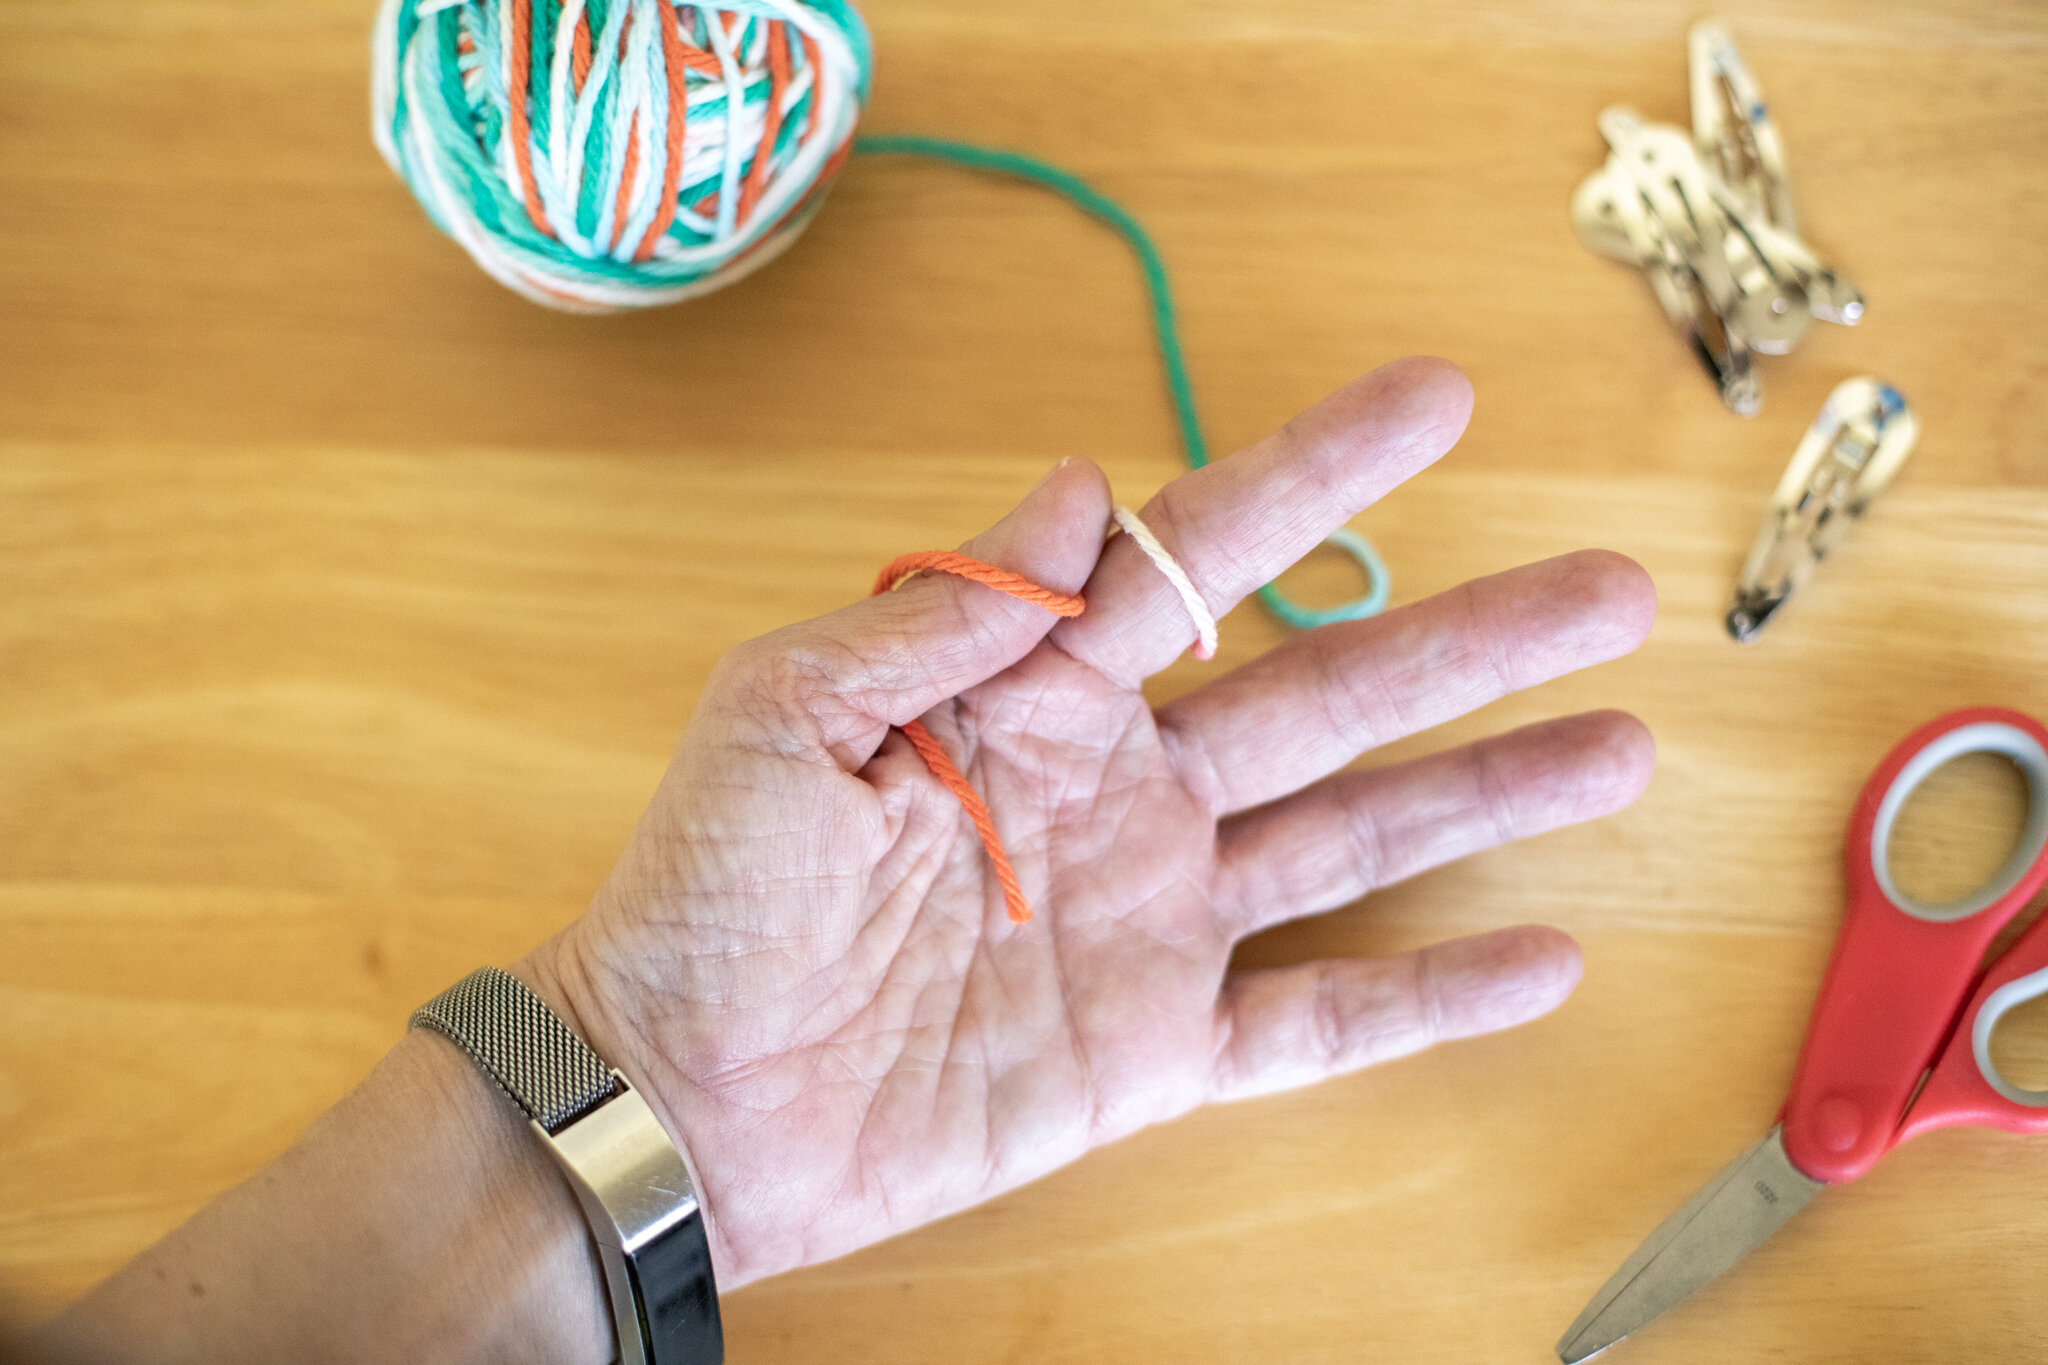
And children love making yarn balls. It’s a soothing and satisfying process. When you make them soon after bringing new yarn home, you can avoid the tangled mess photographed above. I have two different ways to start the yarn ball. You can try each and choose the way that’s easier for you. We would teach “granny’s glasses” (the first way) because it was a little easier for kids to start the ball after they figured out how to get it around their thumb and finger successfully.
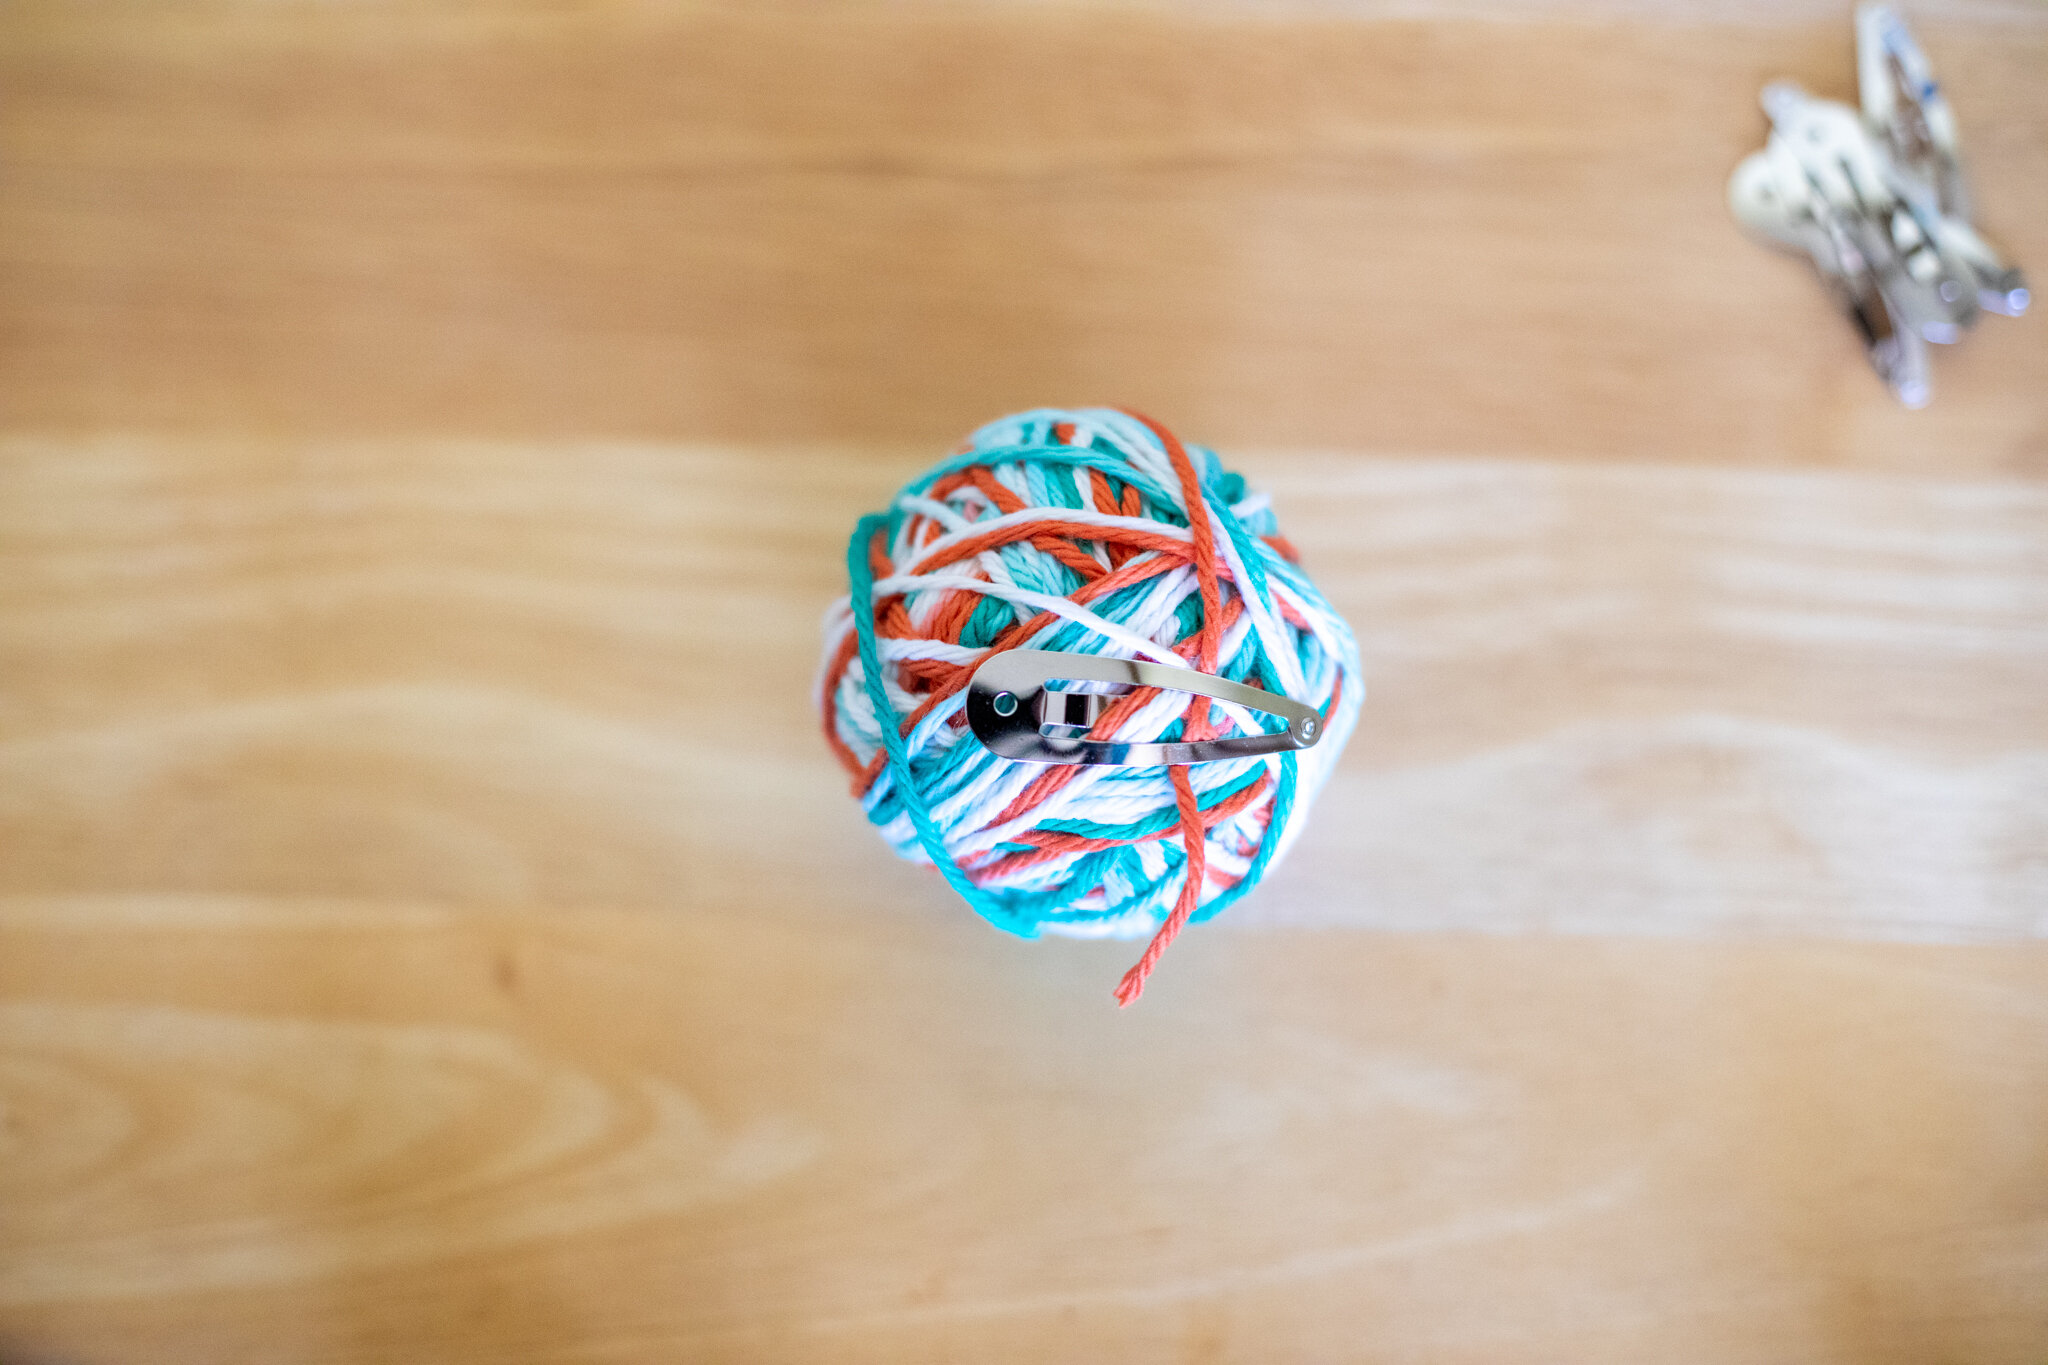
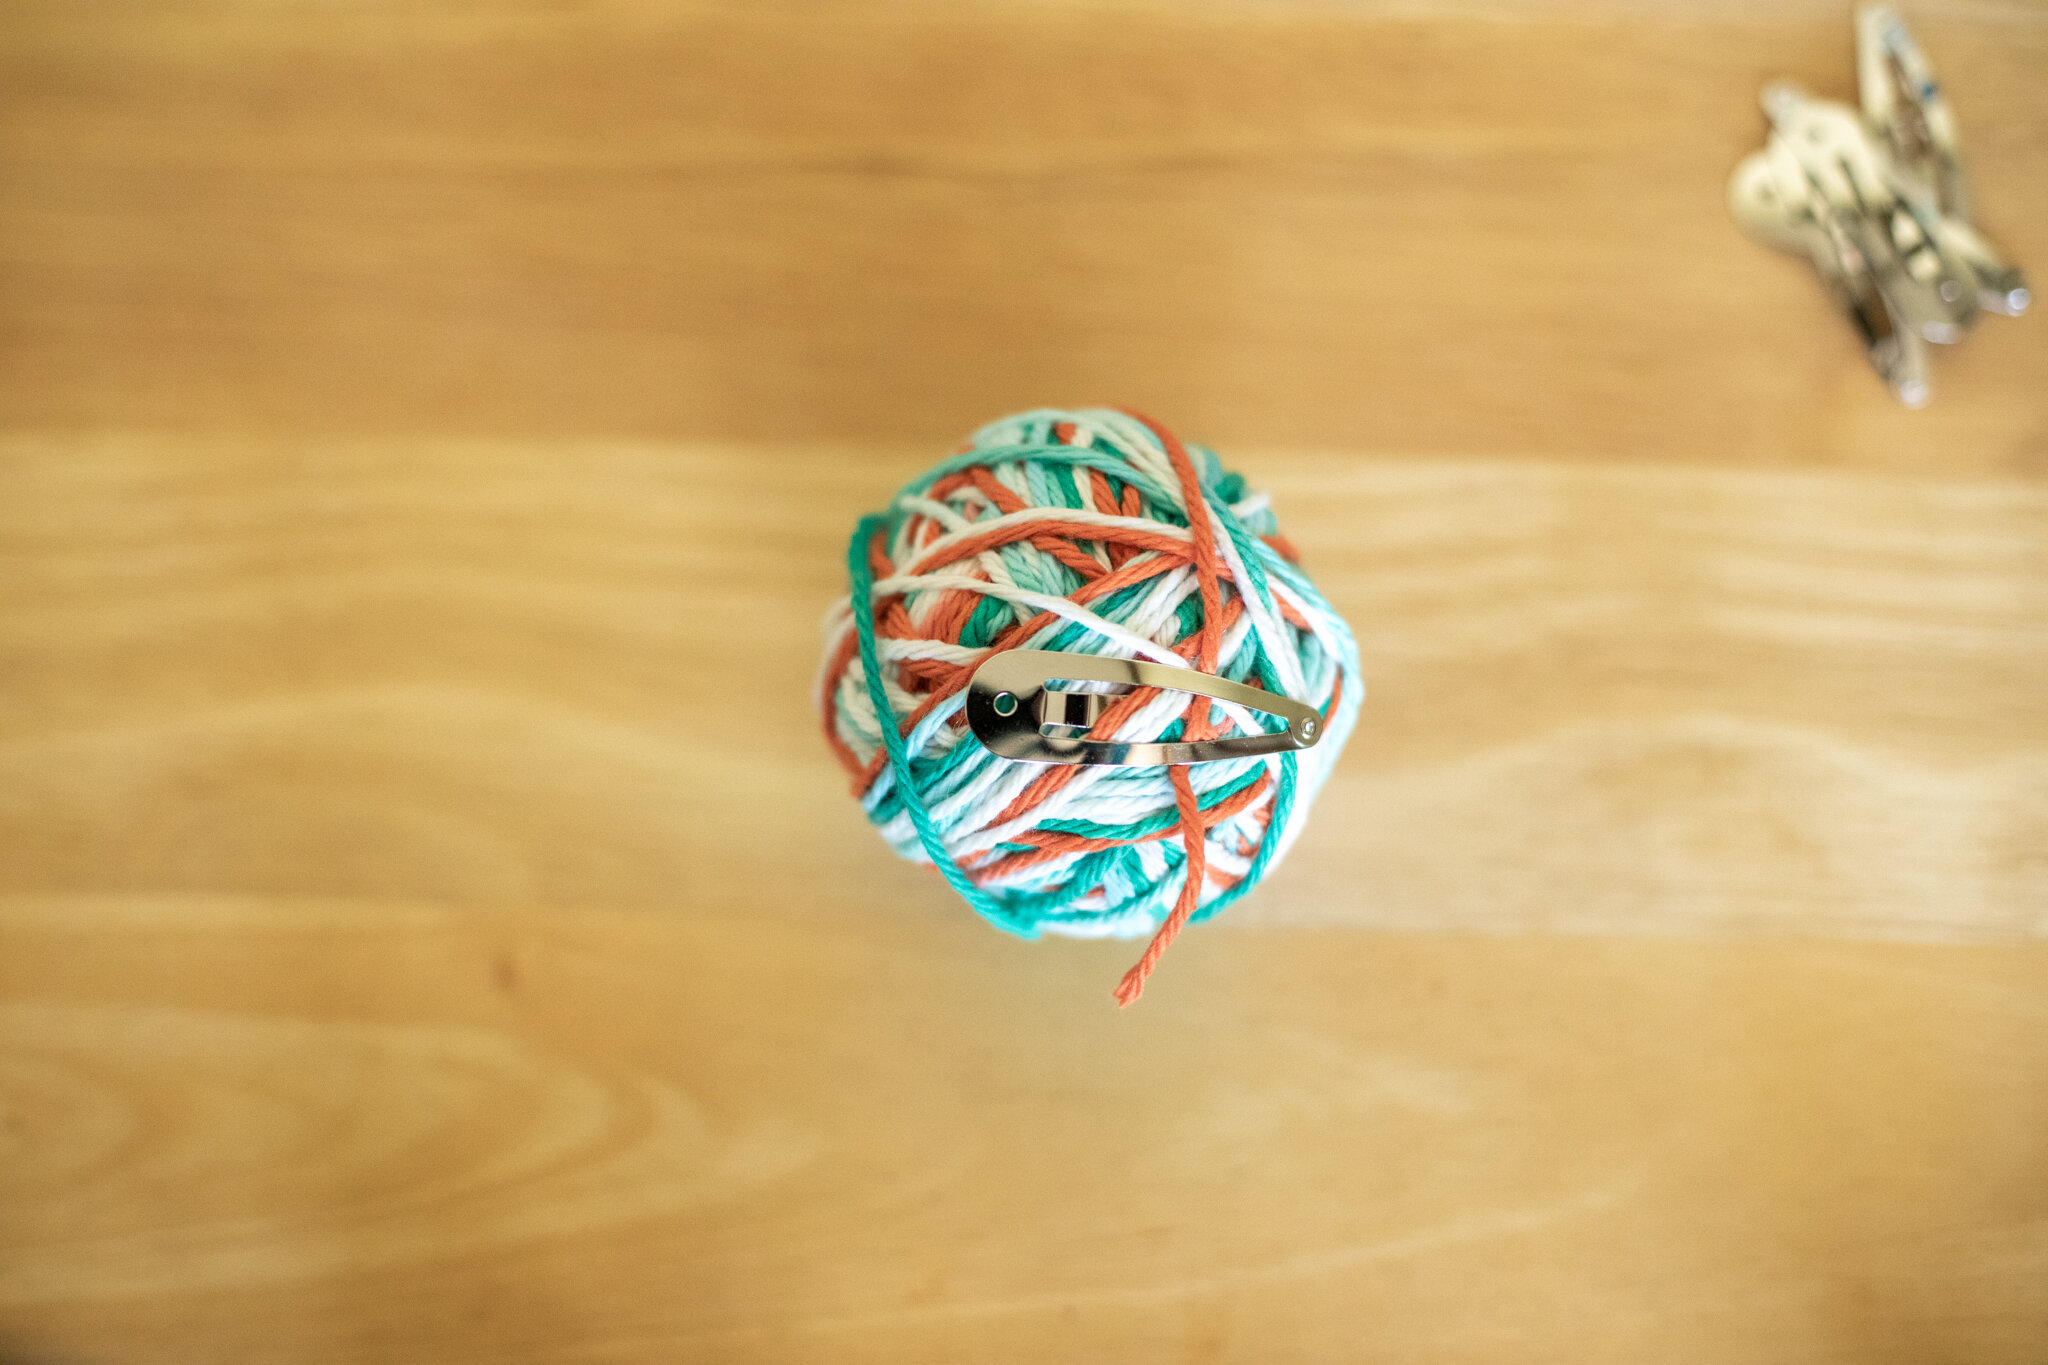
For young-young children, we would start the ball for them (because the first few steps require the most fine motor skills), and then hand it over so they could wind it bigger. For classes, we would make the ball a few inches wide (not very big) because projects didn’t need very much yarn and that way no one monopolized a color for very long (ten smaller balls was easier in a classroom than 1 giant ball). At home, I wind the cotton yarn for fairy hair into one big ball because I don’t need to share (and fairies only need a little). You can stop the ball anytime. Simply clip the yarn and secure it with a bit of tape or a springy hairclip so they won’t unwind and tangle in a basket.

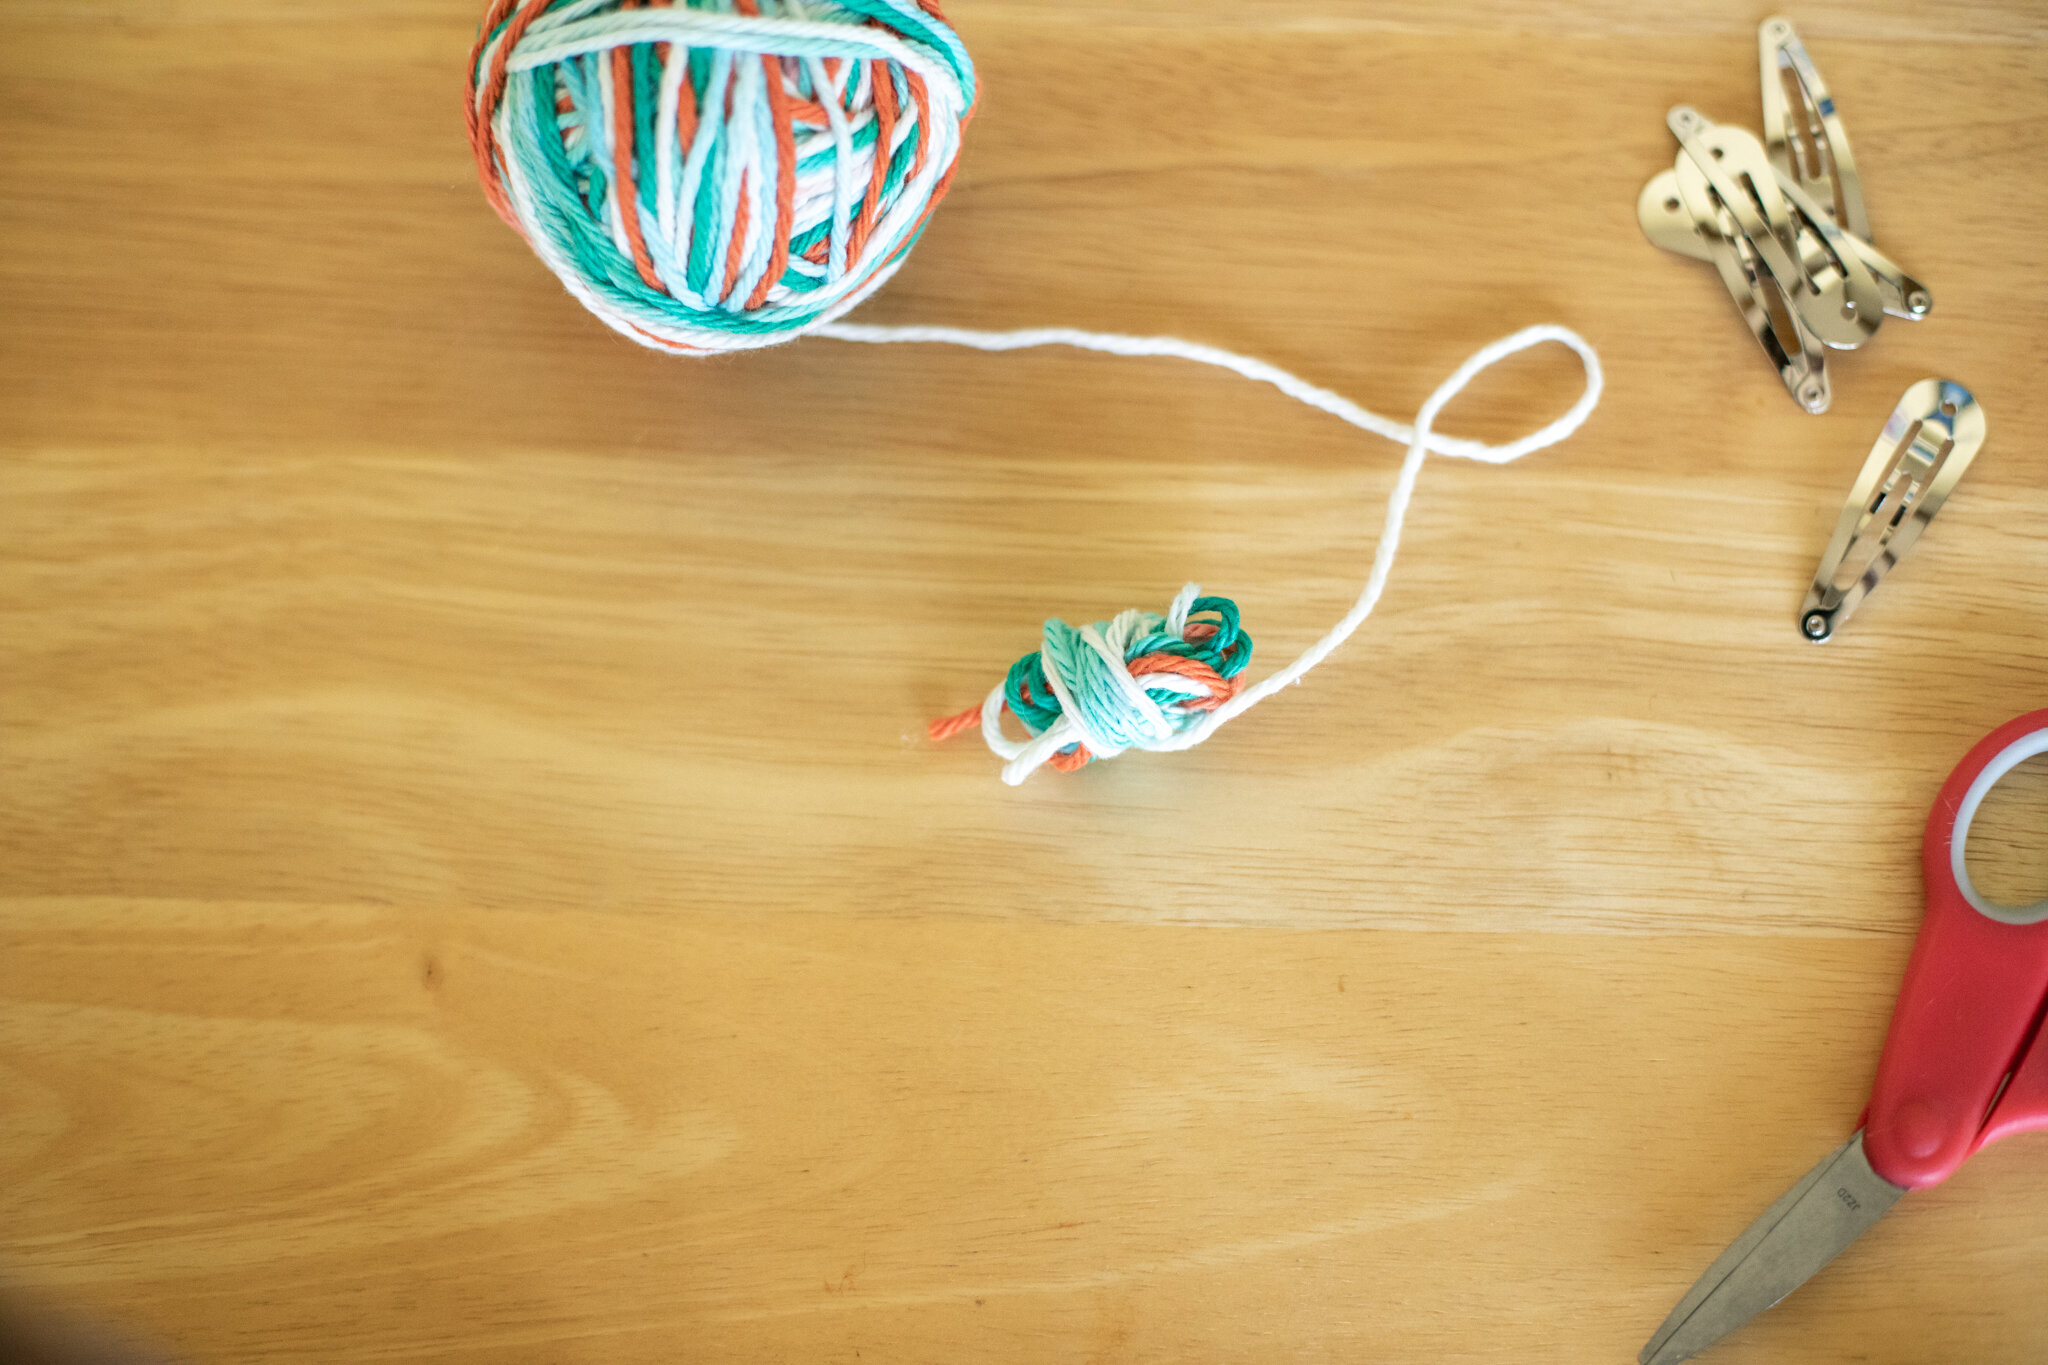
Supplies:
Yarn
Scissors
Optional: springy clips or scrap of tape to hold down the “tail” of yarn when finished

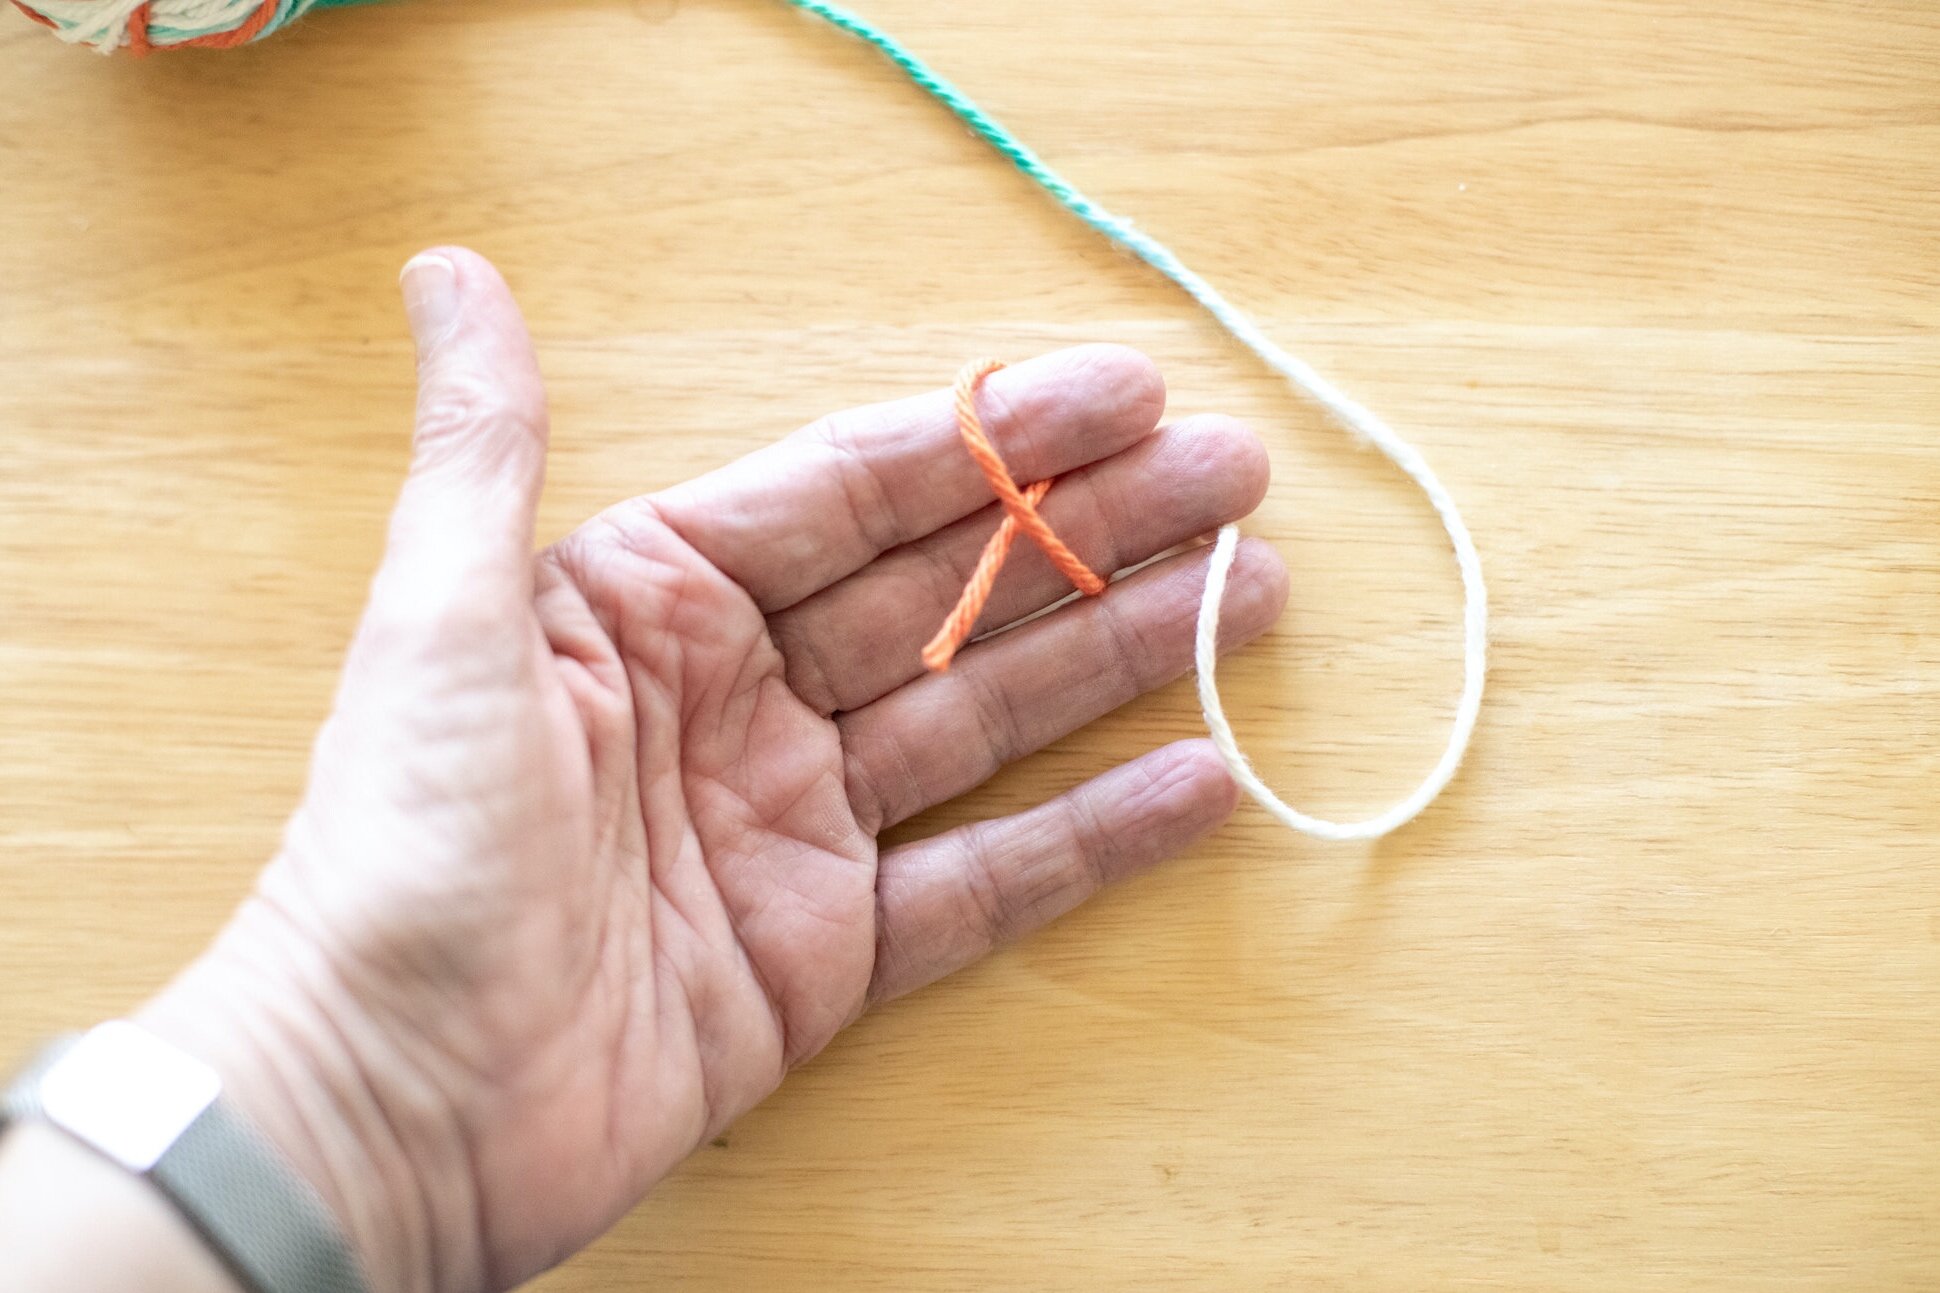
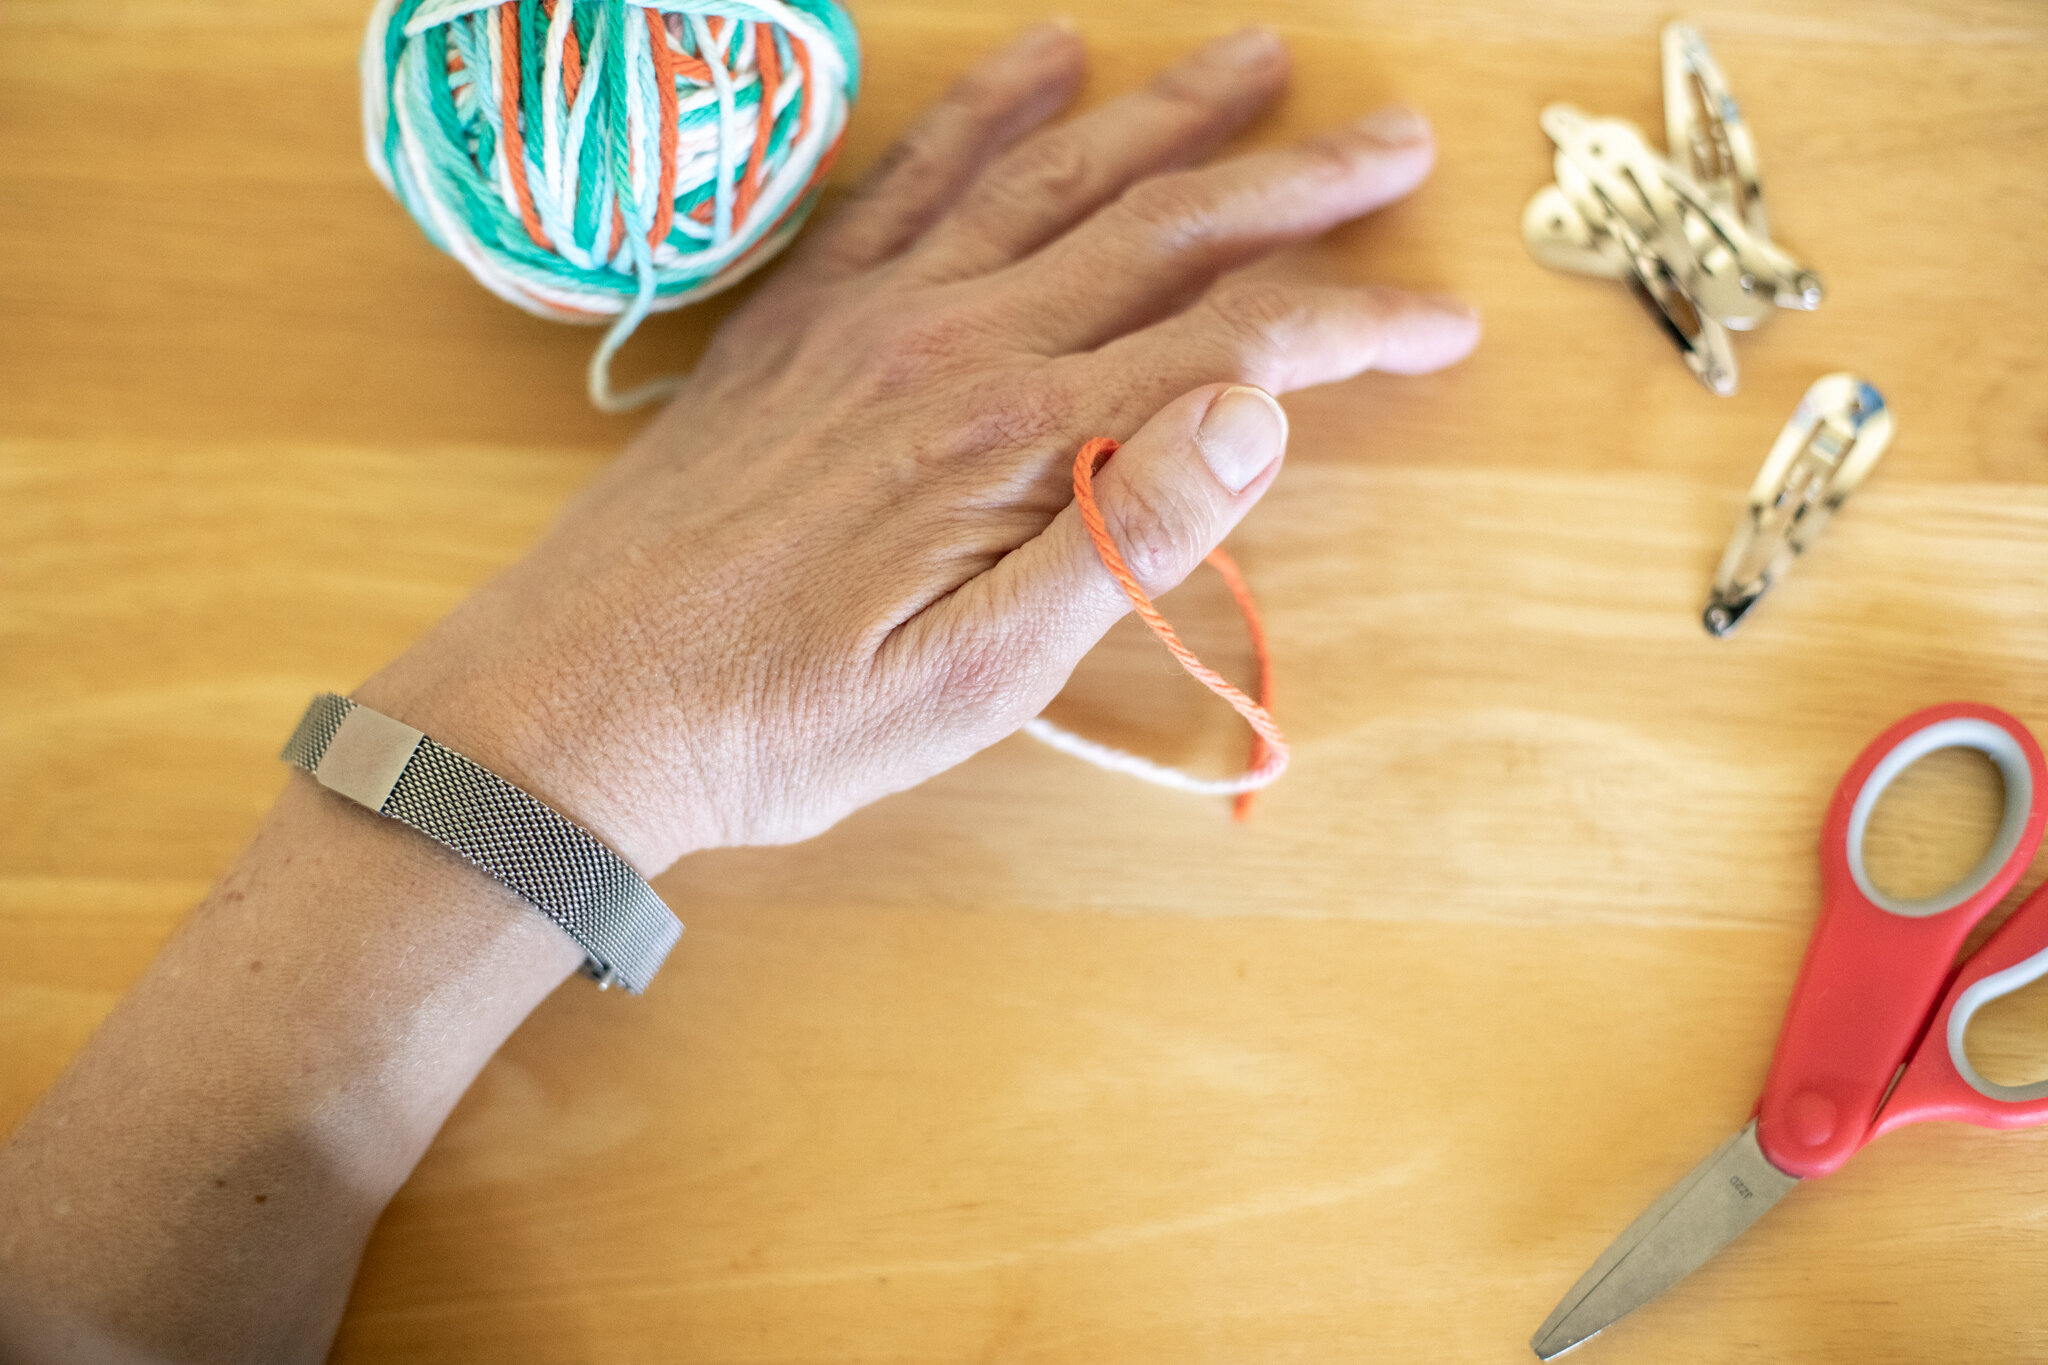
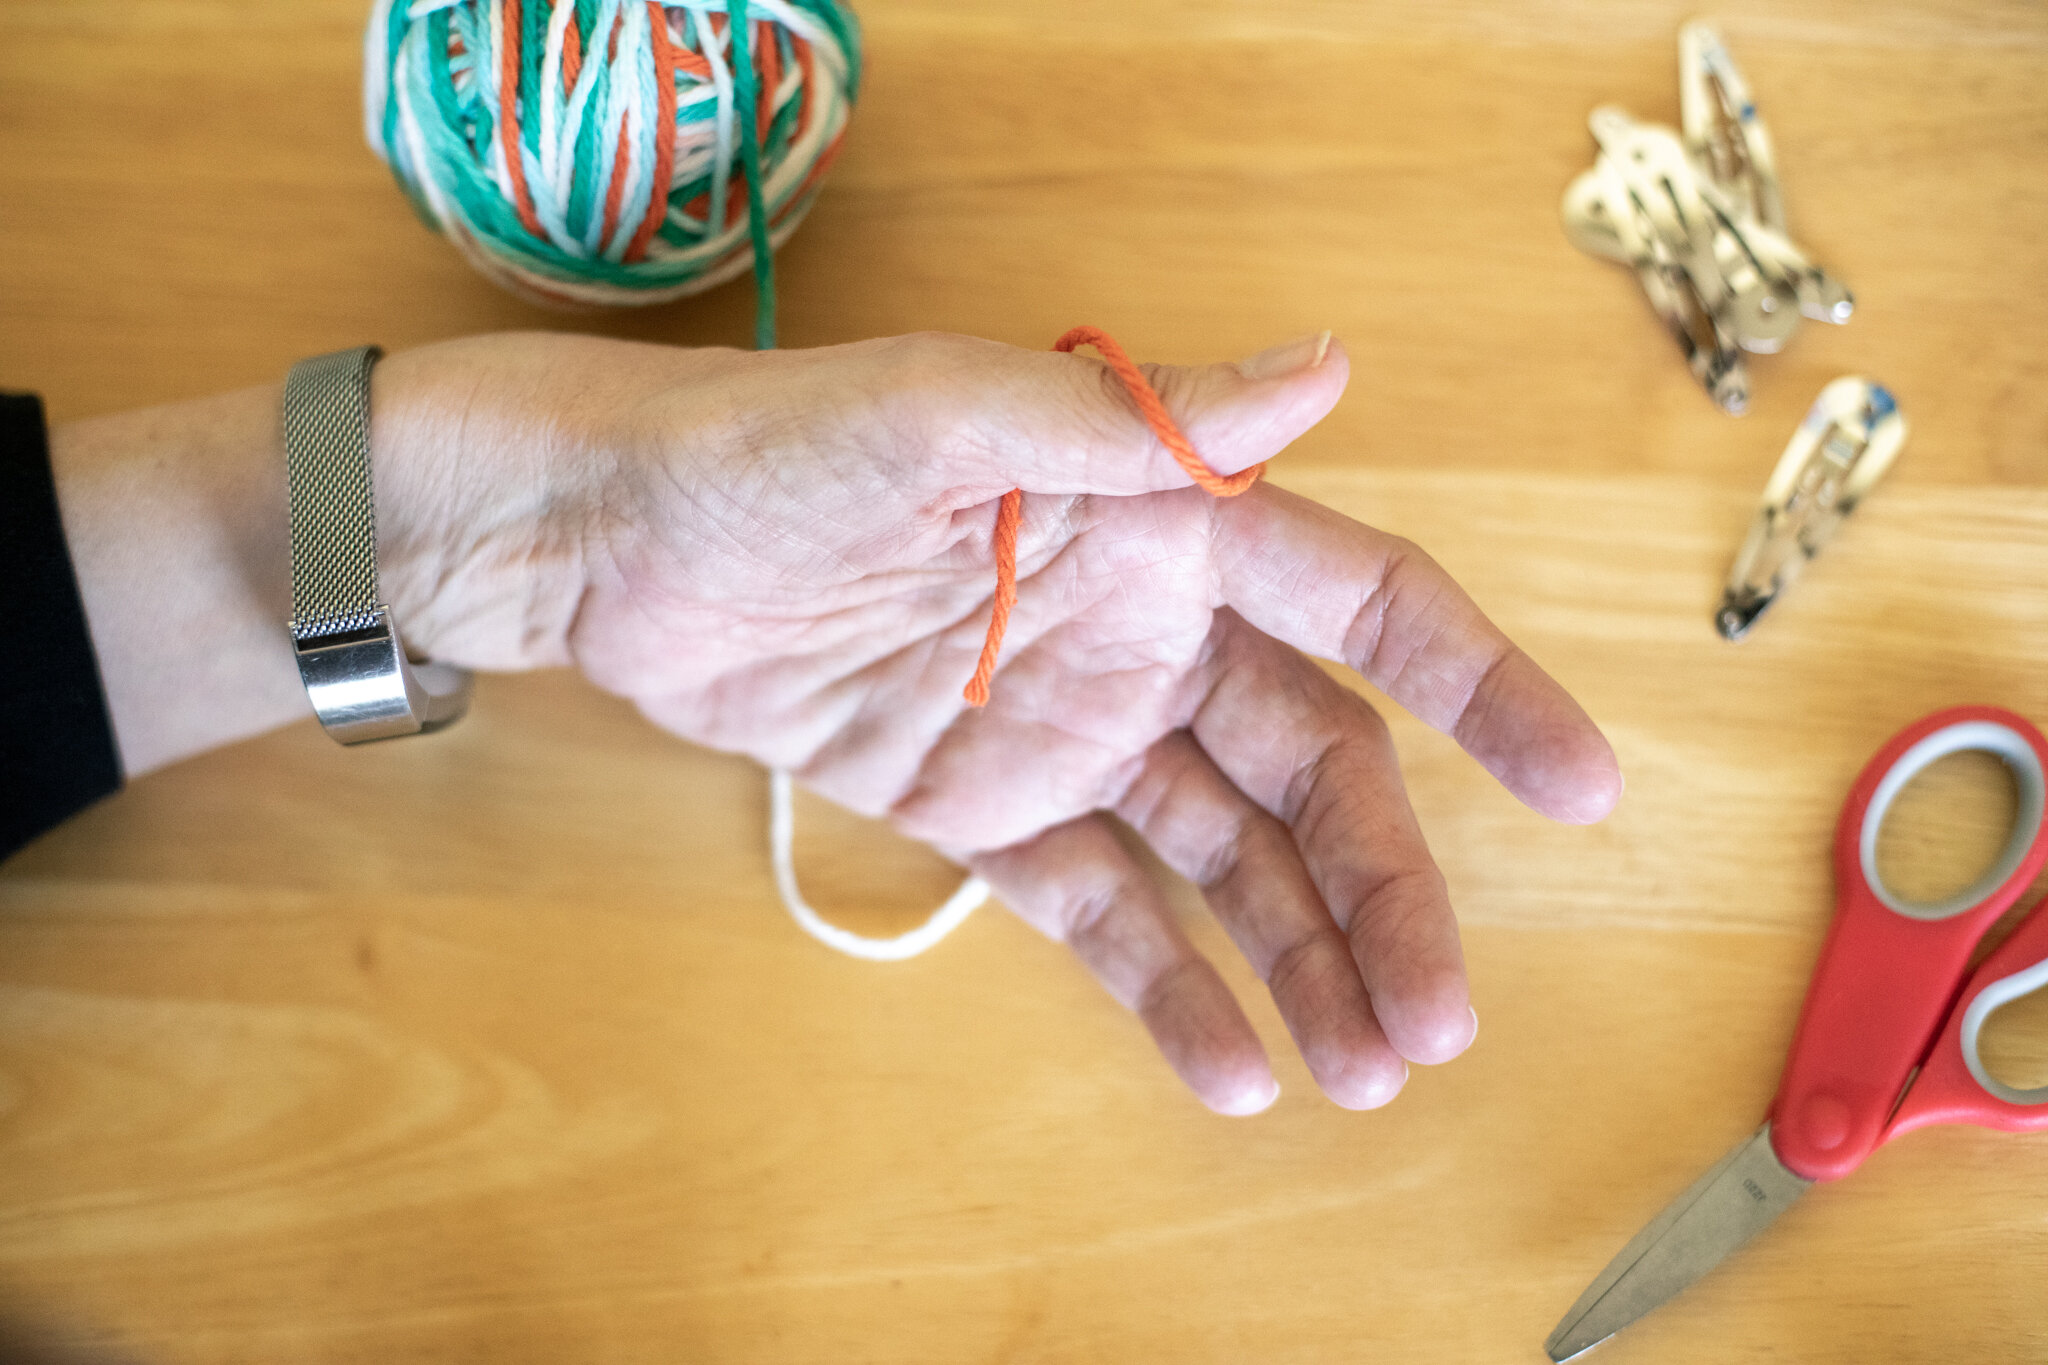
To start, tuck the yarn between you thumb and finger. I am right handed, so I hold the yarn with my left hand. You can try different hands to see which hand works better for you. Hold the yarn so it doesn’t come loose. The second photo shows the end of the yarn between the thumb and finger. The end can be fairly long so it doesn’t come loose too easily.


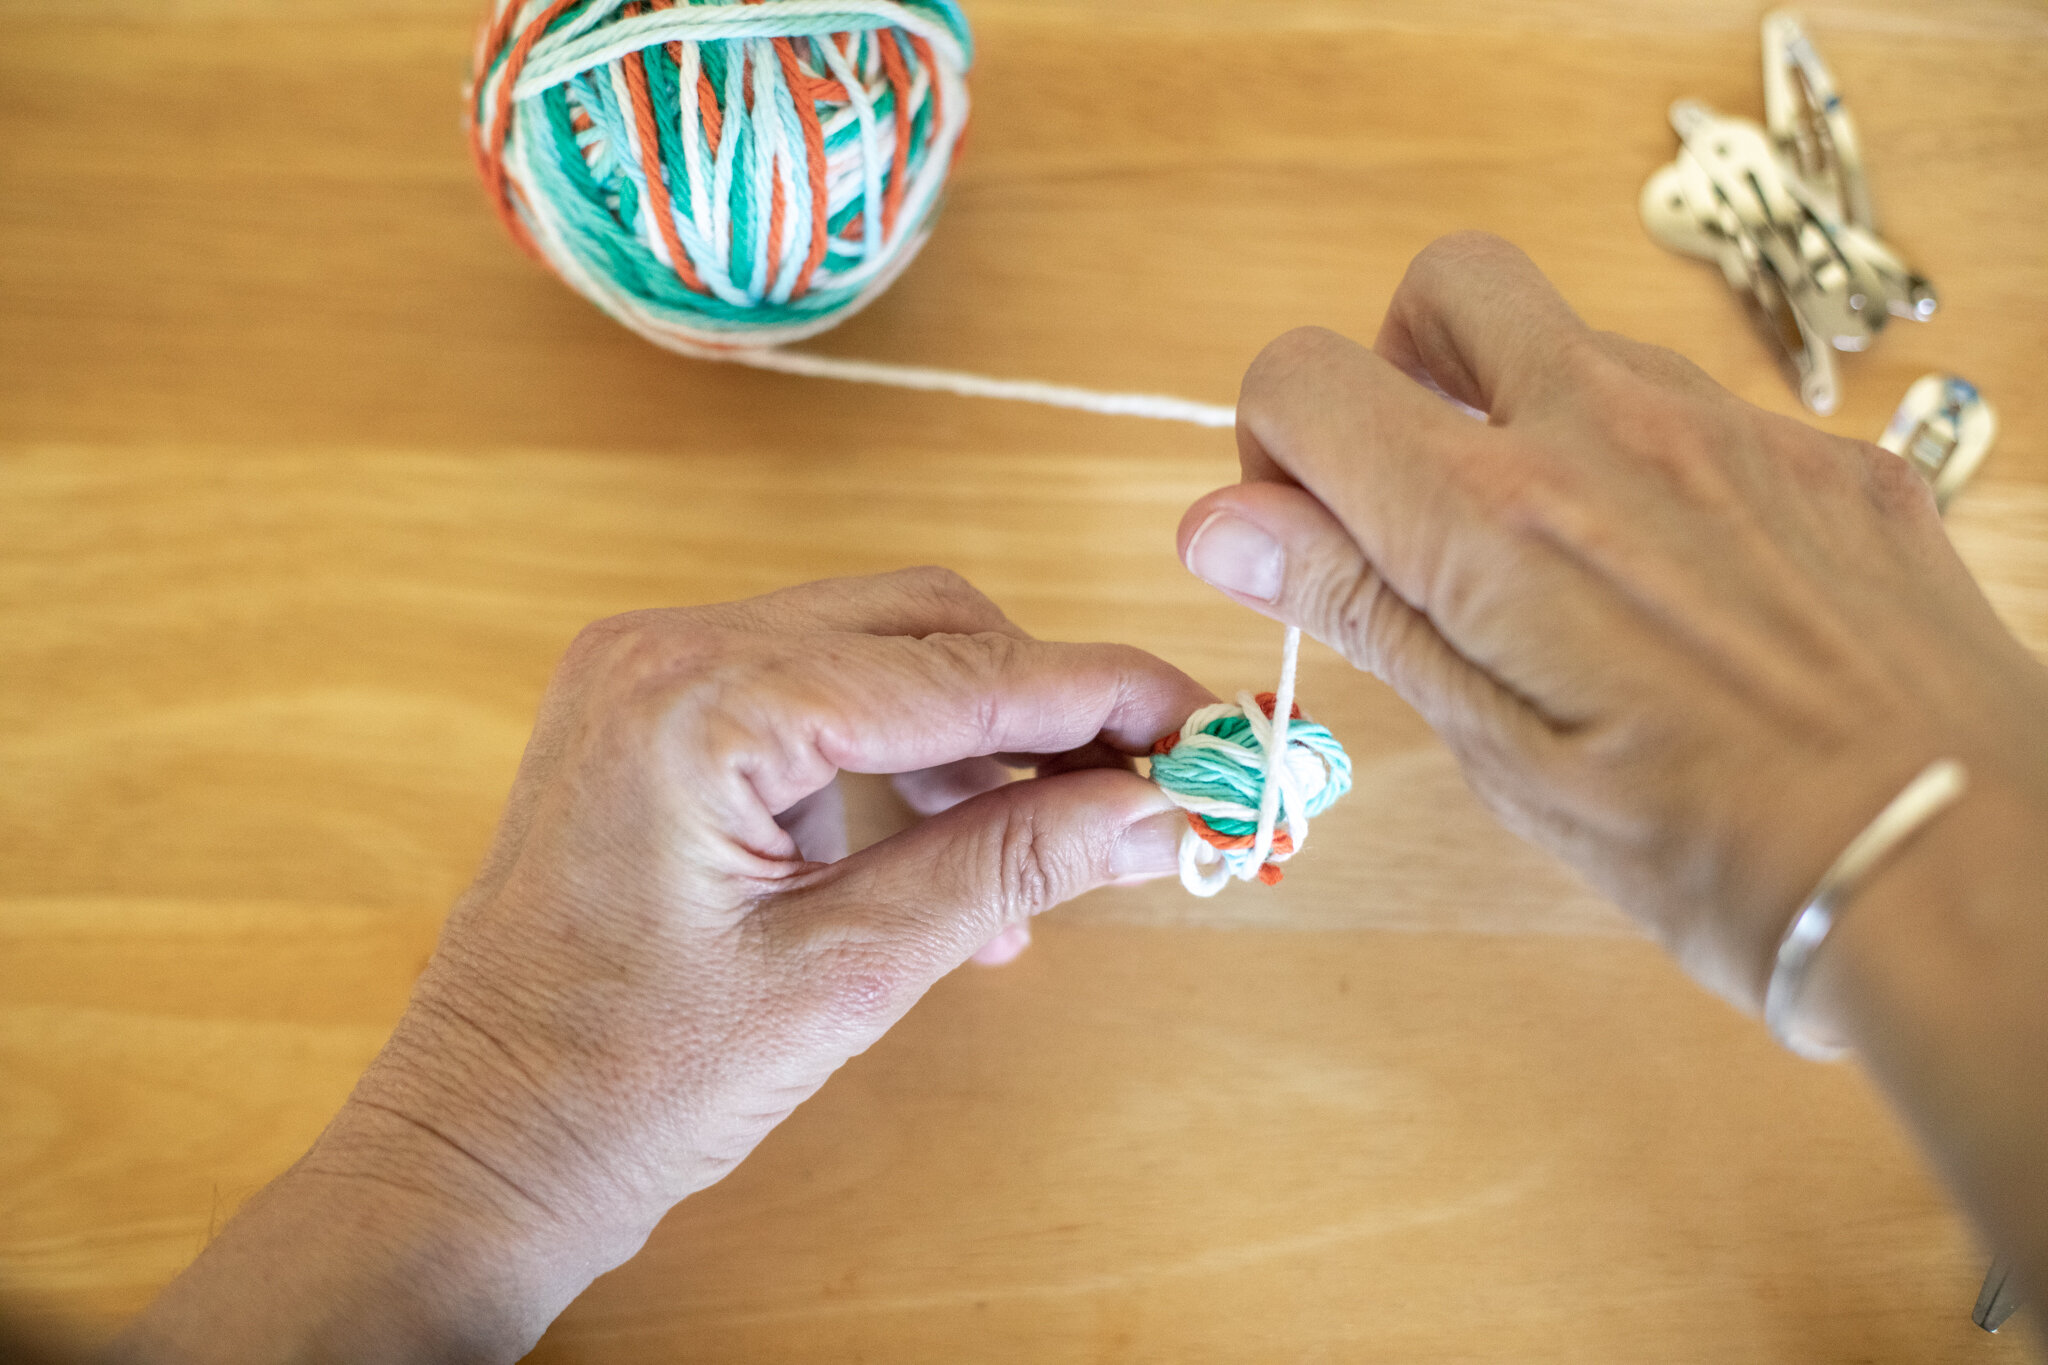


You can choose how big (or small) to make your yarn ball.
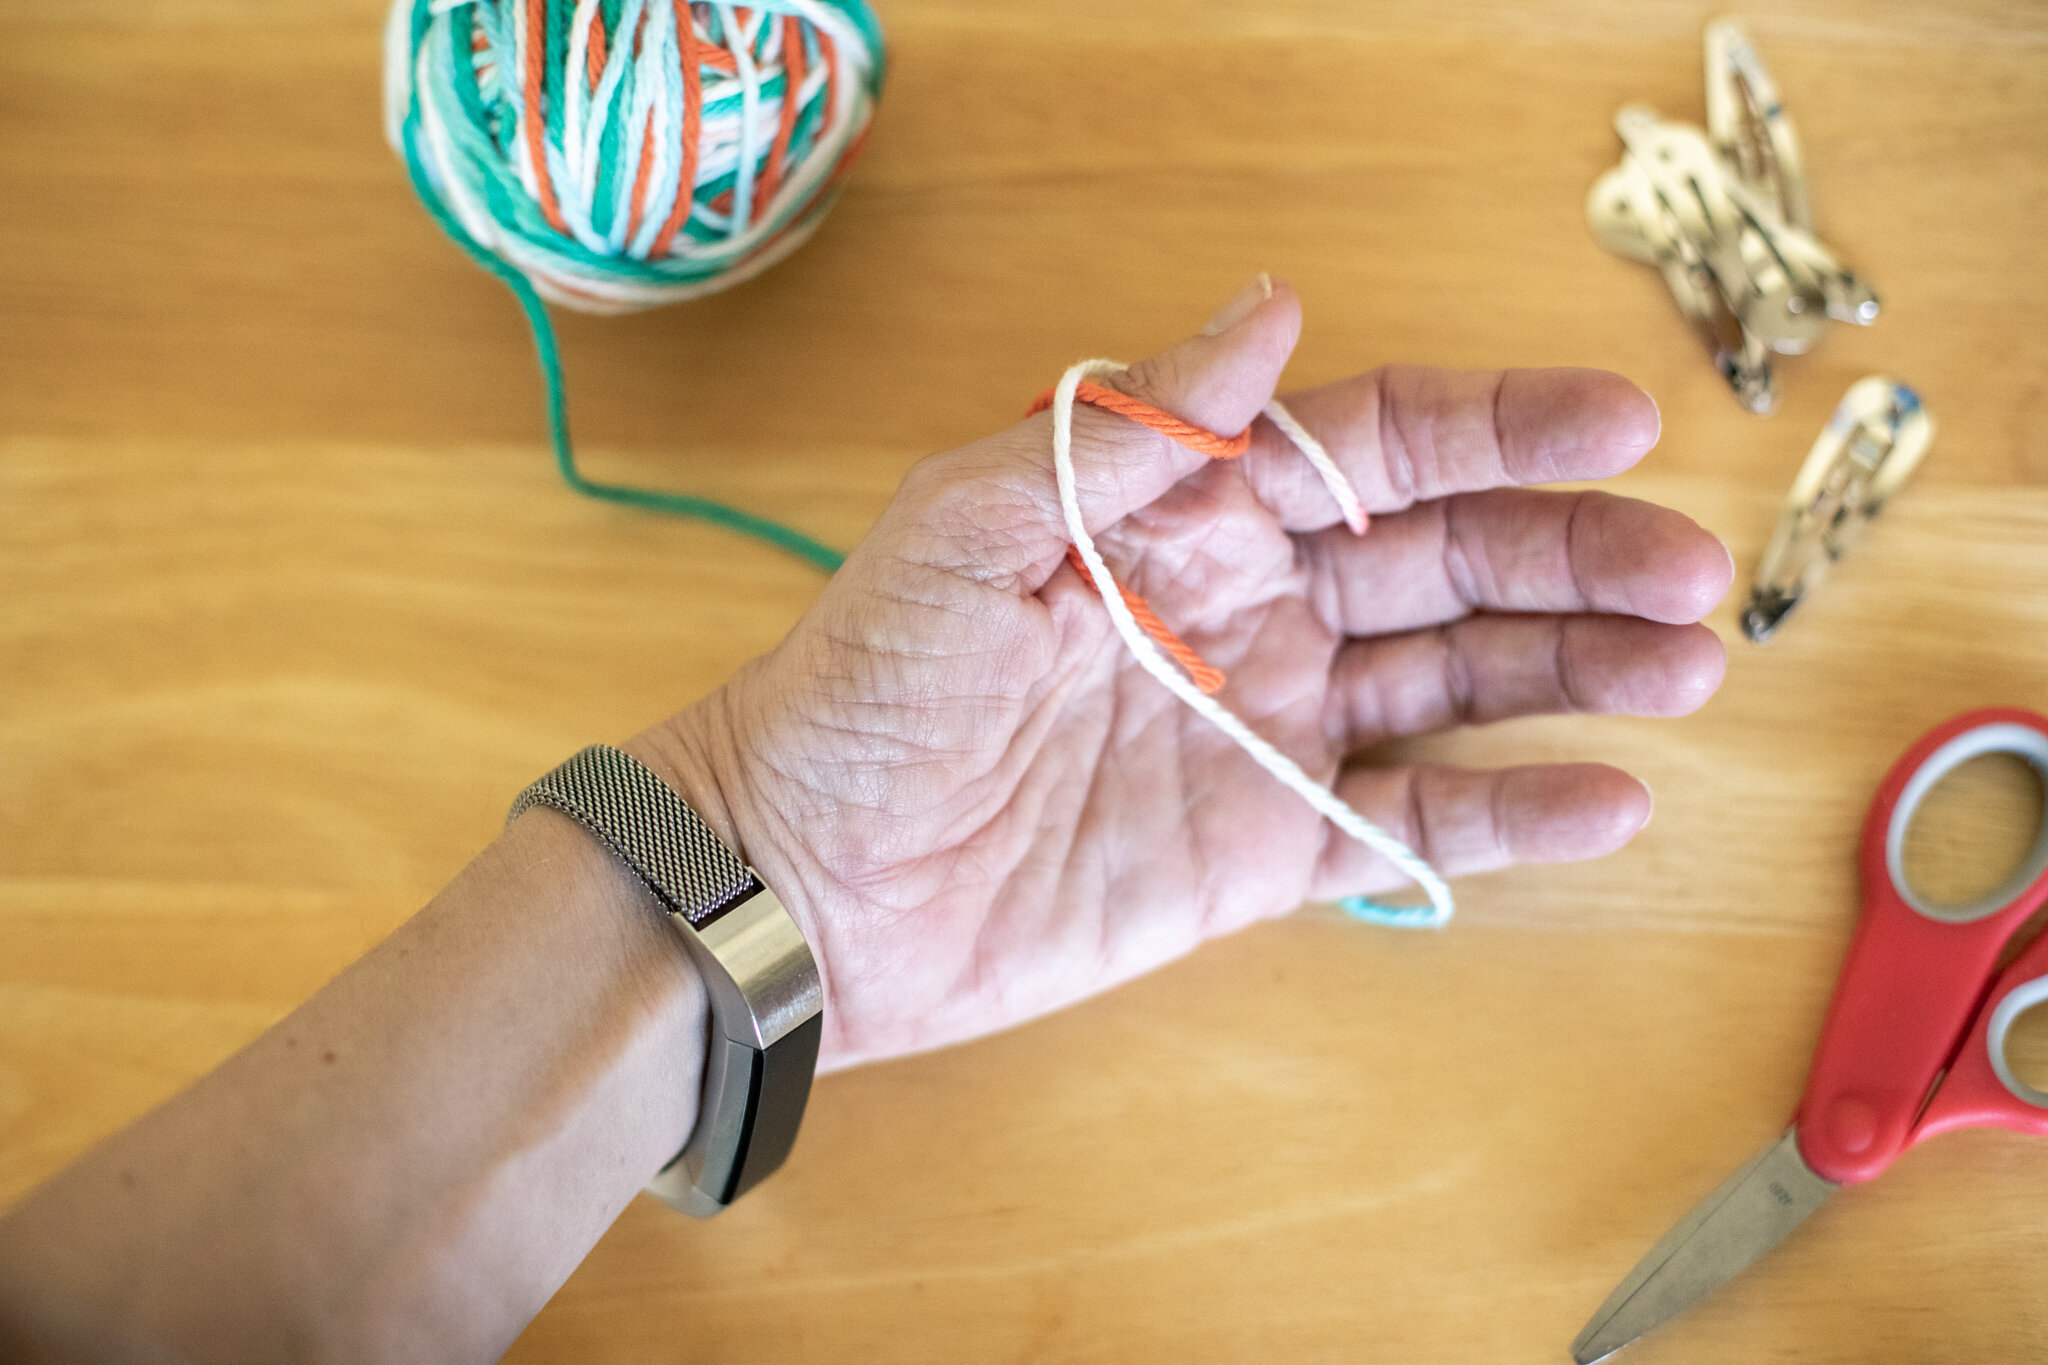
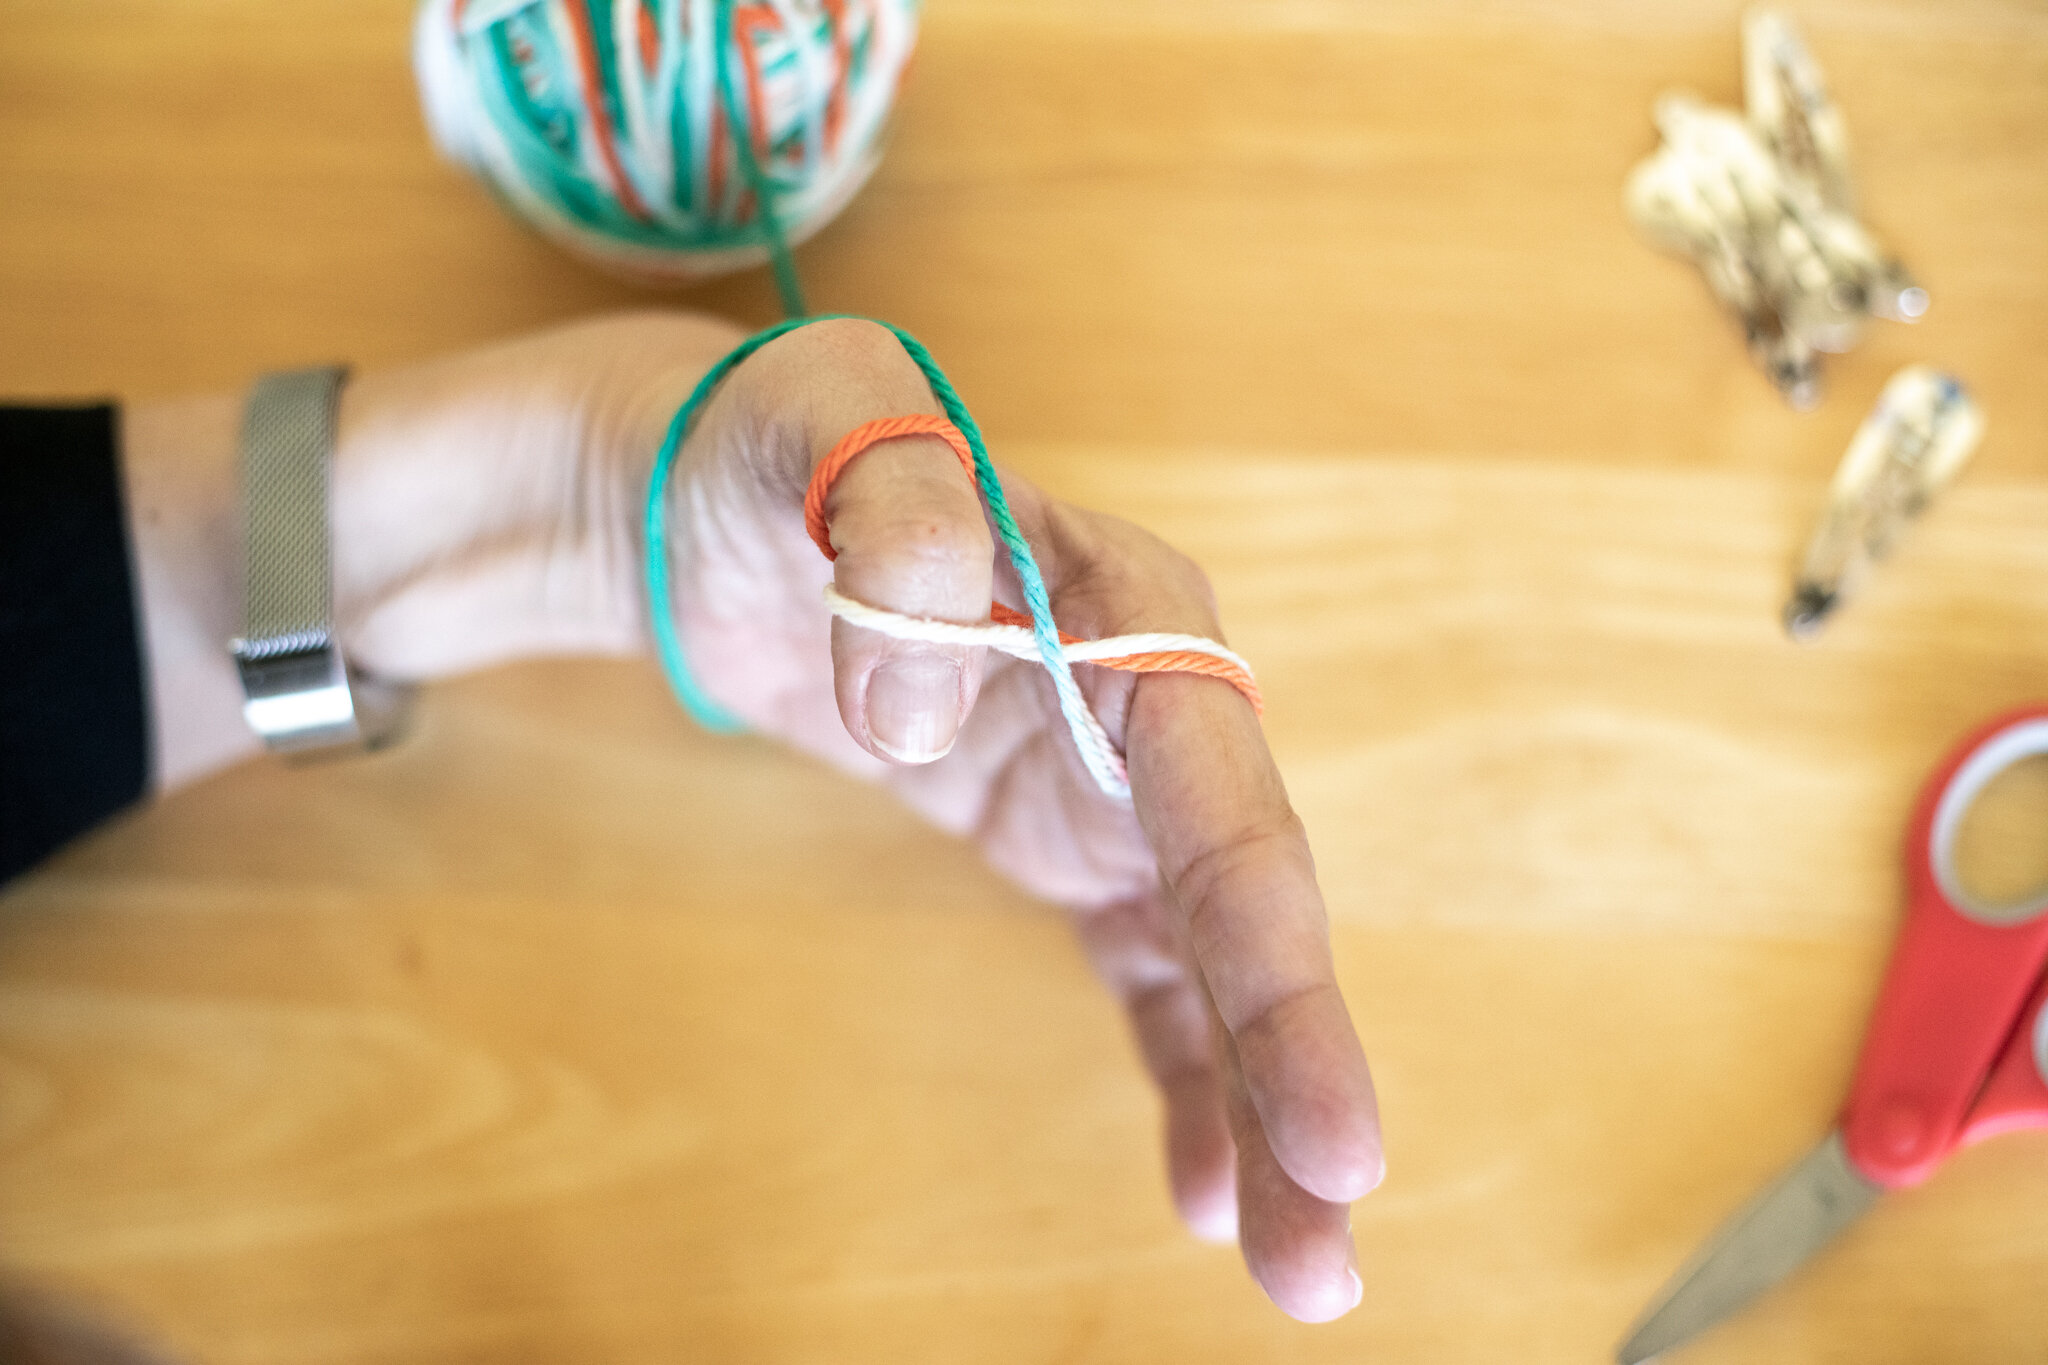
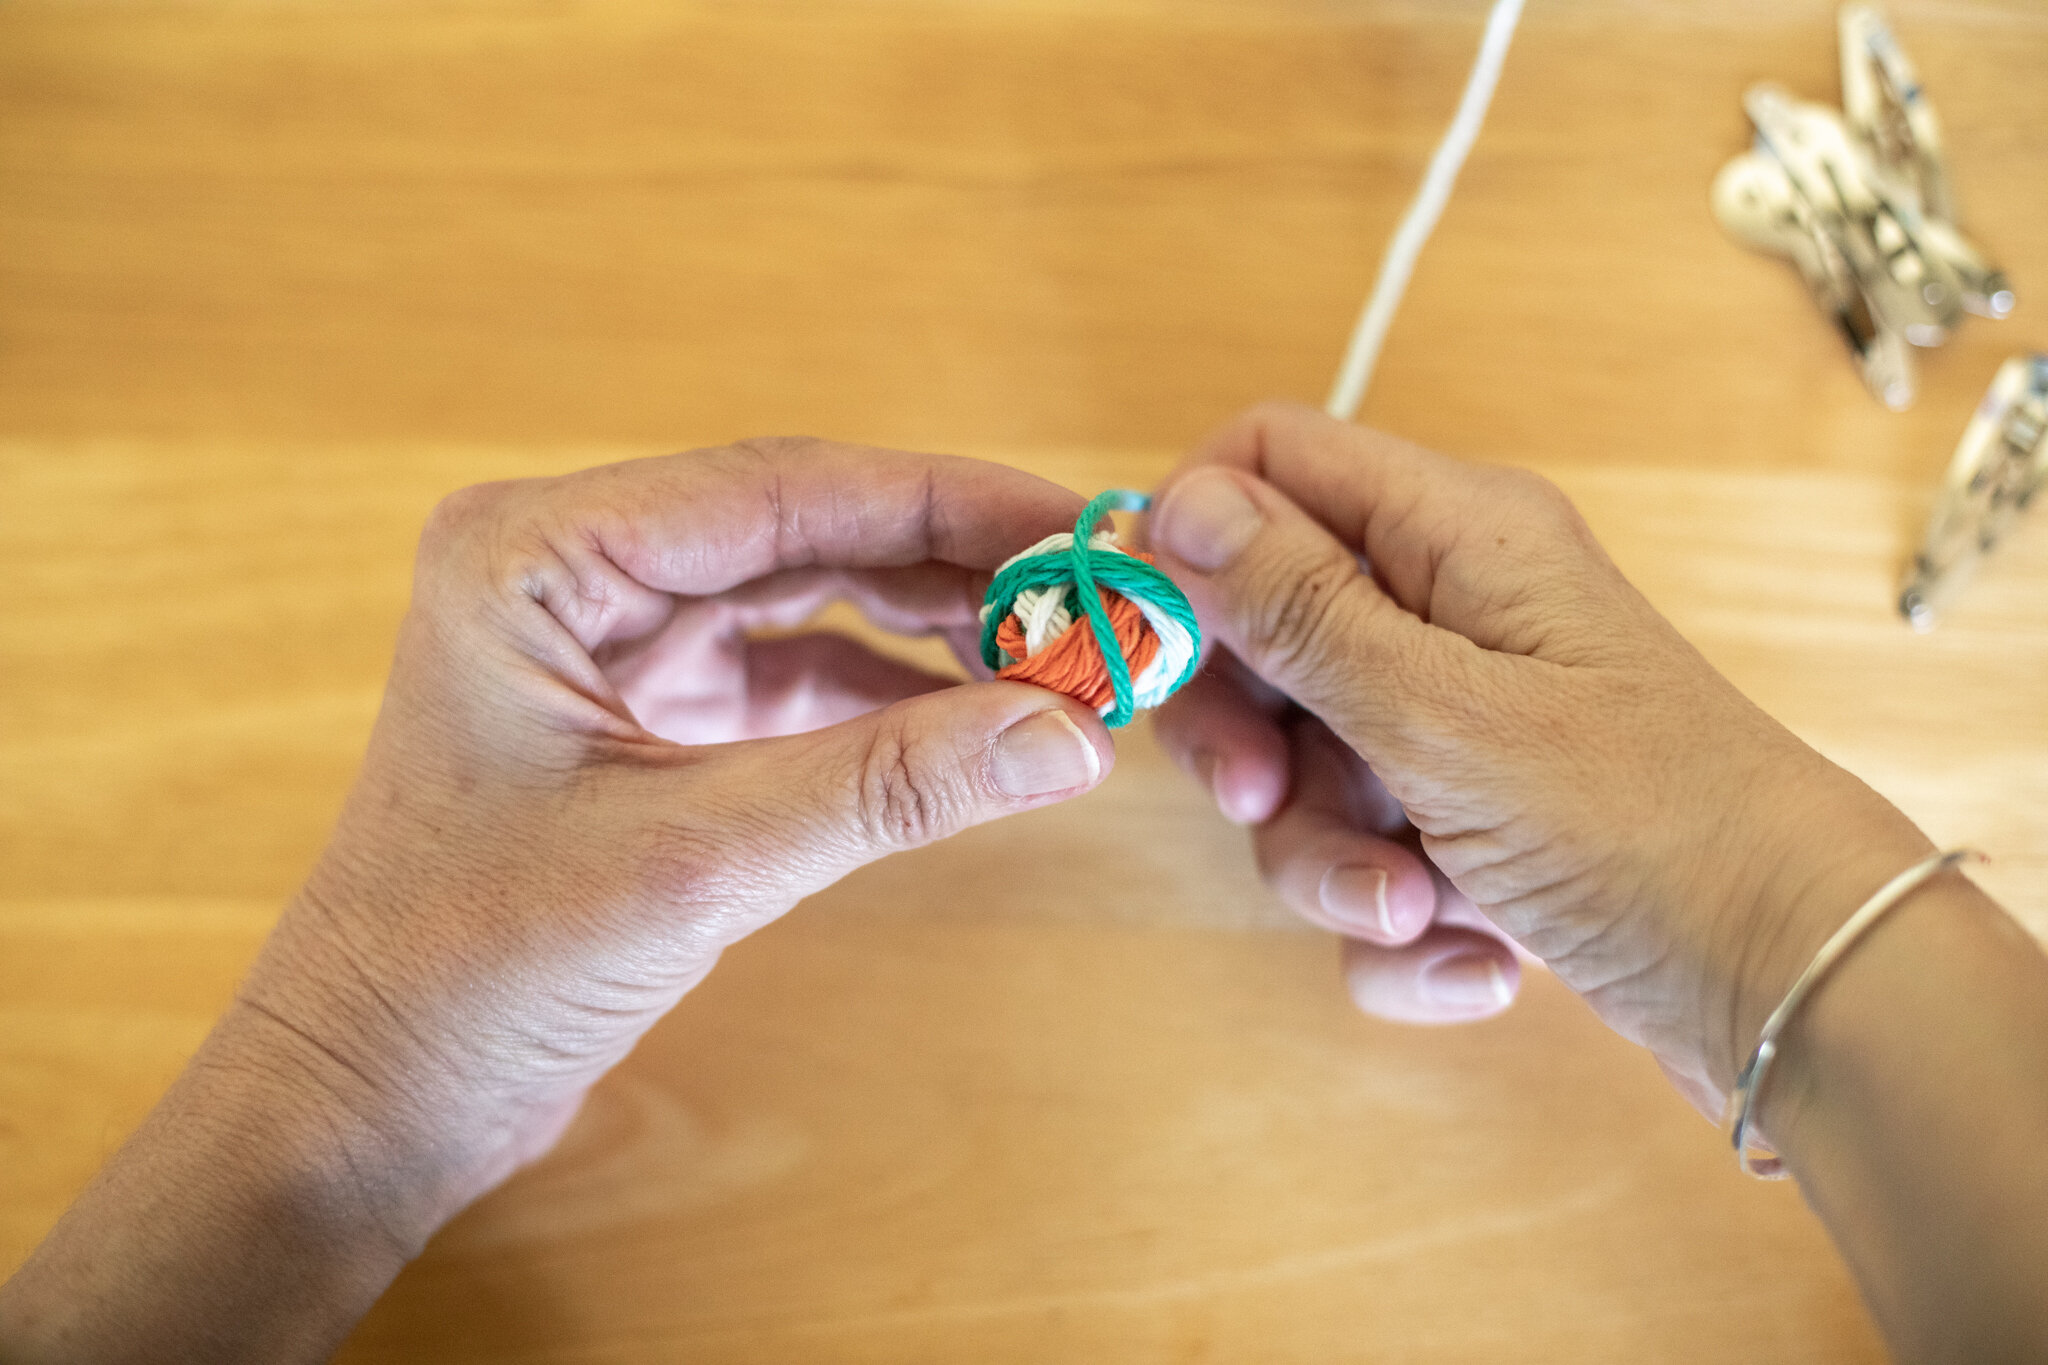
Supporting kids: If your child is frustrated with having to control two things at once- pinching a tail while winding yarn, you can always show them how by using your hand for the “glasses”. So you pinch and hold the tail, then hold their hand to guide them with the yarn into going back and forth, back and forth between your finger and thumb. When they have the hang of it, you can let them continue adding loops on your fingers independently. You may notice that they pass the yarn from their one hand to the other as they wind it around your finger and thumb. This is a developmental stage where they need the hand closest to the “action” to be in charge. So reaching across is harder for them than handing the yarn to the other hand. One day it stops because they made the “leap” developmentally, so don’t worry if you wonder how is passing the yarn back and forth between left and right hands possibly efficient.
You can also reverse this teamwork asking the child to pinch the tail between their finger and thumb, then you wind the first few loops so it’s not so easy to pull loose.
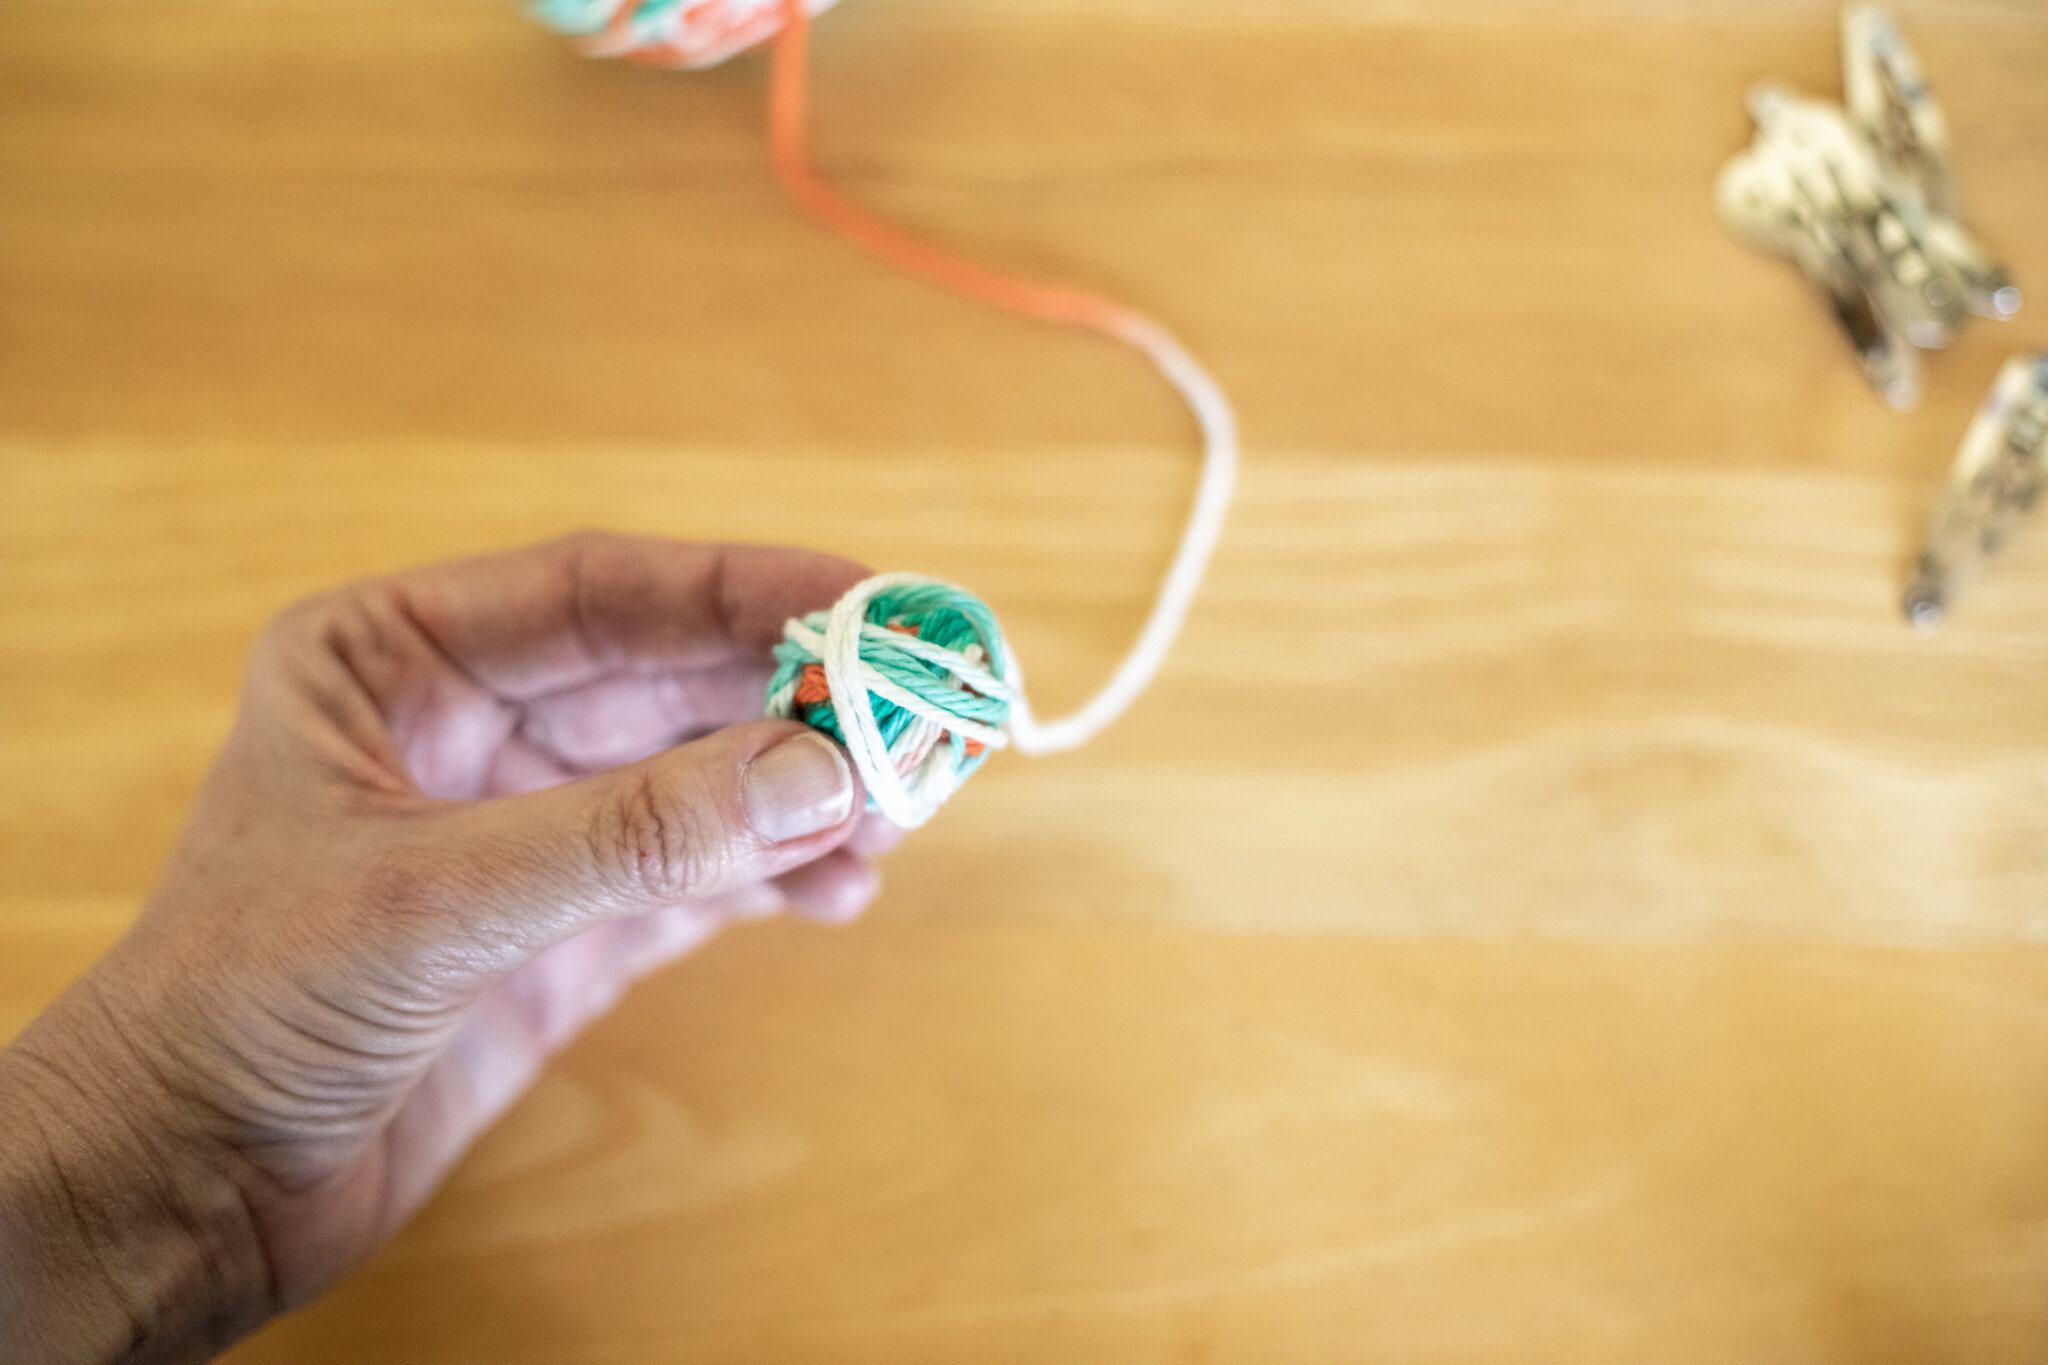
You know the children best so do whatever helps them (and you) feel successful. The more that they make, the easier all the steps become. And it’s ok to start over! Crafting is all about adjusting and learning and trying again. Let them practice resilience :)
You can also start the most fiddly beginning part of the ball and hand it off to them when it’s manageable for them.
I also highly recommend practicing on your own before trying to teach children. It’s so hard to be “hmmm, what is happening here?” while a child is eagerly waiting for progress. If you’re comfortable, it’s easier to coach them through the process.
With this said, it is good to model learning a new skill with children, so feel free to dive in together if you want to learn together.
Phew, photograph turotials are more time-intensive than I remembered :). So I’ll make a post soon with the second way to wind a yarn ball.
I enjoyed sharing this idea for creating a tidy collection of yarn that’s easy to share. This process project is a great way to organize. And then you’re ready for the next epic project using your yarn balls!
PS- many children choose making yarn balls over and over and over. They don’t necessarily need more projects :). You could even make little collections of yarn balls to gift a neighbor or family member or send in a care package. They’re fun to make and share. Enjoy 💕
We hope this week finds you healthy and inspired ✨
Click here for the second way to wind yarn balls. Which way is easier for you?

Forest Fairy Supplies Solved!
How many times have we gone to the store, or ordered online, then sat down to make our craft, only to realize that we forgot one very important thing?
Too many times, honestly.
So we came up with two solutions that will hopefully help you, too.
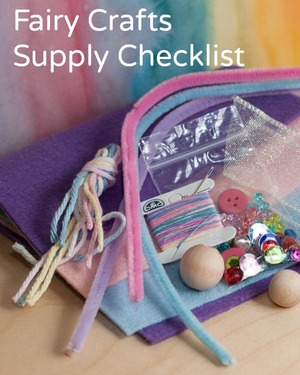
The first is a free resource that is a great companion to our book. The Forest Fairy Supply Checklist is a PDF file listing everything you need to make our crafts. You don't need all of these things at the same time, of course. A pocket-gnome can be made with felt, string, peg person, needle, and glue. But if you want ideas, or wonder what to add to your Fairy Workshop Stash, this is a great place to start.
Click here to download the Forest Fairy Supply Checklist
We are not fancy enough to check off your items digitally on the form- the best way to use this is to print a copy and check off what you have with pretty pencils :)
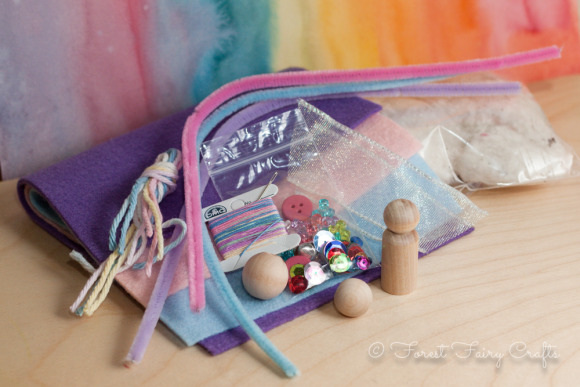
In case you are giving the book as a gift, or you don't have a Fairy Workshop Stash (yet), we also put together starter kits that have everything you need to dive right into crafting in our Etsy shop.
We were inspired to create these kits at a birthday party. "I love the book," said a friend, "But I don't have anything to make anything!"
So we created the Forest Fairy Starter Kits. These kits have everything you need to make a fairy with a felt outfit, a child fairy, peg gnome, and critter. For now, they use craft-quality felt (good for play). We are working on versions with wool-blend felt and flower petals for fairy skirts.
Since we love colors, we added a Halloween Kit and a Christmas Kit as well.
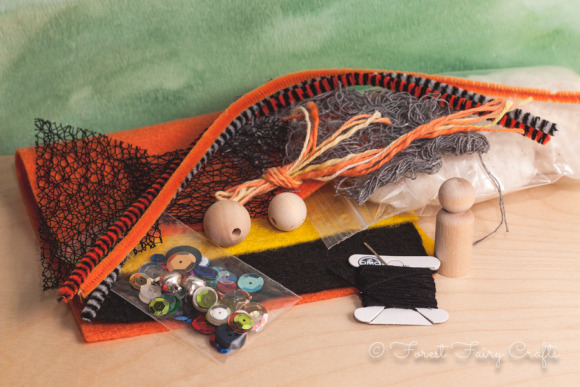
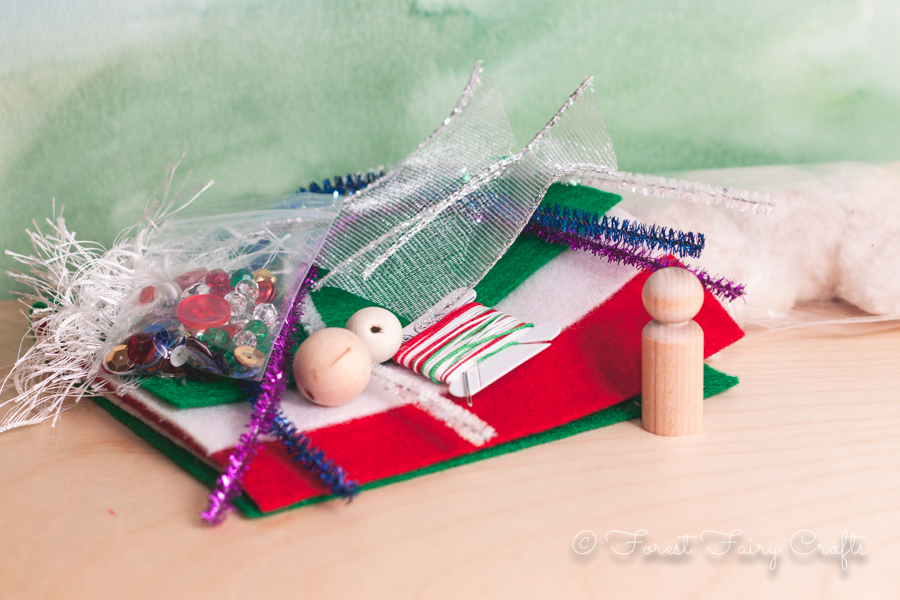
We can see these being great companion gifts with our book. They do not come with any directions, but they would be perfect for any felt projects (inspired by our book or elsewhere). You could, of course, put together your own kits for favorite children in your life (using the checklist and your own supplies). Children love seeing all of the goodies collected together.
A great invitation to crafting :)
We hope that these resources give you the tools and ideas to start making your own crafts!
Game Token Gnomes
We are delighted to team up with the lovely people at SewMamaSew. The free tutorial for Gnome Game Tokens is posted here.
I love to share a little behind-the-scenes :)
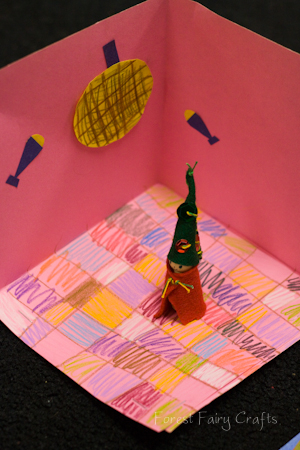
The entire project inspired us! I used to make these games and tokens with my second grade students. We drew a game-board and sewed gnomes to travel through the game. I adore the creativity that children bring to game-making.
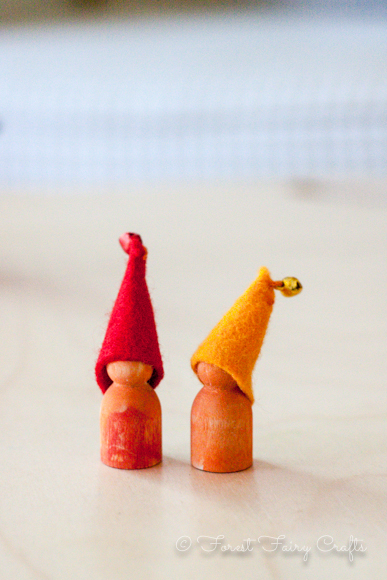
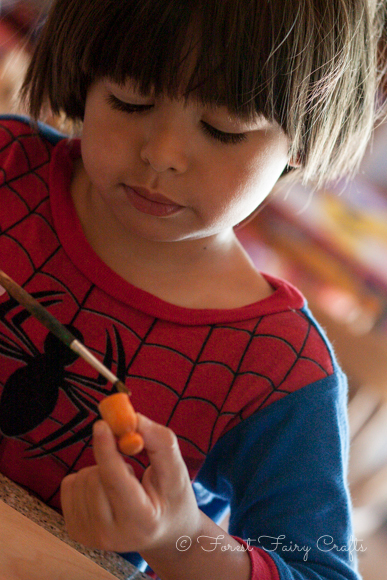
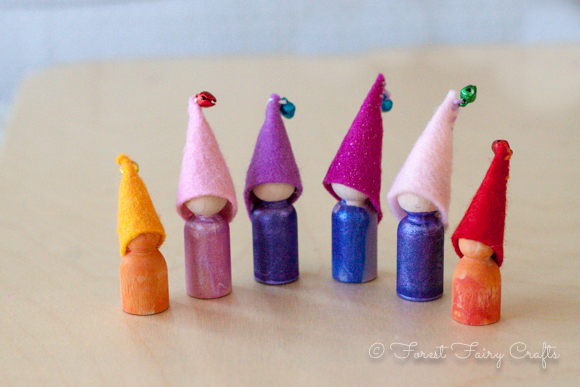
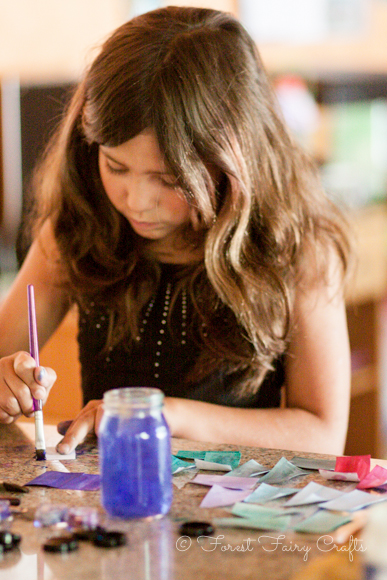
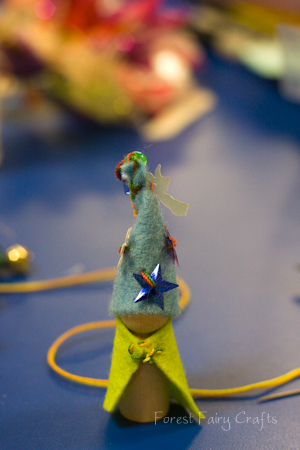
Even younger children love making gnomes. We decided to use paint this time around. It worked really well. We used regular watercolor paints. Ian chose the wee size gnomes. Of course he chose orange, orange, orange.
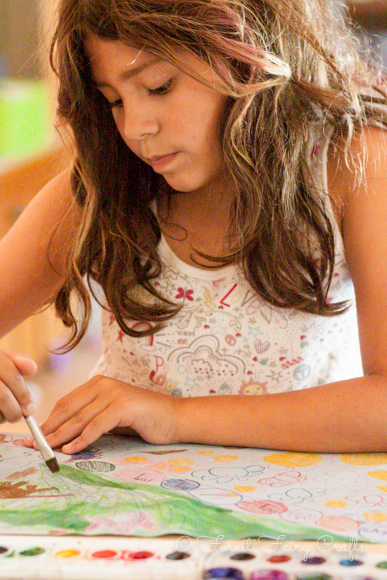
Anika is a unicorn-and-rainbow-girl these days, so her game featured a forest and garden where the unicorns could play. We drew the boards, then decided paint would be great, too. This project kept us busy for awhile :)
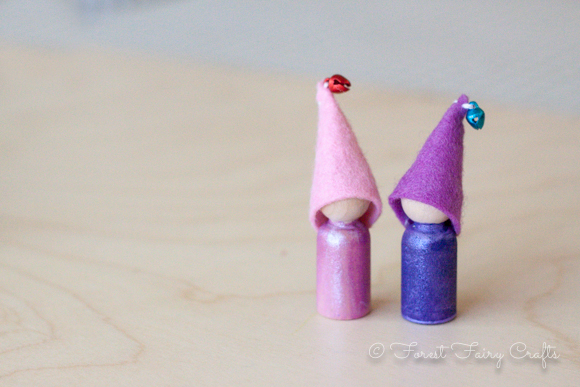
Our neighbor-friend came over and made a couple of gnomes, too. Here is the finished family! Our paint had a tinge of sparkle in the watercolor which gives them a shine. You could add a little glue and glitter after the paint dries for a similar effect.
We had to talk Ian into one red hat. He wanted orange, orange, orange, until we explained that we needed to tell the gnomes apart.
The gnomes ended up traveling on a few trips with us. I didn't worry about losing them since the process was so fun and we can easily make more. Every once in awhile, a craft becomes a treasure and I don't want it to be lost at the park or on a far-flung adventure. These were perfect pocket-pals.
Afterwards, Anika decided that her game needed cards with specific instructions. Their games kept growing as they thought of new fun additions. We used dice from another game box. The finished activitiy was just as fun as creating the games. We are all inspired to create new ones :)
We hope that everyone enjoys the tutorial! Thanks again to SewMamaSew for the opportunity! What fun :)

Our First Book Arrives
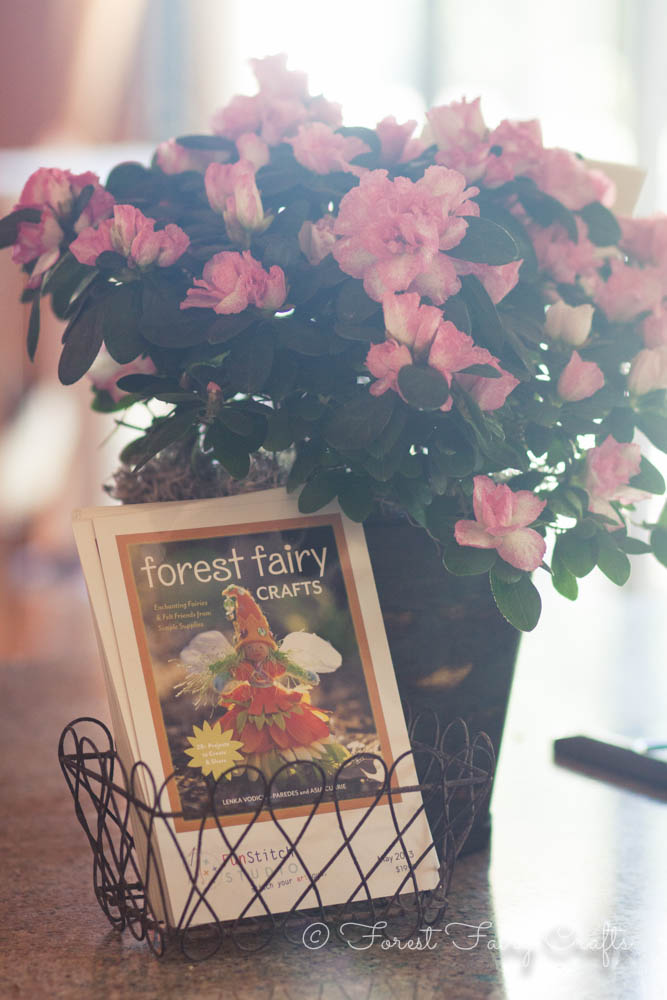
An exciting week in the forest! These beautiful flowers arrived on my doorstep. And flowers are always a celebration. I love flowers! The flowers didn't arrive by themselves, though. No, they were from our lovely friends at C&T Publishing along with a first copy of our book! And I just discovered there is a preview of the book, sharing pages here. So you can understand why we are happy-dancing!
Holding the book after all the months of writing and crafting and editing and sewing was a strange, marvelous feeling. They took our fairy-world and made magic. We love the layouts and colors. What a treat to see all of the hard work pay off :)
The book releases in late May, which is the trickiest part of showing it off. We took it to school and were asked many times where to buy a copy. A little waiting left...
I loved bringing it to school, because the children saw the wall between books and writers crumble. They thought hard about whether Asia and I had really written a real book. Until we showed them page with fairies and gnomes, their Moon Pockets and Treasure Owls.
"We made ones like that!"
Which quickly became, "When can we make pirates? And mermaids? And ninjas?"
I better get busy cutting felt :)
We also received CDs with all of the photos they used in the book. We had talented photographers work on Forest Fairy Crafts. I take many of our photographs, but the size and scope of this project meant I was happy to get help. We had over 400 placeholders for images in the original draft! Not all of them made it into the book, but still, they got to work with lots of fairies and crafts.
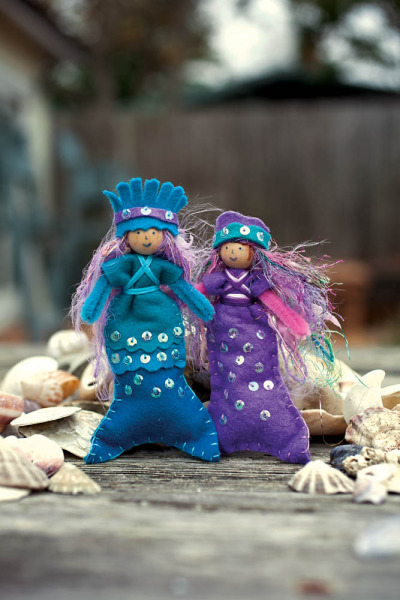
Our mermaids :)
I am busy today sewing sample for our hat pattern PDF that I will send out to everyone who preorders our book. You can order from any favorite book seller. We will simply ask for an order number or receipt copy. We are working on the technology to make this all possible. Amazon will have the book arrive on your doorstep on release day- you can order here .
We are visiting local bookstores and craft stores to set up book release parties. And I am ready to celebrate. It's a great day in the forest!
I have many postcards (pictured with the flowers) that I want to send you for helping share the fun news. Simply email your address with Fairy Crafts Postcard in the subject line and I will put one in the mail. Don't worry, I won't use your address for anything else :). If you work at a school or know a group of friends/parents/crafters that may appreciate a postcard, tell me how many you would like and I will do my best to drop them in the mail soon. Thank you for supporting the forest!
All kinds of good news. We will keep you posted as we get closer to the big Release Day :)
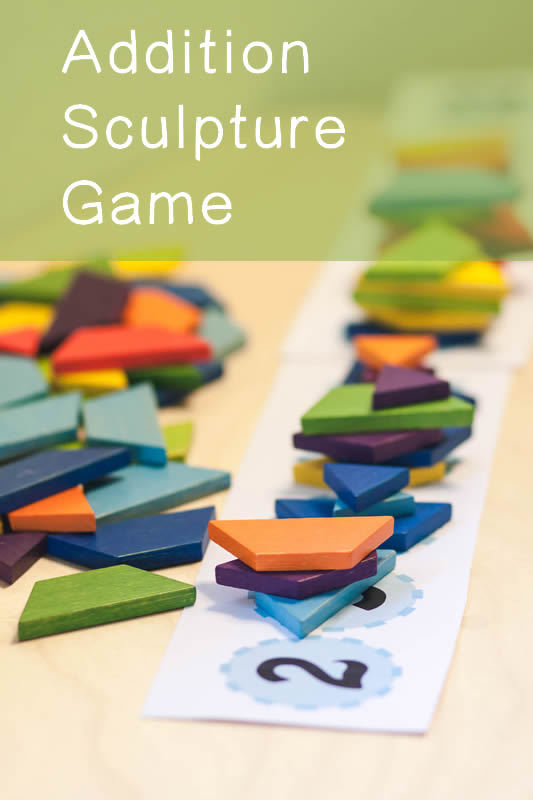
Math Sculpture Game
In my class, we love playing games to learn. A big skill is learning addition so it isn't a chore- with 'automoticity' as we teachers like to say. We want addition to be easy like 1+1. Which means lots of practice. I created this game to encourage practice while having fun.
The Math Scultpure Game goes beyond the game where children roll to cover all of the numbers. This time, use a material that can build: pattern blocks, little flat stones, Legos, whatever can make a tower. For this game, keep adding an item to a number with every roll of the dice. See which tower grows the tallest!
What fascinated me with the game were a few fun effects. One, children kept building even after covering their numbers. They wanted to keep growing the sculptures. We called them towns and we called them glaciers and we called them coral reefs. You can make the building match whatever thematic idea you like. This was an unending game (which I loved). And very cooperative.
Second, the children noticed a pattern. The buildings in the middle grew the tallest. 2 and 12 were usually the shortest. This led to early observations about probability and the many ways that you can make 5 with two dice vs. 12 (only 6+6). These mathematical and scientific deductions were fun to facilitate.
Finally, this was an engaging game for single or paired children. Originally, I had students take turns by passing the dice, rolling, and adding. Then they realized they could each roll a dice and add the results together. Turns every turn! Which is real invested learning- hurrah!
As a bonus, I created a board with 1-6 for my early learners who are still practicing number recognition. For this game, they used one dice and stacked to match the number of dots to the written number. This game was more straighforward and gave excellent practice for a necessary skill.
The game boards are free to download for personal and classroom use. Enjoy!
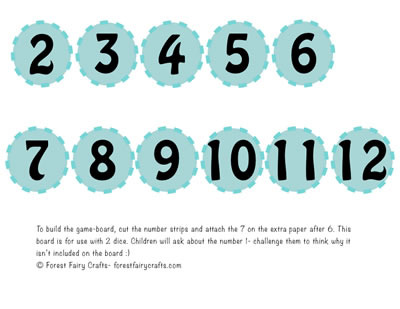
Click to Download the Math Sculpture Gameboard PDF

Click to Download the Number Recognition Gameboard PDF

All PDFs are the property of Forest Fairy Crafts. Please contact us for commercial use permissions. Thank you!
Handmade Ornaments, You Still Have Time, Really!
Only days remain, yet these ideas don't take more than an hour. You could collect the supplies in a cute bag or basket to give on Christmas morning, then share craft-time together that day and sew a memory of the holiday together.
Who can resist a well decorated tree?
Download the free pdf tutorial here
The turorial shares how to make the ornaments with very young children who sew the needle through both pices of felt at once and add decorations to both sides. For the pillow-version, children decorate each side seperately. Then children sew around the edges, leaving a space for stuffing. Add stuffing and sew shut.

Or heart?

I love shiny happy beads and sequins.

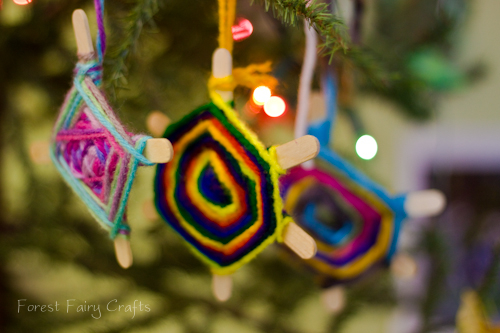
Another quick idea that keeps children busy for awhile, and makes charming decorations for tree or windows (or gift tags), is God's Eyes. Once children pick up on the wind around pattern, they are hooked and will make one after another. The Magic Onions has a lovely tutorial posted here.

Trees and grandparents and parents love handmade ornaments. Have fun!
Oh, and just to share, our fairies from the Dragonfly Class (these take more than an hour):
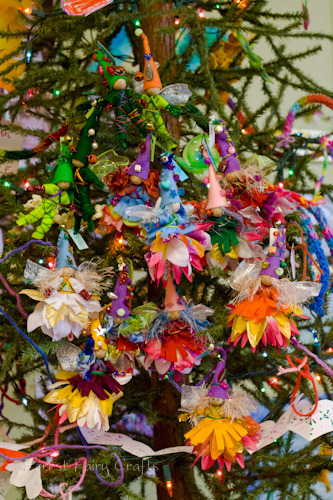
Sending you sparkles and magic as you enjoy the season!

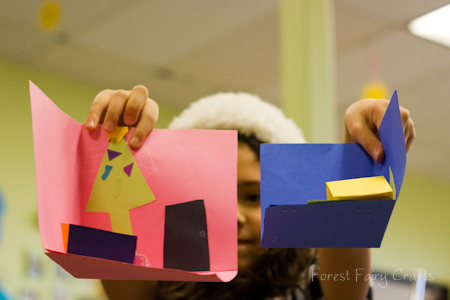
Elf Houses
Make your own Elf Houses!
Click here for the pdf directions

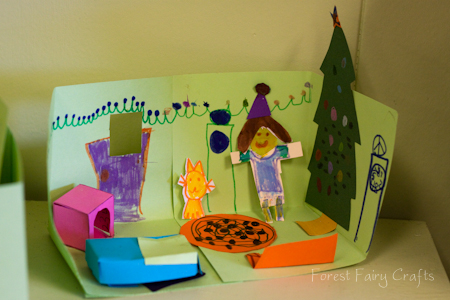
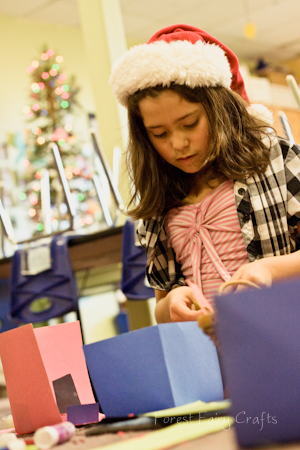
Last week was a fun adventure in my Dragonfly class. I made rooms and the kids brought a thousand ideas. I saw a workshops, homes, and even a dance studio!
Once we had the walls, I gave the children lots of paper scraps.
They inspired each other to keep adding more and more clever ideas. This was one of my favorite open-ended activities ever.
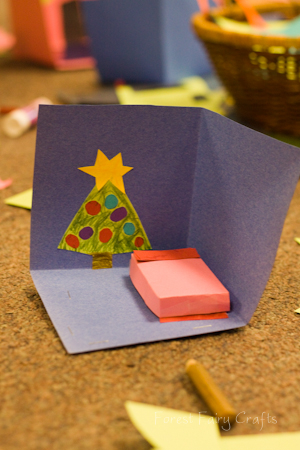
I helped make the beds and tables, but the rest was all their creating. And they got very creative.
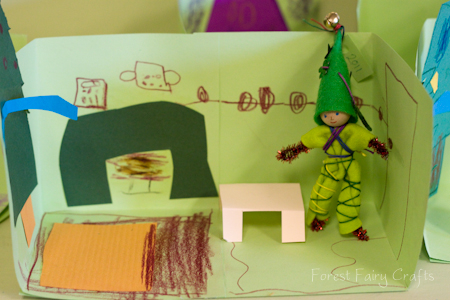
Then they realized their fairies and elves could live in the houses. How cool is that?
And my daughter stayed after school with her friends. She said a gnome lived in her house. Couldn't they make gnomes?
Of course.
And every gnome needs a disco-dance room in his house.
Elf houses quickly became elf-town. And elf-town is ready to celebrate the holidays. Happy holidays!
Paper Lanterns
Winter in our Dragonfly kindergarten/first grade class is filled with fun and fancy projects. We are happy to share ideas. These tutorials are quick because we're all busy in the winter season. Feel free to ask questions. Enjoy!
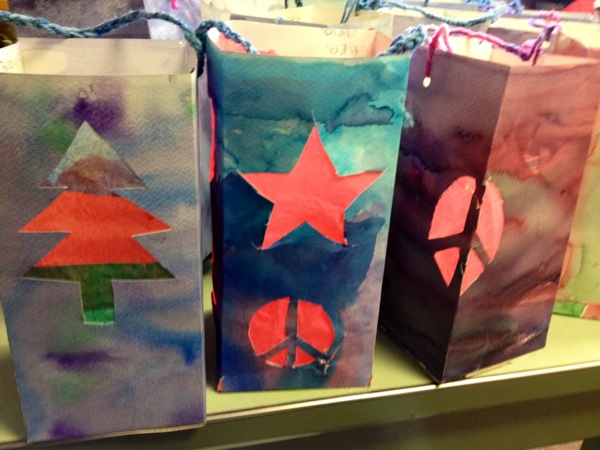
To make these lovely lanterns, watercolor a long piece of paper. When it's dry, draw a line on the back about 1/2 inch from a wide edge.

Fold in half to your drawn line. Fold in half again so you have four sections. Fold up a few inches along the bottom edge to make a base.
Cut along your fold lines on the bottom edge. Draw or trace shapes on each panel. Cut out those shapes to make holes.
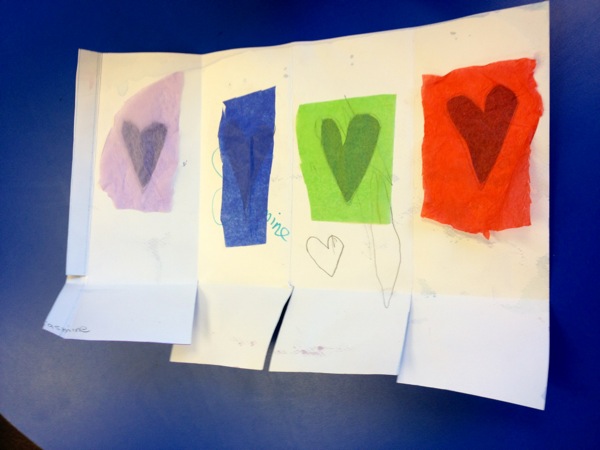
On the back, glue tissue paper over the holes to make pretty glowing windows.
Fold the lantern again with the bottom edges overlapping to form the base. Glue along the 1/2 inch extra paper from that first line you drew in the beginning. Tuck that into the lantern to glue the four sides together. Let your lantern dry.
For the handle, we punched two holes and the children finger-knitted a chain to tie onto the lantern. We don't have our own finger knitting tutorial (yet) but I liked this one by Moonbeams and Applesauce. You could also braid or tie a few strings in a bow.
We use battery operated candles inside our lanterns. Fire can be dangerous.
These lanterns are a beautiful reminder of light during these dark nights. We hope you enjoy the crafting.
Many thanks to my co-teacher, Marin, for this gorgeous gift :)
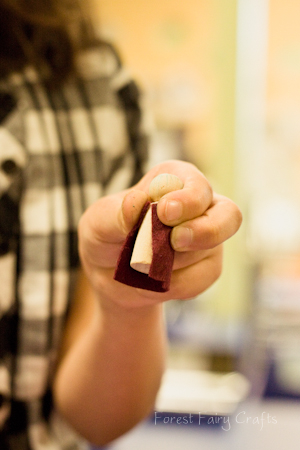
Sew Sweet Felt Ornaments
Hurrah, the holidays are here! In our home, we celebrate each year with a hand-crafted ornament. They show us the years in a story. "I remember making this!" my daughter said with excitement.
This is very impressive since she painted it when she was one :)
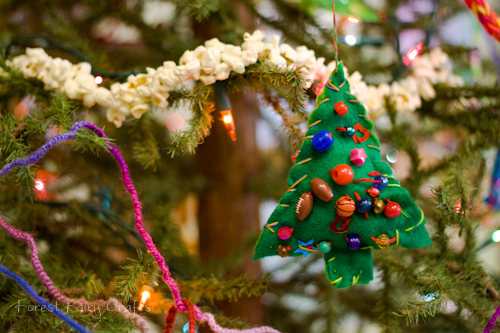
This year, we are sewing. My three-year-old sewed the beads and sequins on his tree.

Can you guess his favorite color?
I know he'll be reminscing about this tree in future years. And we want to share the fun. You can download the tutorial for these very easy felt ornaments. Children get to decorate both sides so it is a perfect first project for children learning to sew. Older children can trace other shapes around cookie cutters and get fancy with their stitching and decorating. We hope that you enjoy the craft!
Happy Holidays!
Click here to download the PDF tutorial

All tutorials are property of Forest Fairy Crafts for family crafting. We are happy to share the tutorial on your website if you link back to us. For other uses, please contact us. Thank you.
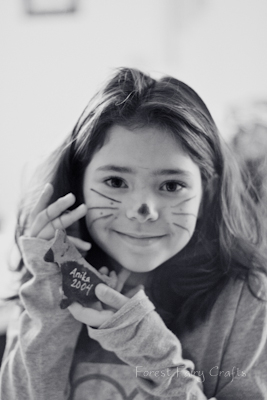
Halloween Skirt
Just in time! I finished the tutorial for the Halloween Skirt! Of course, the skirt can be made any time of year with different fabrics.
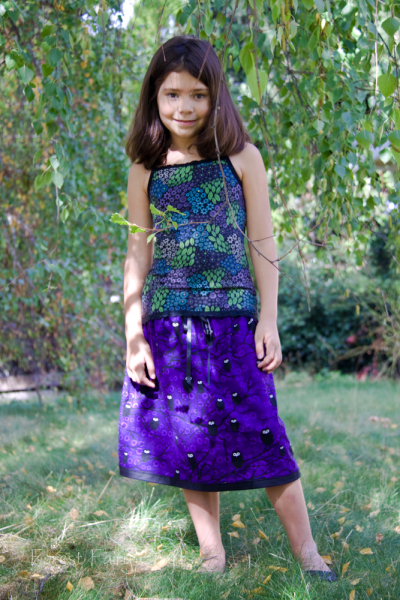
The fabric inspired this skirt. Black owls with white eyes sit on winding black branches. Anika has already taken it twirling :)
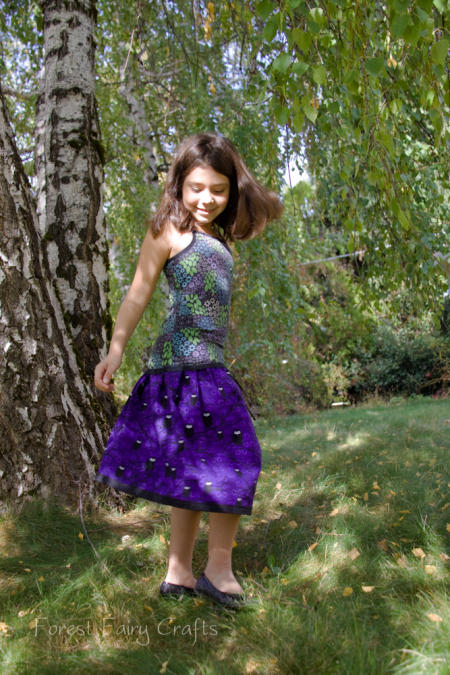
I have a feeling we'll be seeing the owls all winter :)
Our free tutorial has photographs for each step. Enjoy!
Click here for the Halloween Skirt Tutorial pdf
All tutorials are property of Forest Fairy Crafts. Please contact us for use permissions. Thank you!

In case you are wondering why is says Sweet Little Skirt #2 when you cannot find #1. . .
I took photos of another skirt project over a year ago and never got to the tutorial. This skirt will be #1 :). Hopefully posting soon :)
