Enchanting Crafts for Children and Adults
FOREST FAIRY CRAFTS
At Forest Fairy Crafts, we inspire and spark creativity in children and adults alike. We believe in the power of imagination and strive to bring it to life with our charming crafts. Our books serve as instructional invitations to explore a world where little fairies, gnomes, and whimsical decorations come alive through your own hands. But it’s not just about the result, it’s about the journey. So come, dear friend, and join us on this wondrous journey. Together, let's play, create, and uncover the magic that awaits in the Forest.
Welcome to the Forest!


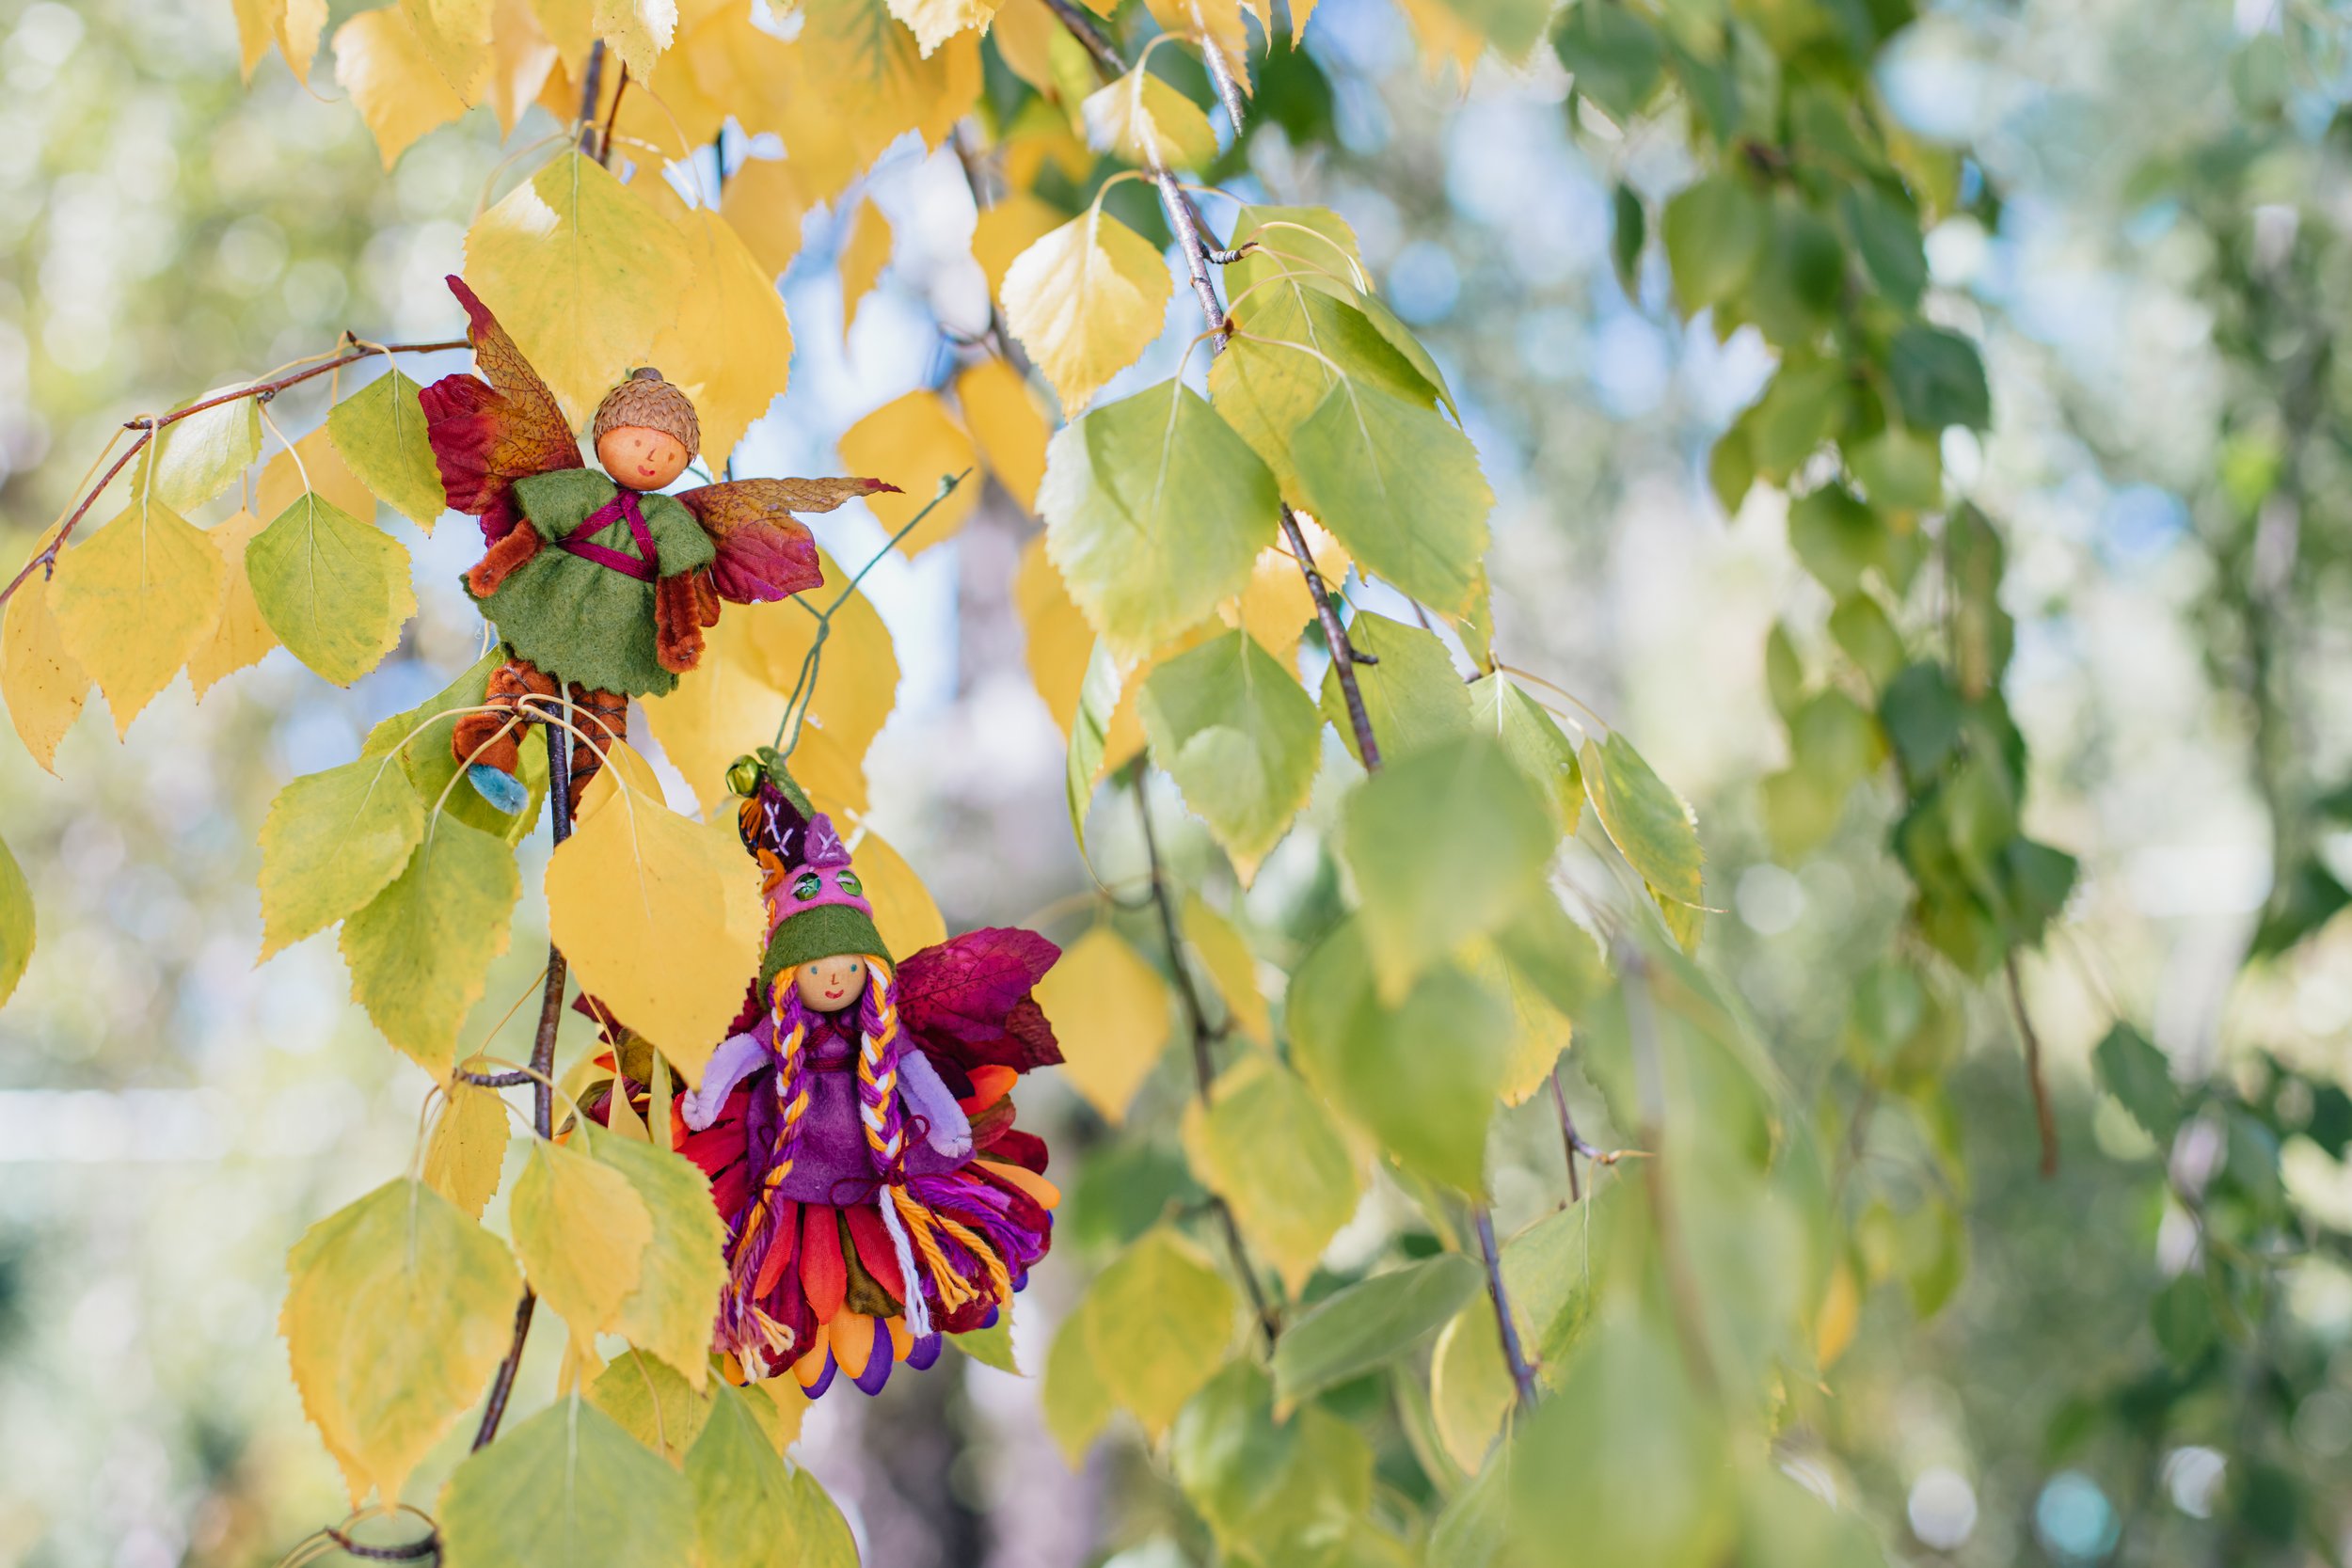
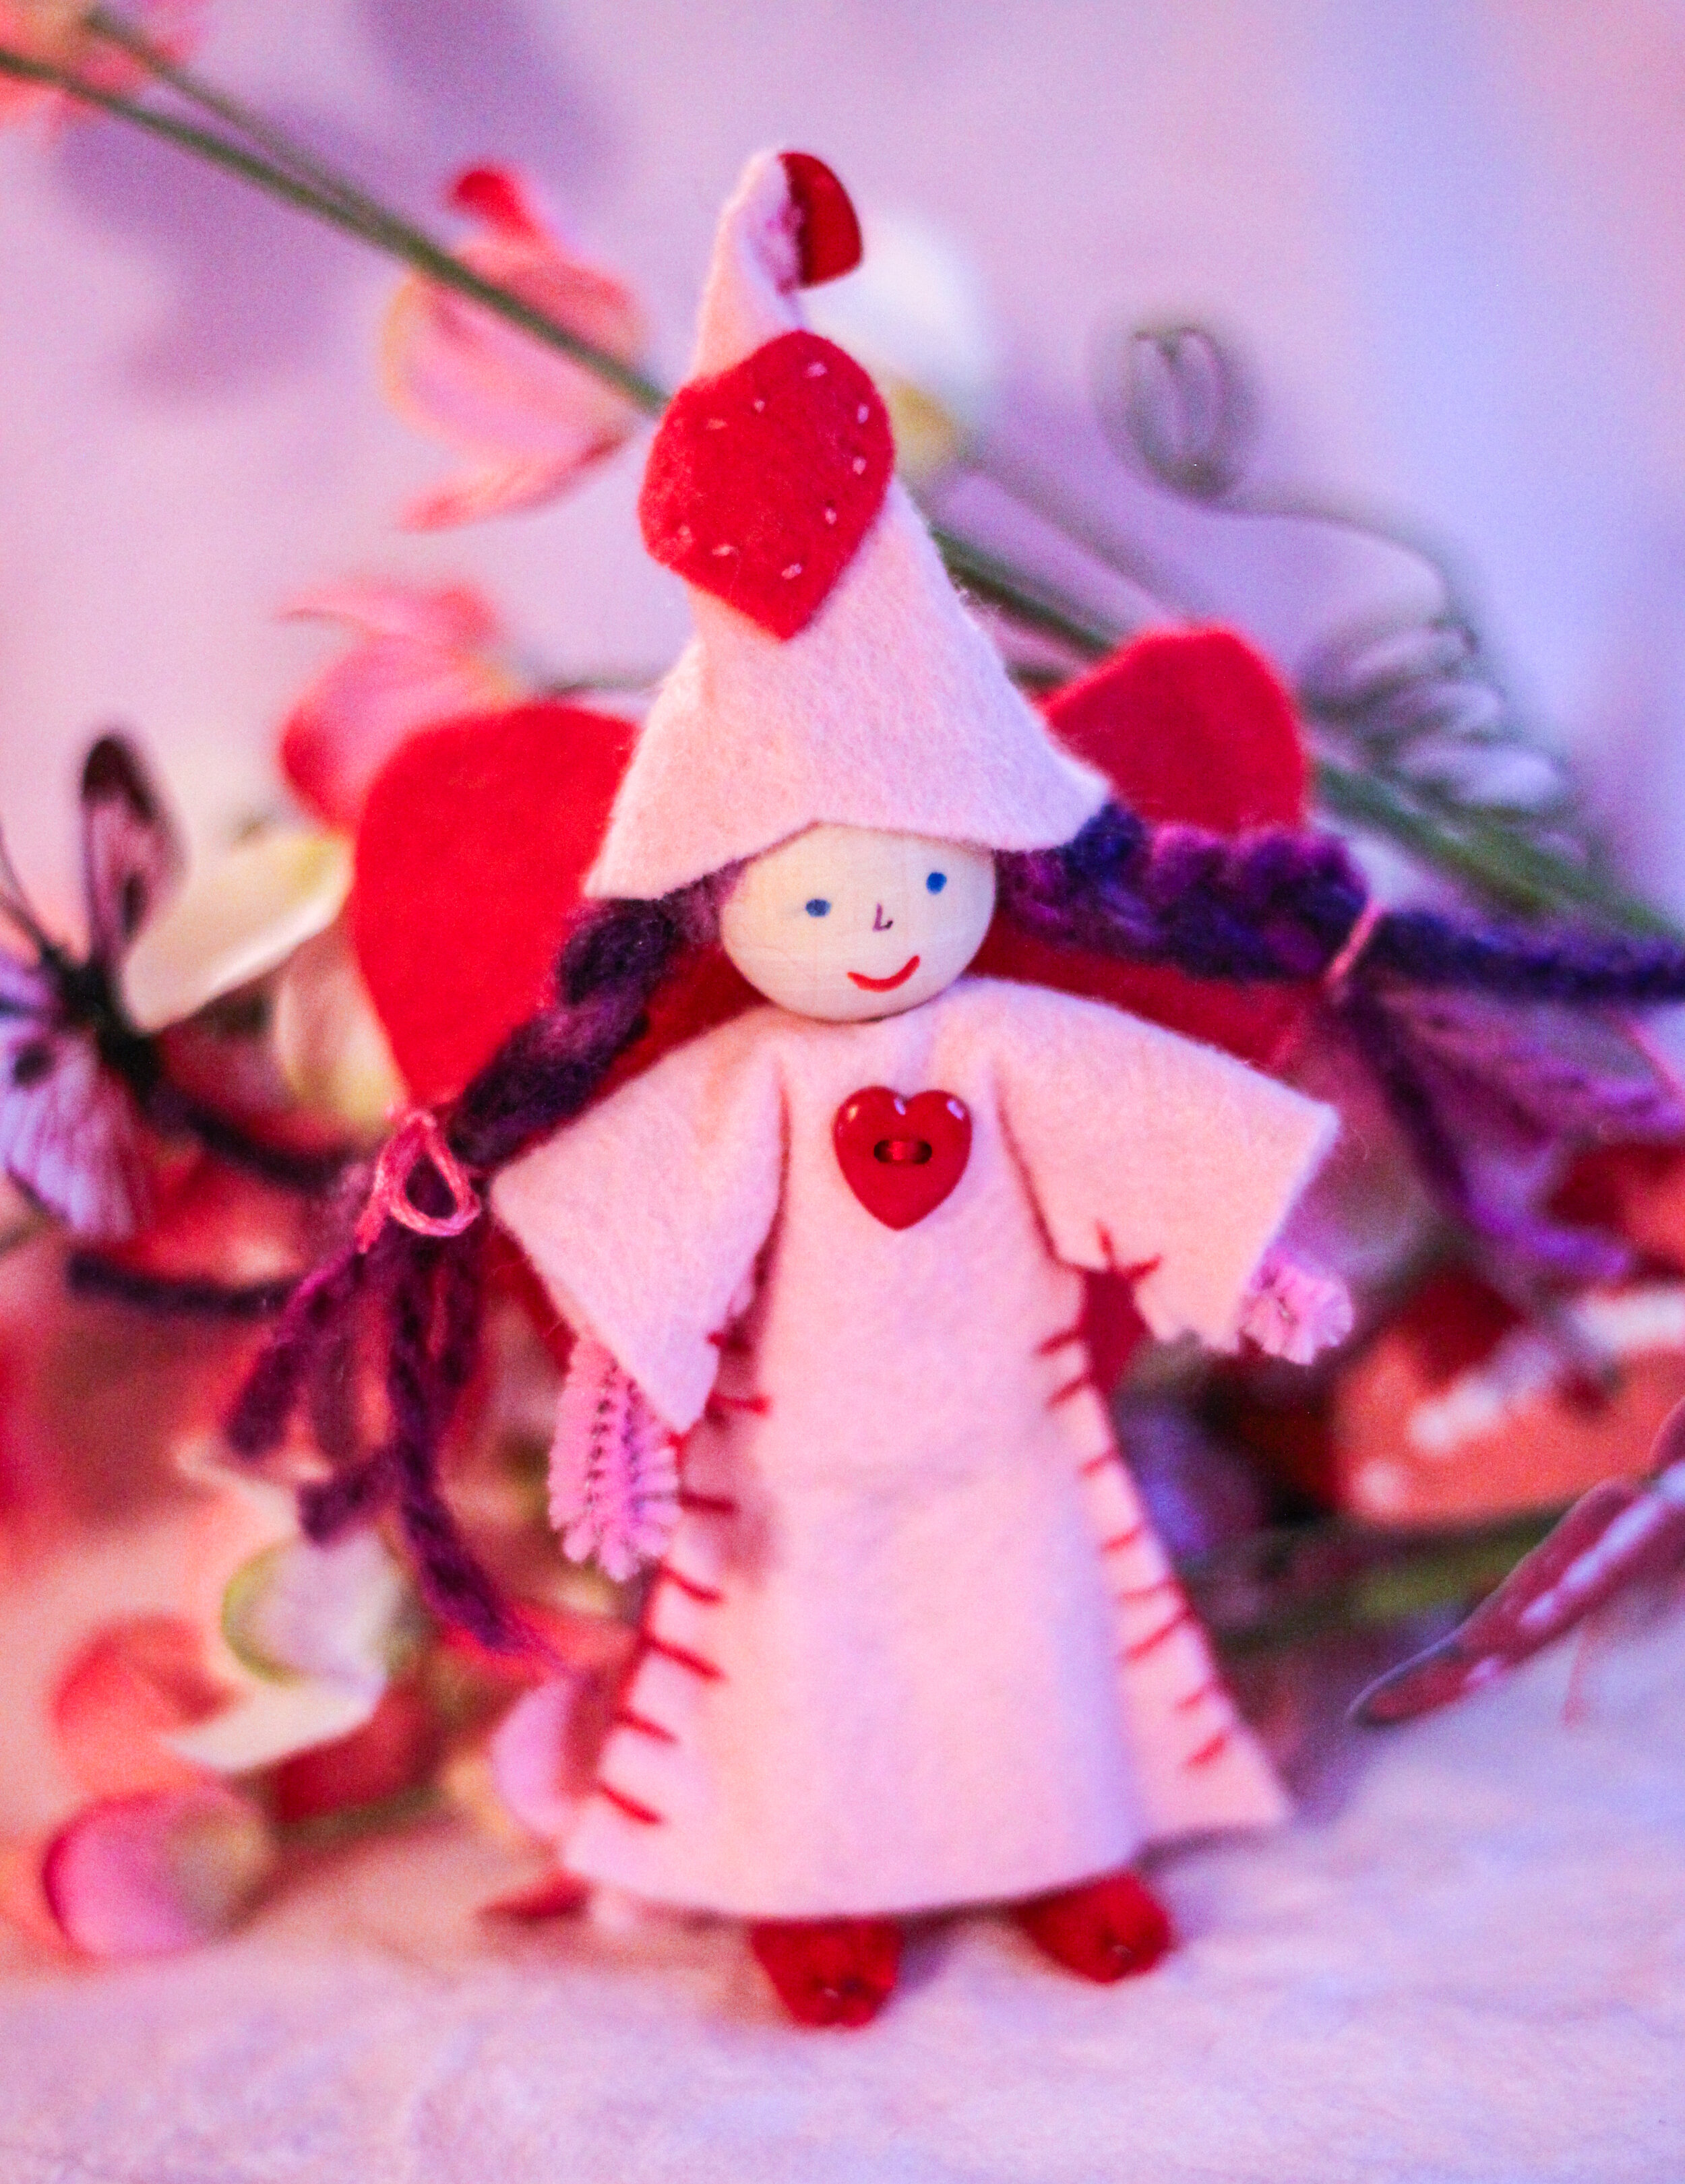
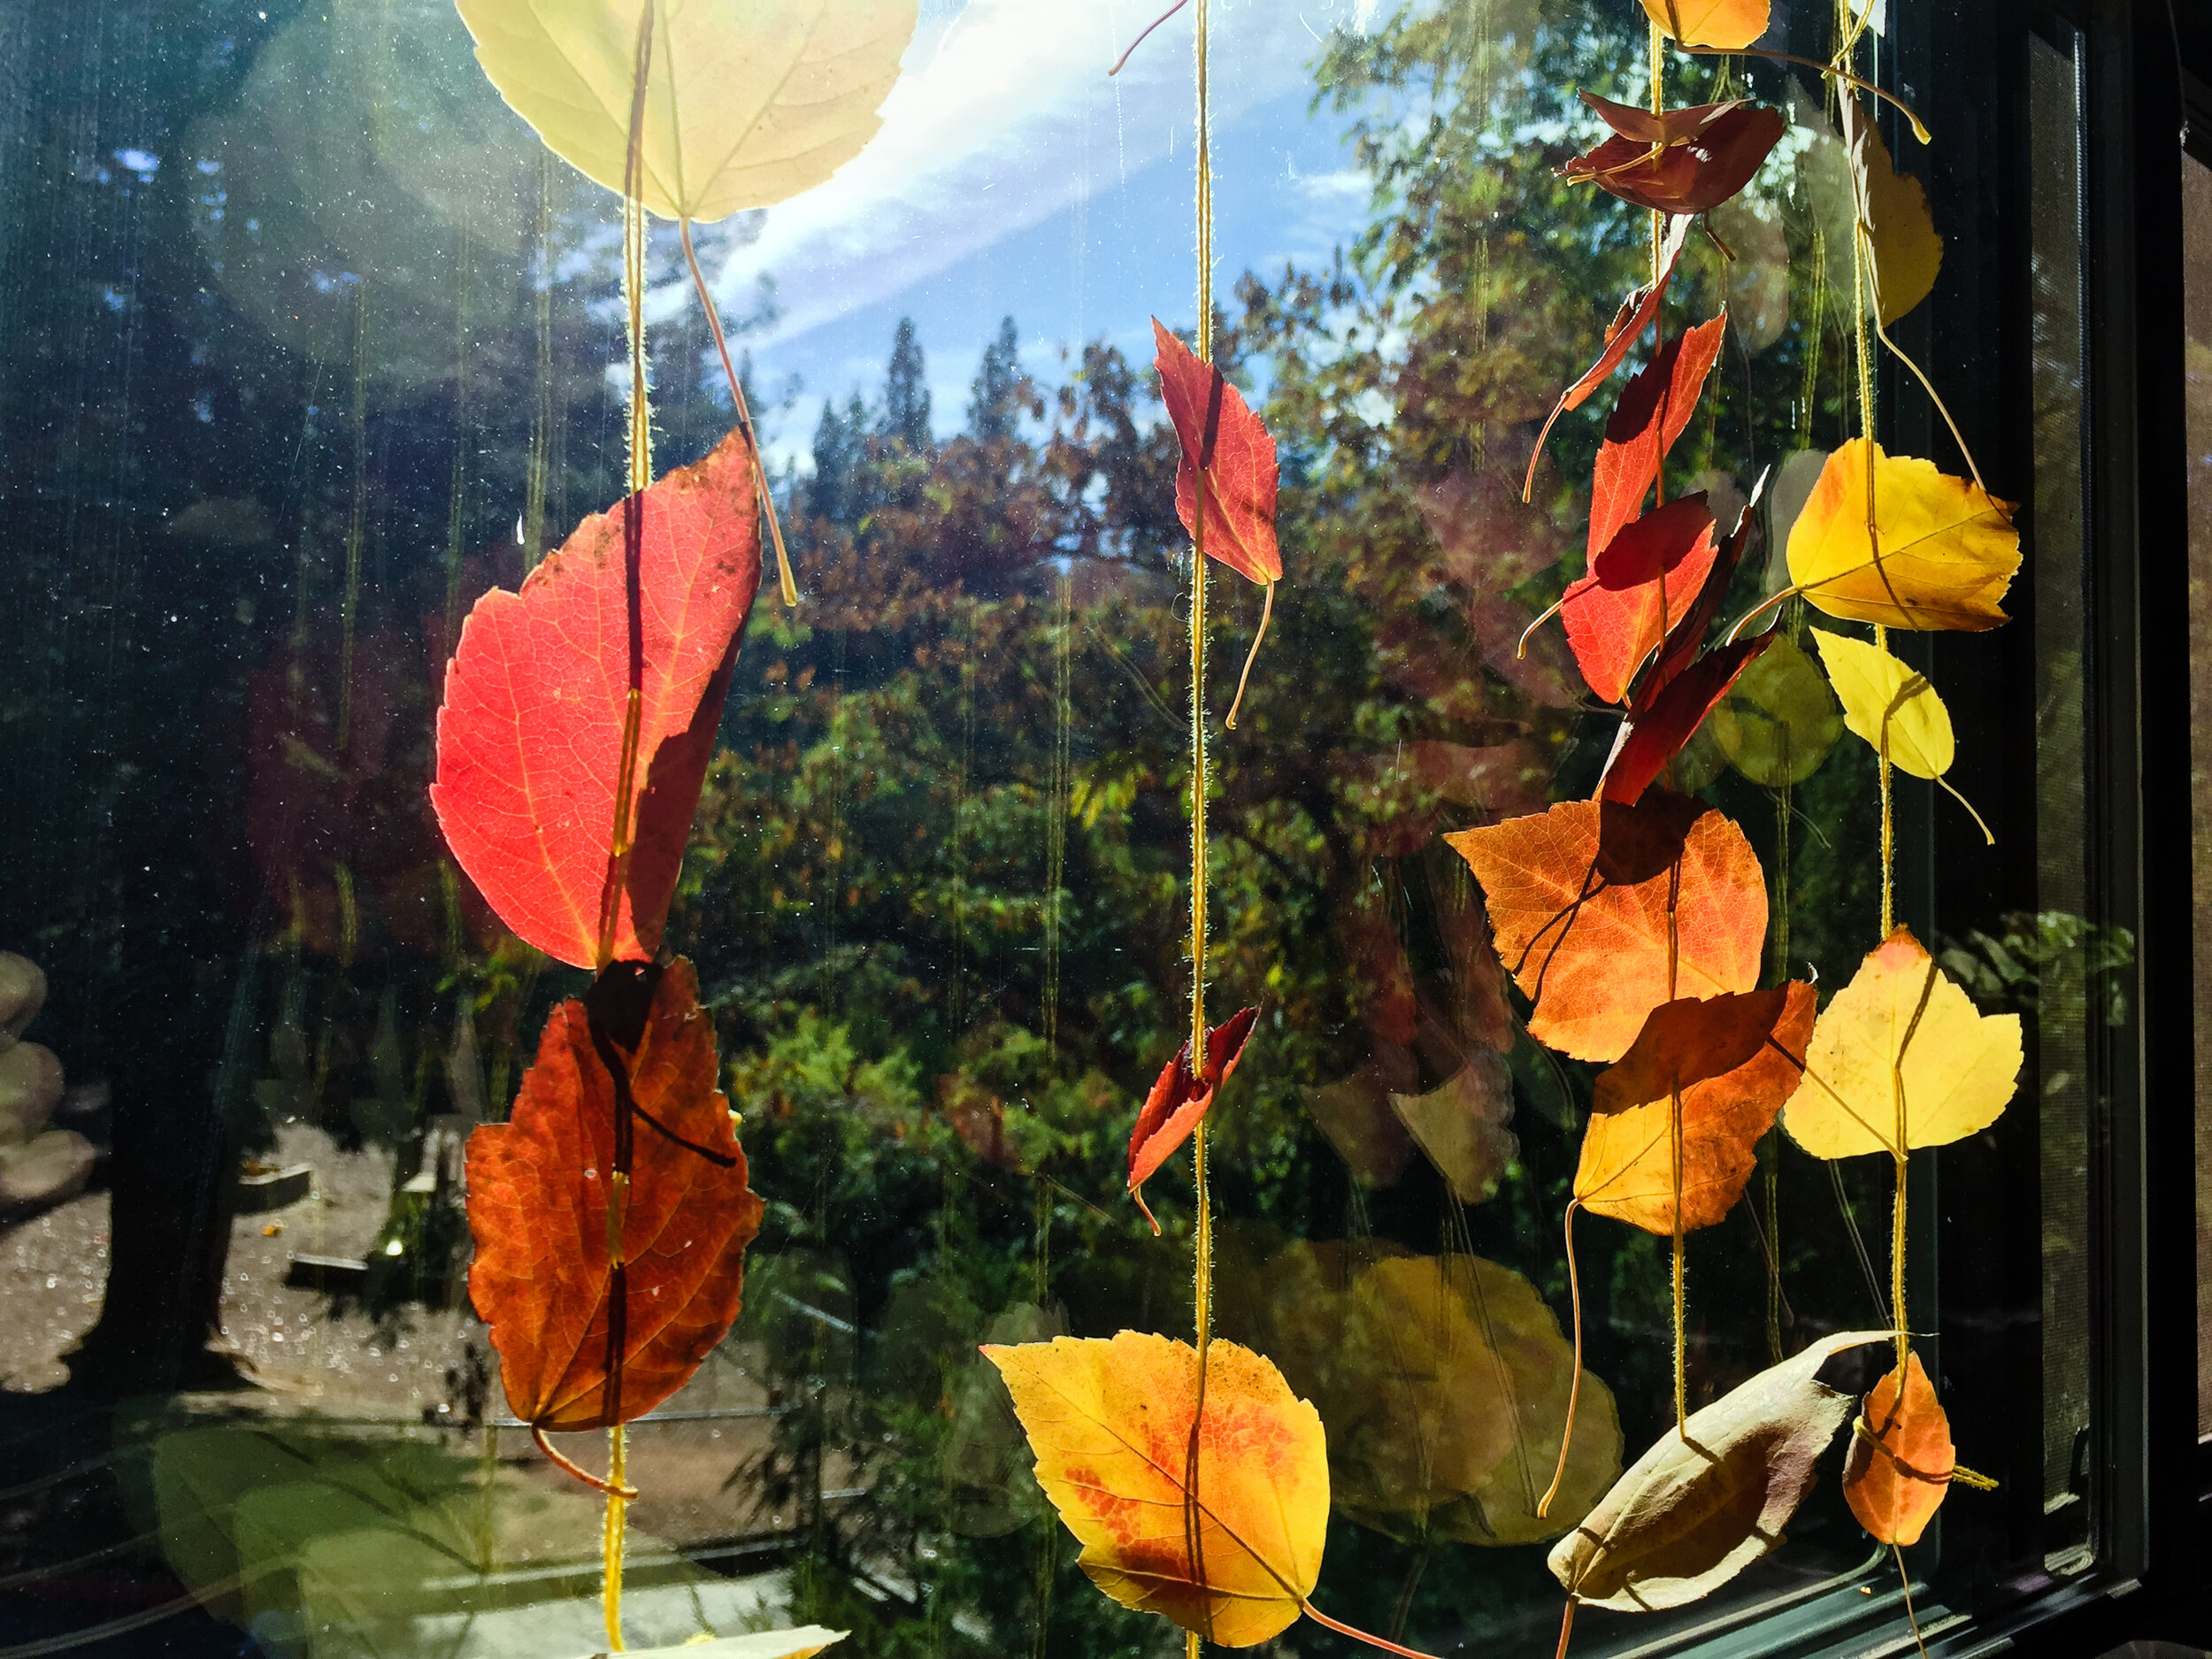
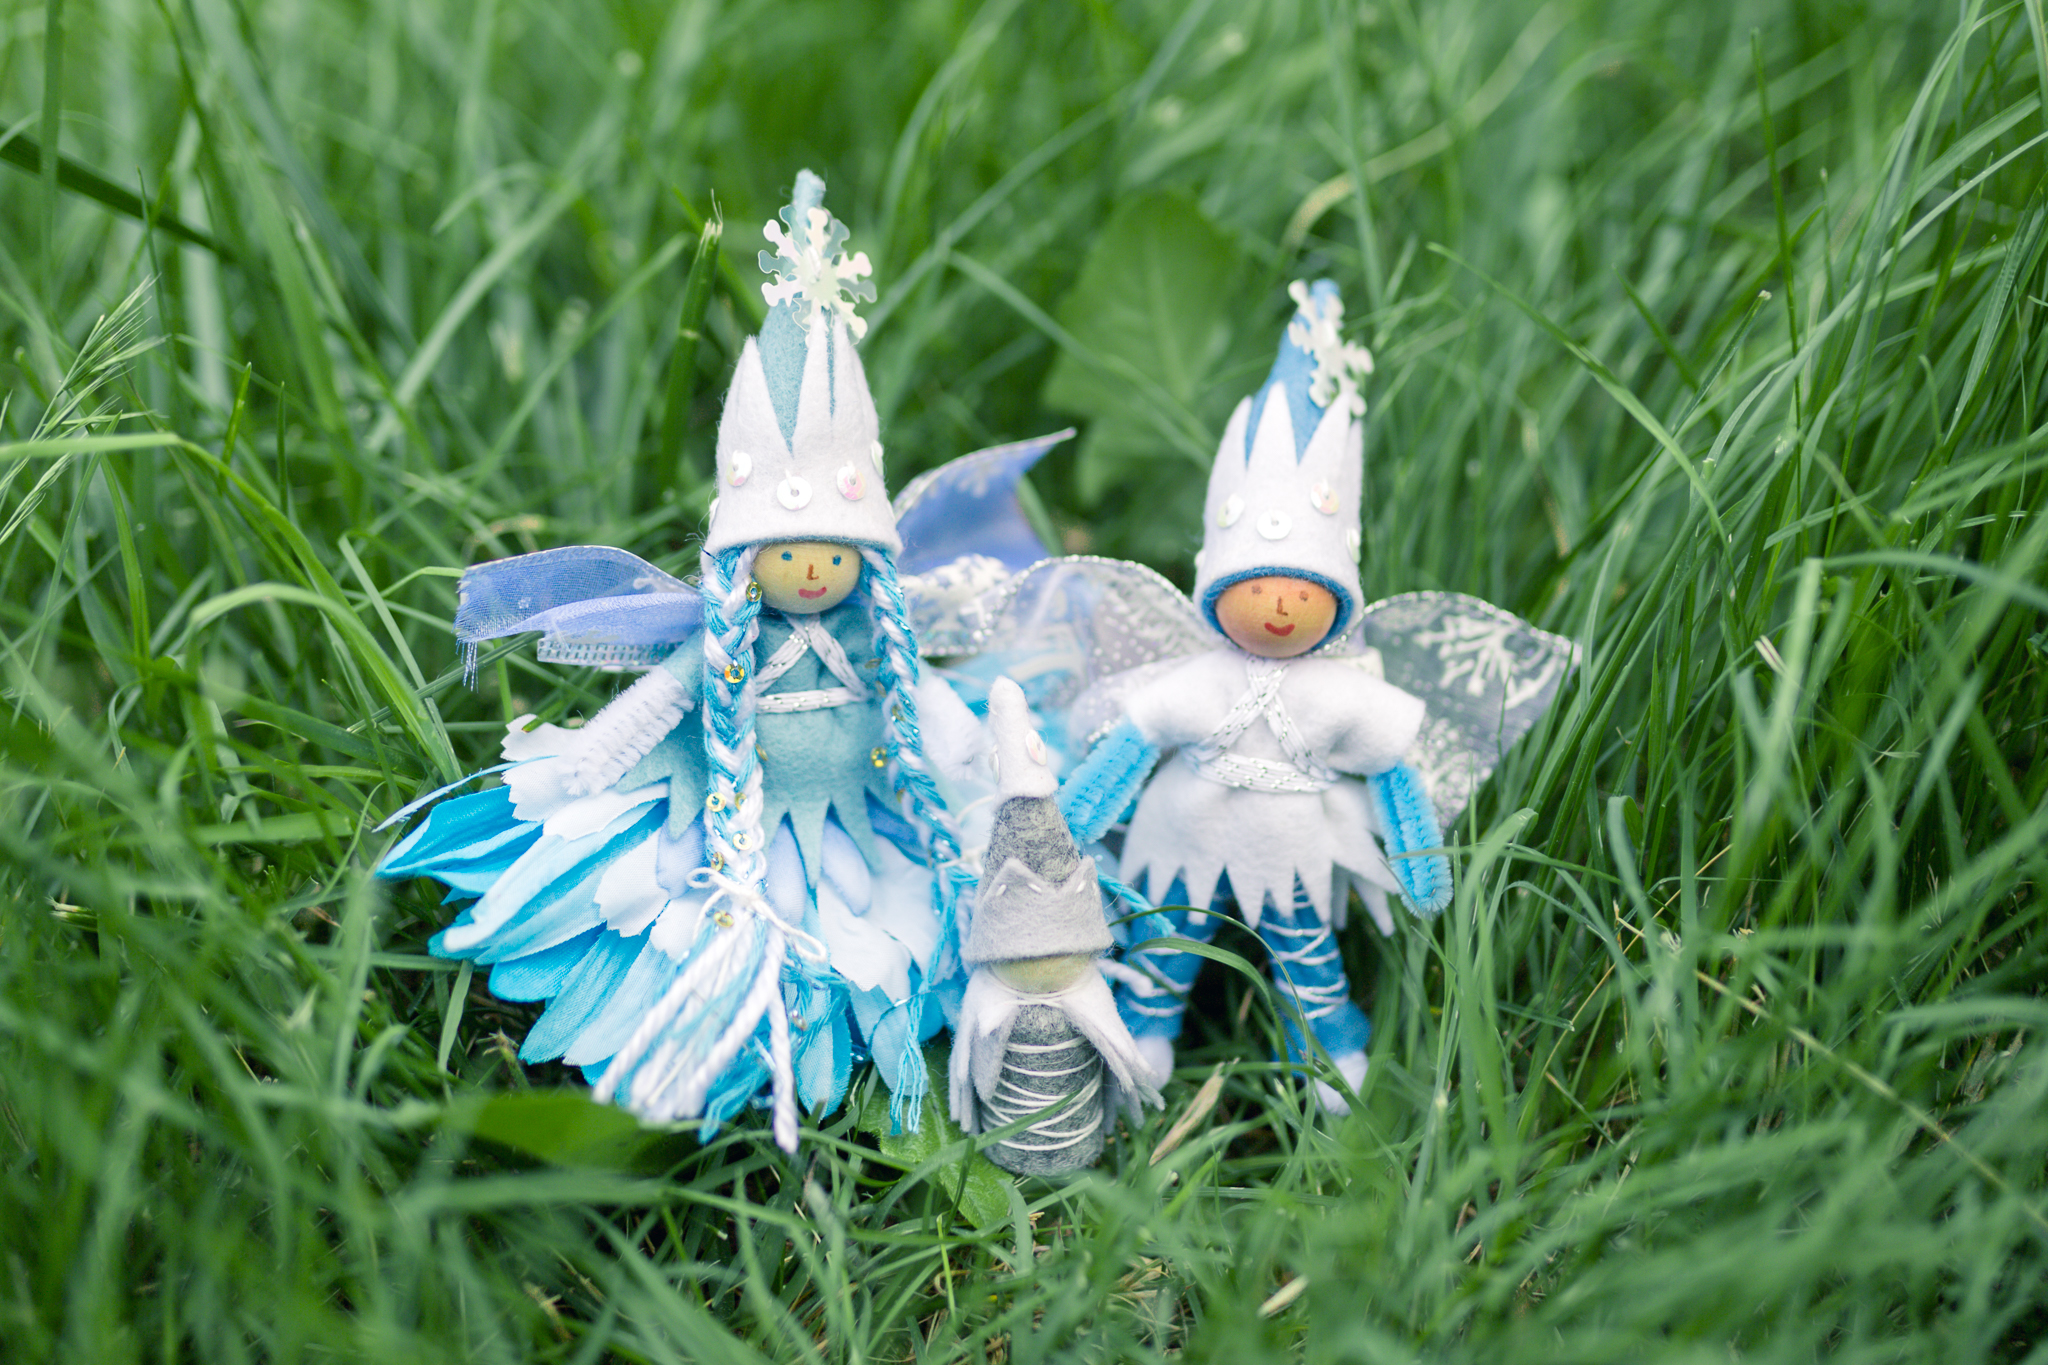
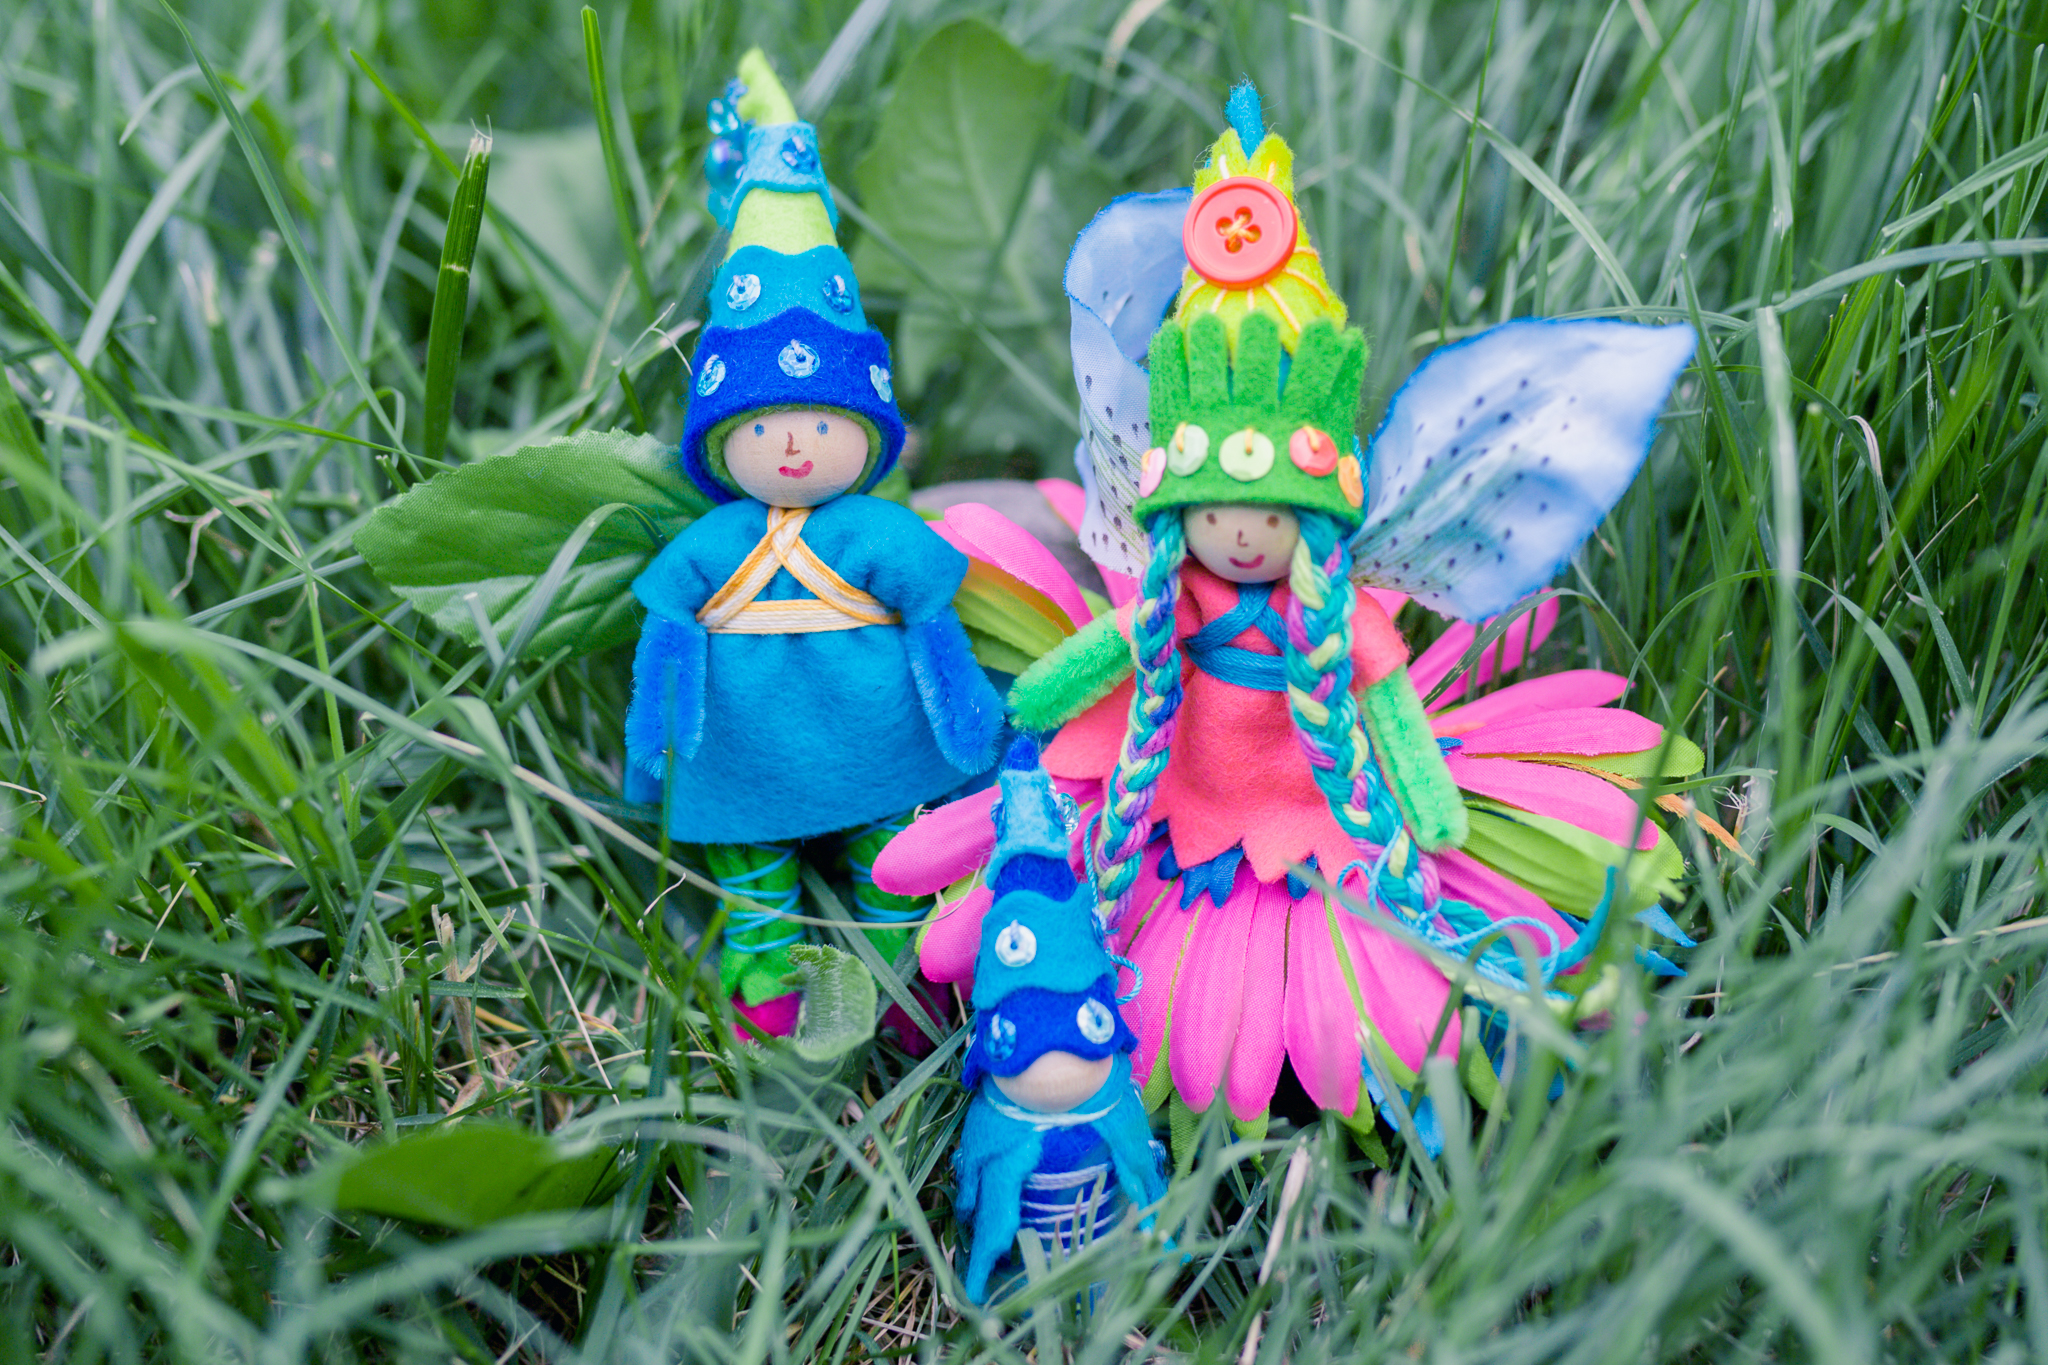
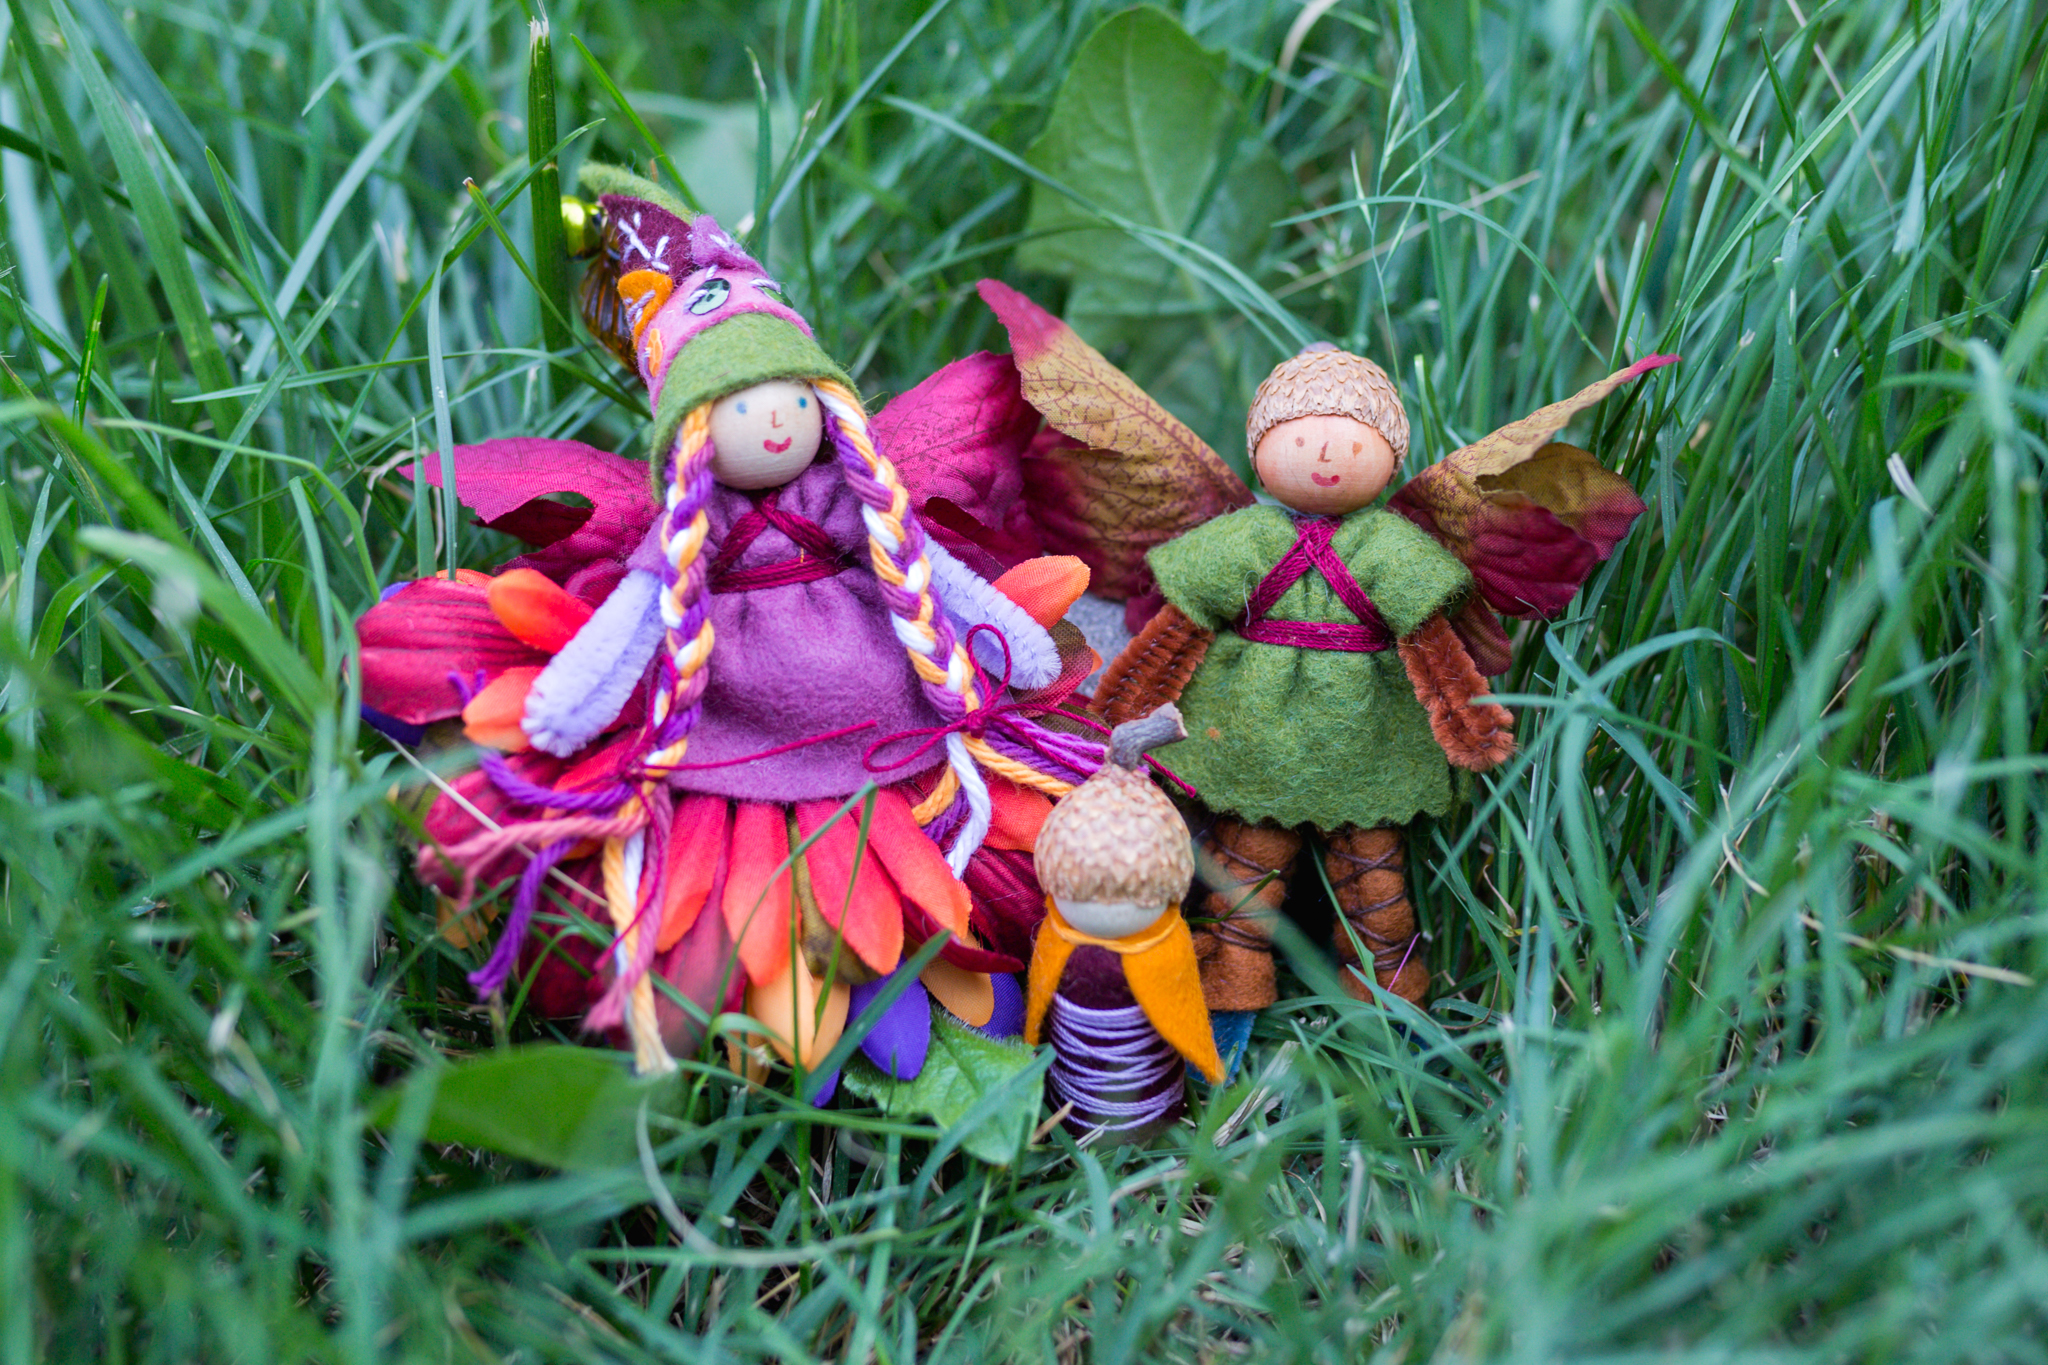
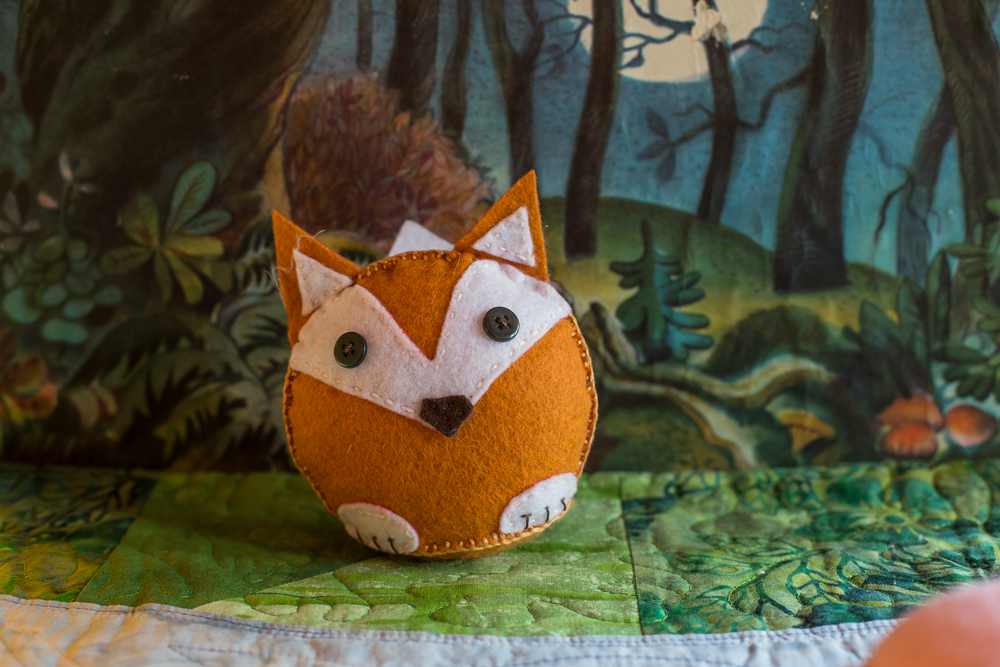
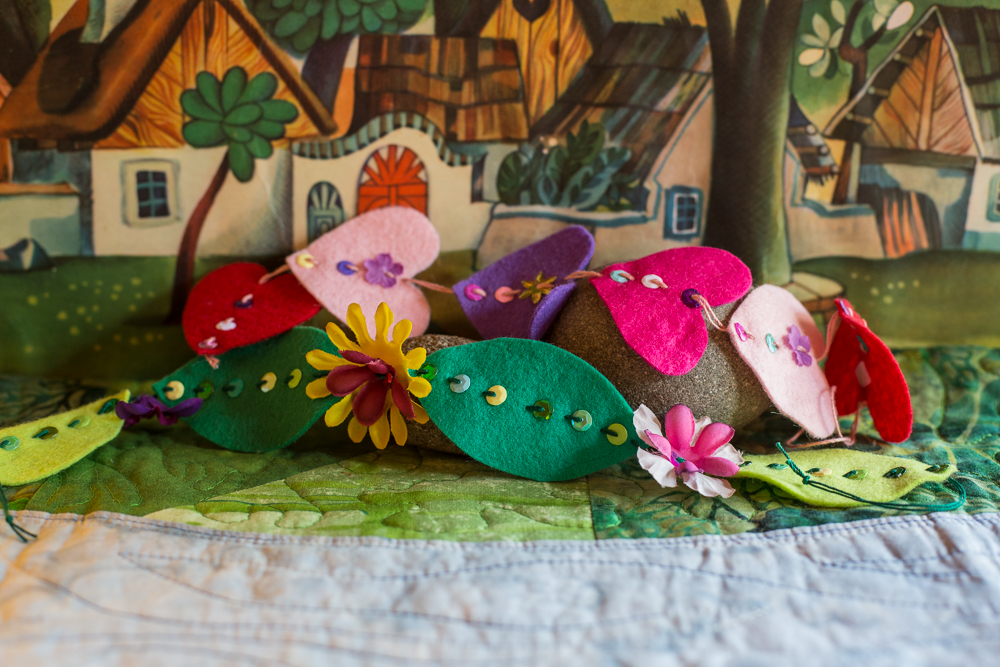
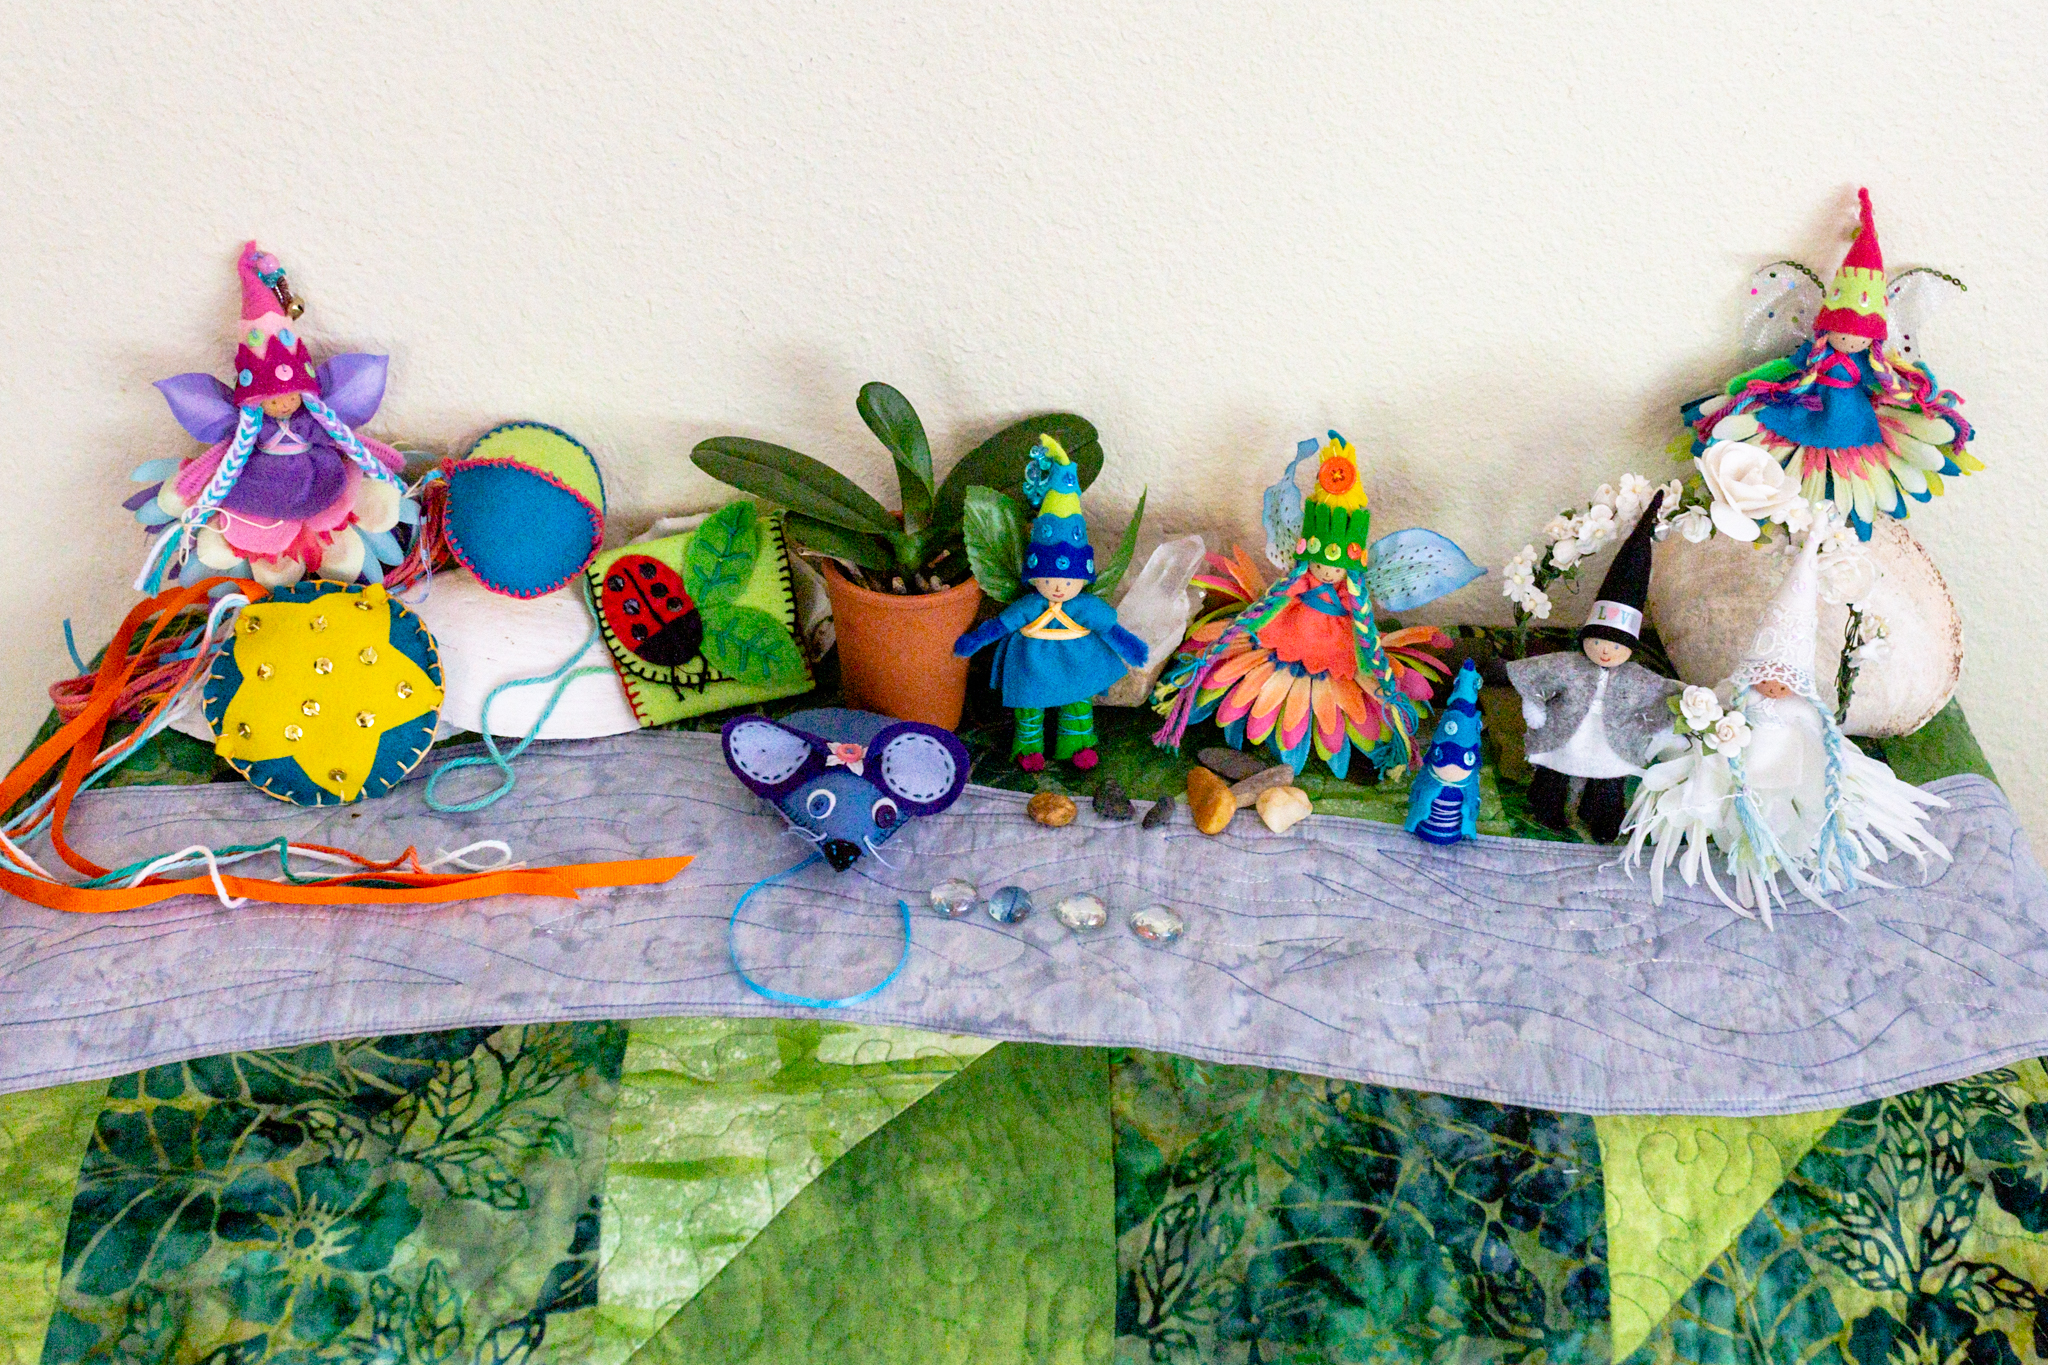
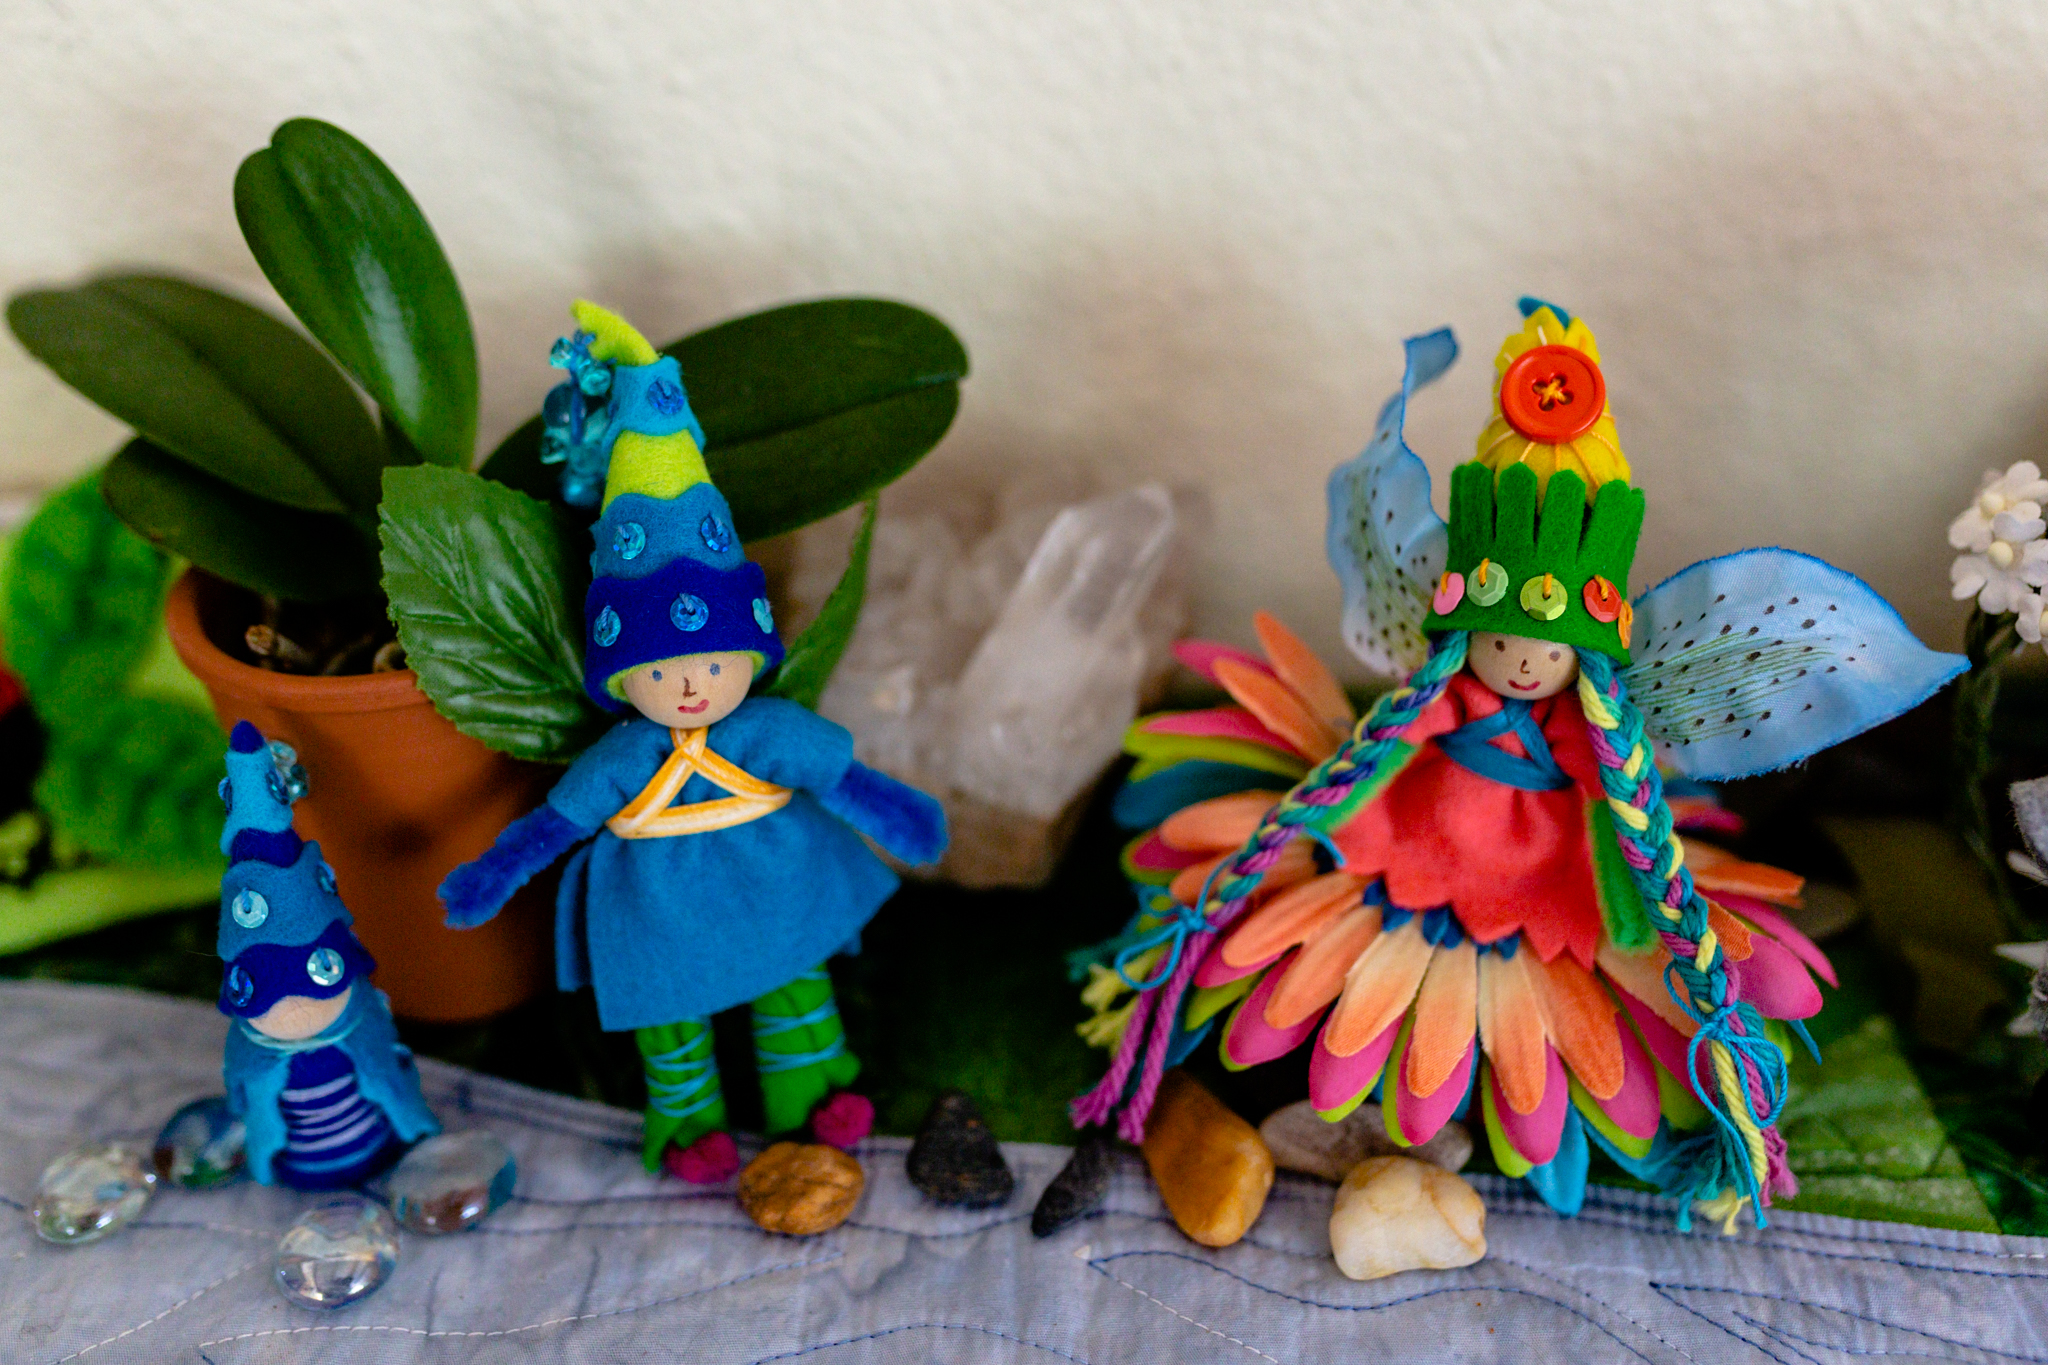
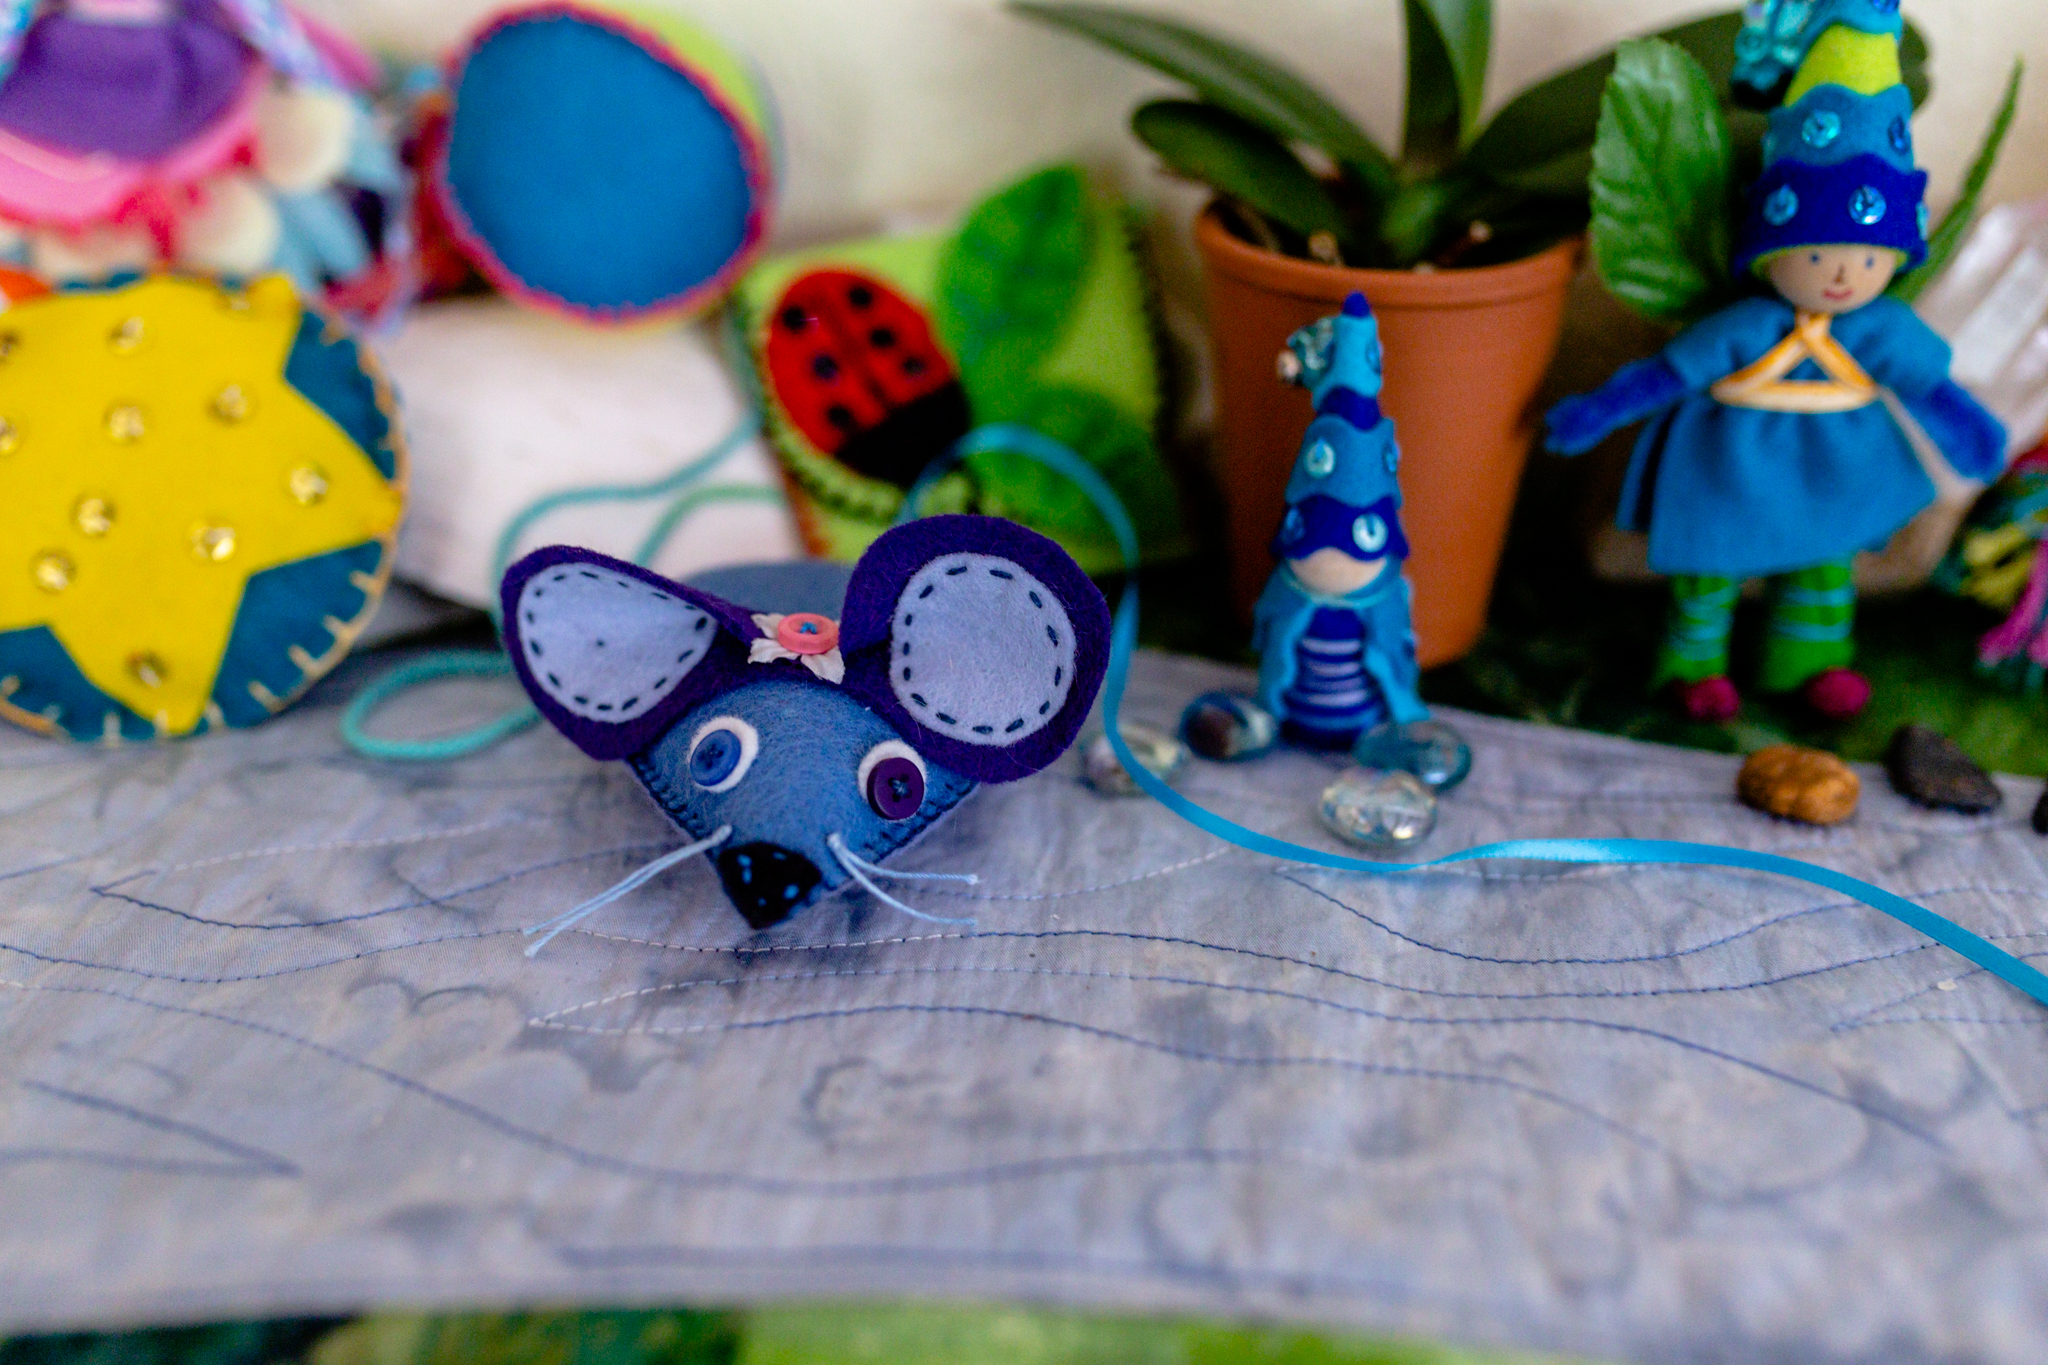
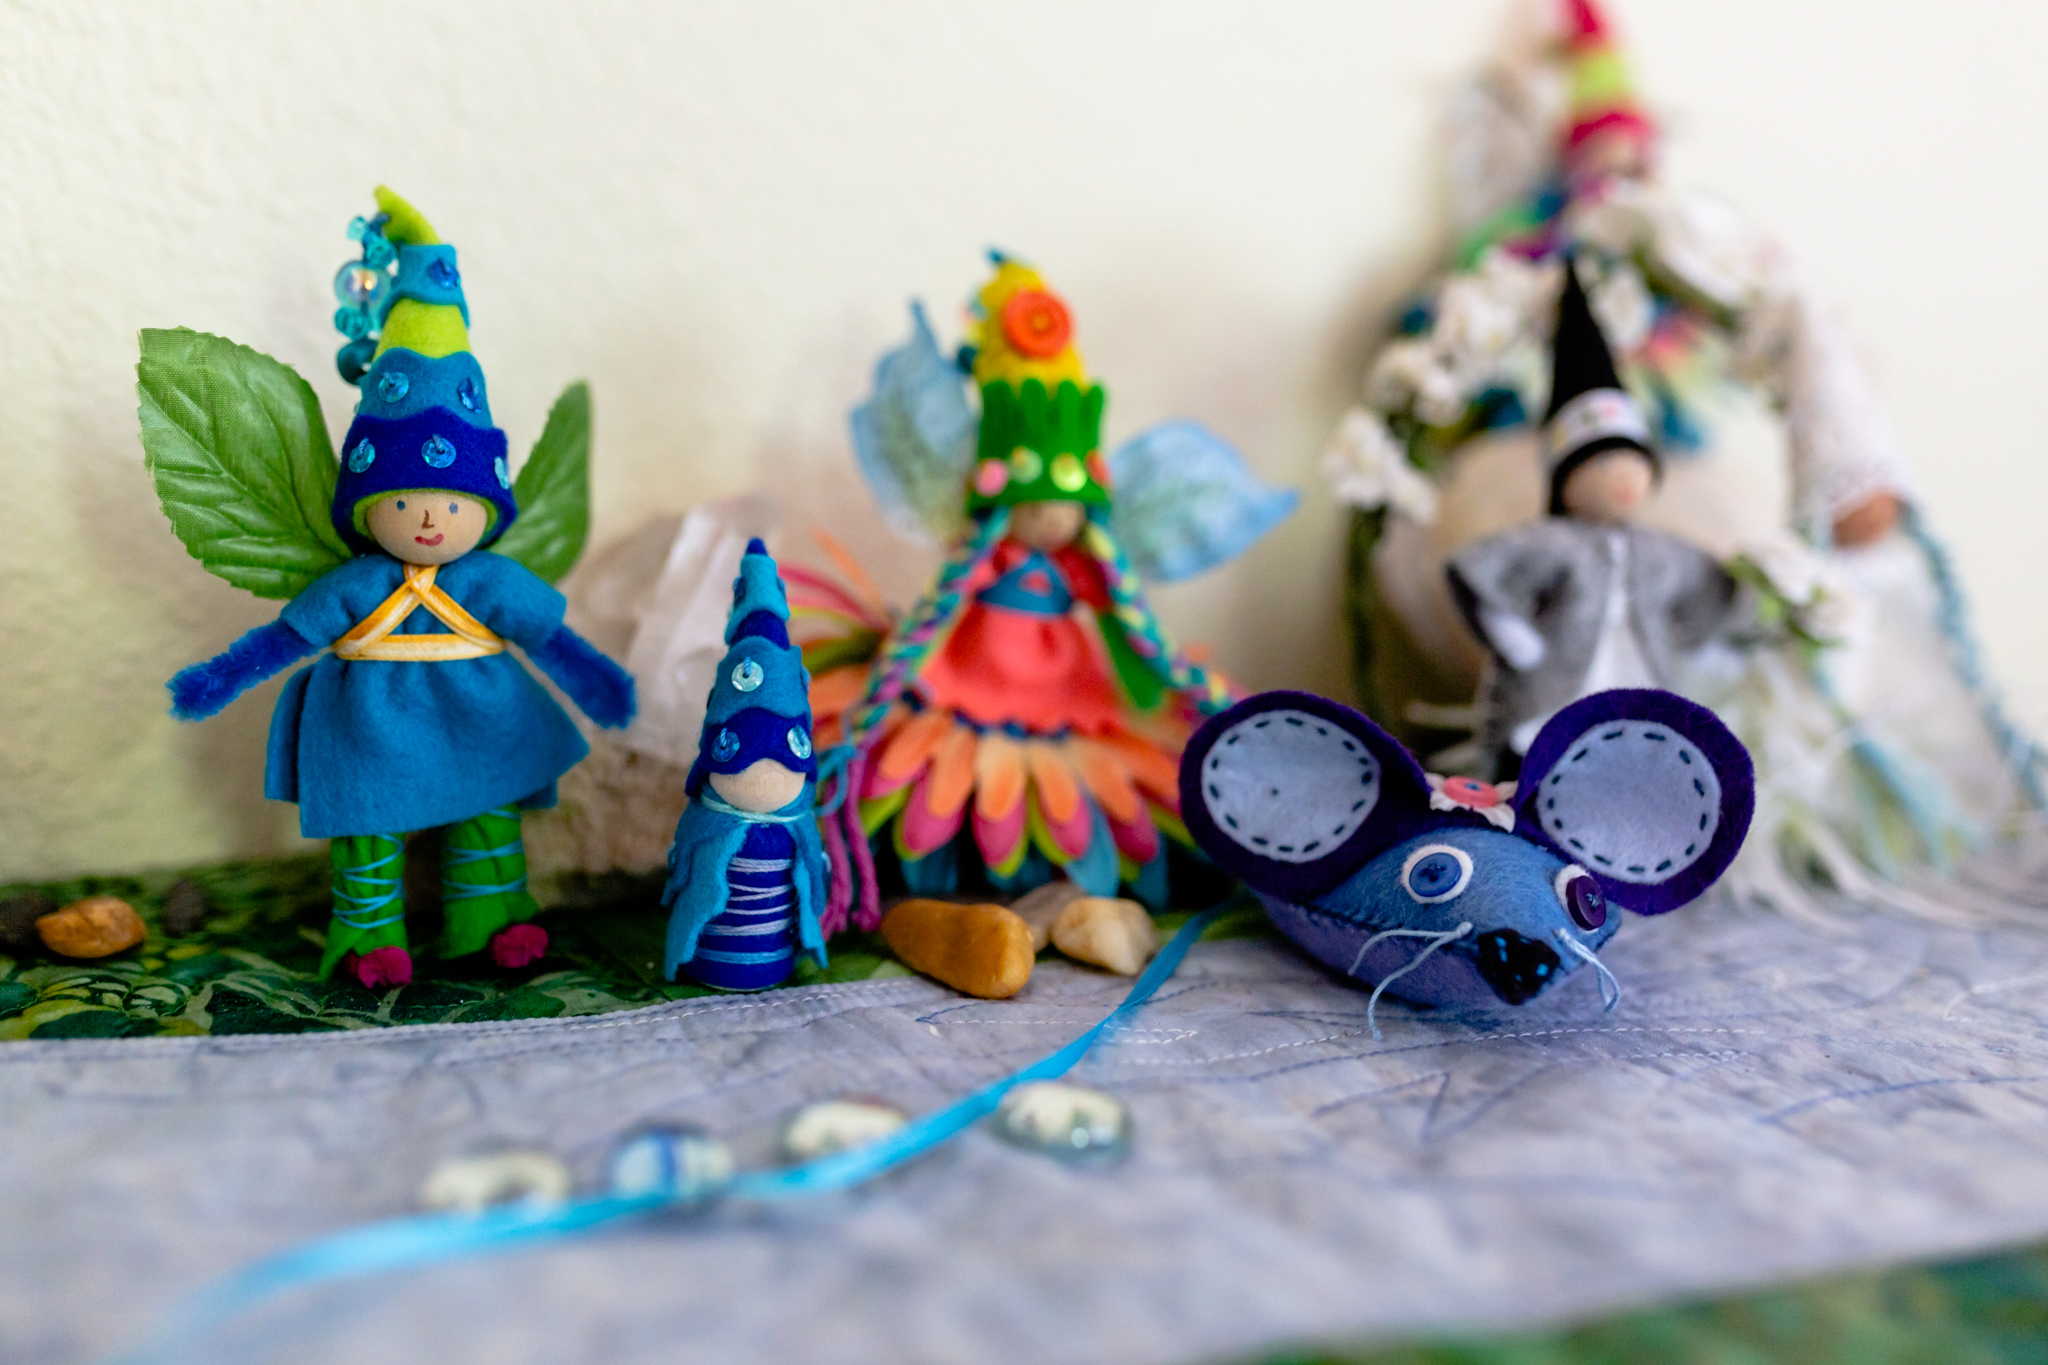
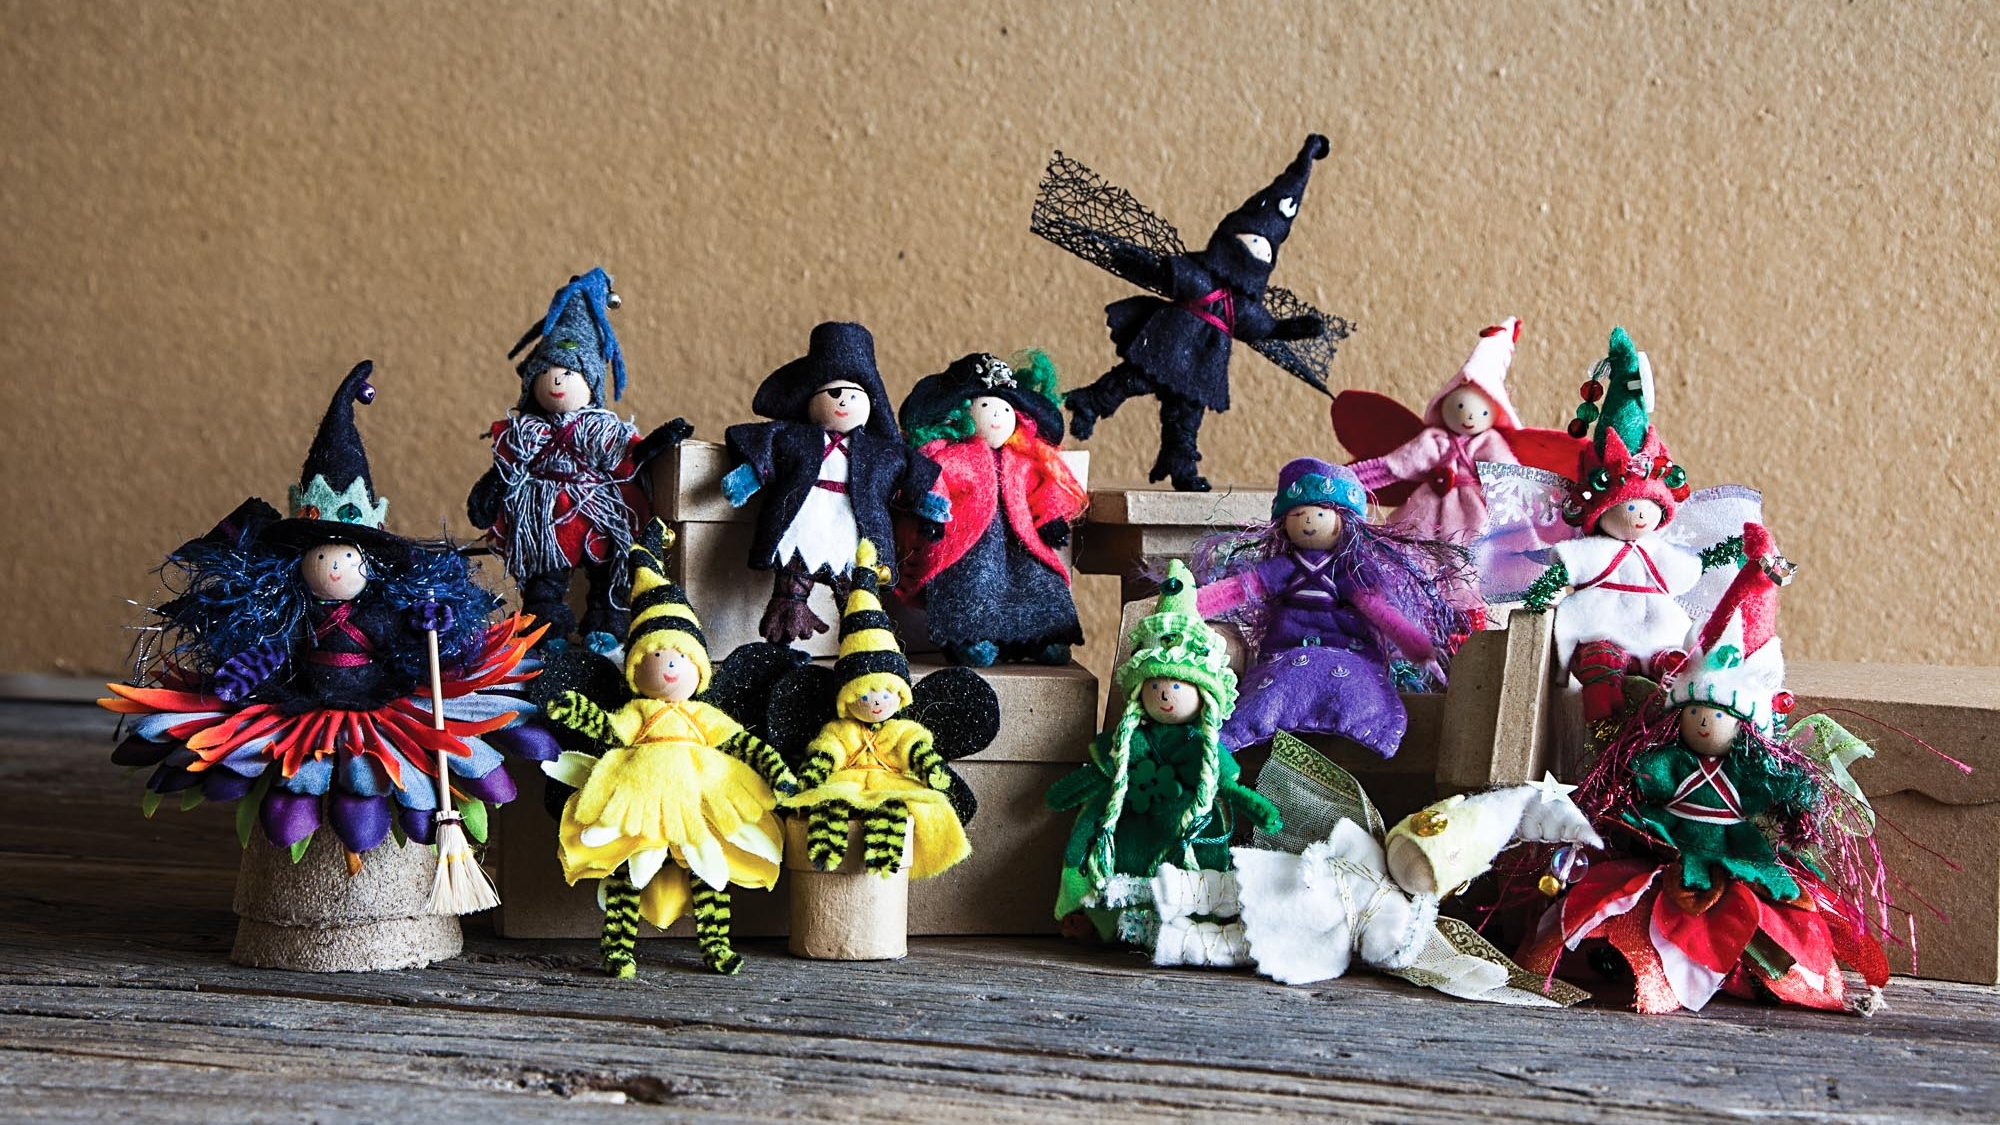
Welcome to the Forest. With delightful fairies, gnomes, and crafts that celebrate each season of the year. From a family of fairies to critters like a chubby fox and lavender mouse, to toys like a shooting star beanbag, to decorations like garlands and ornaments, our books share foundational sewing skills alongside new techniques that enchant children of all ages. We deliberately appeal to everyone with colors and variations for the entire family to enjoy. We are excited to share fairy crafts with you!
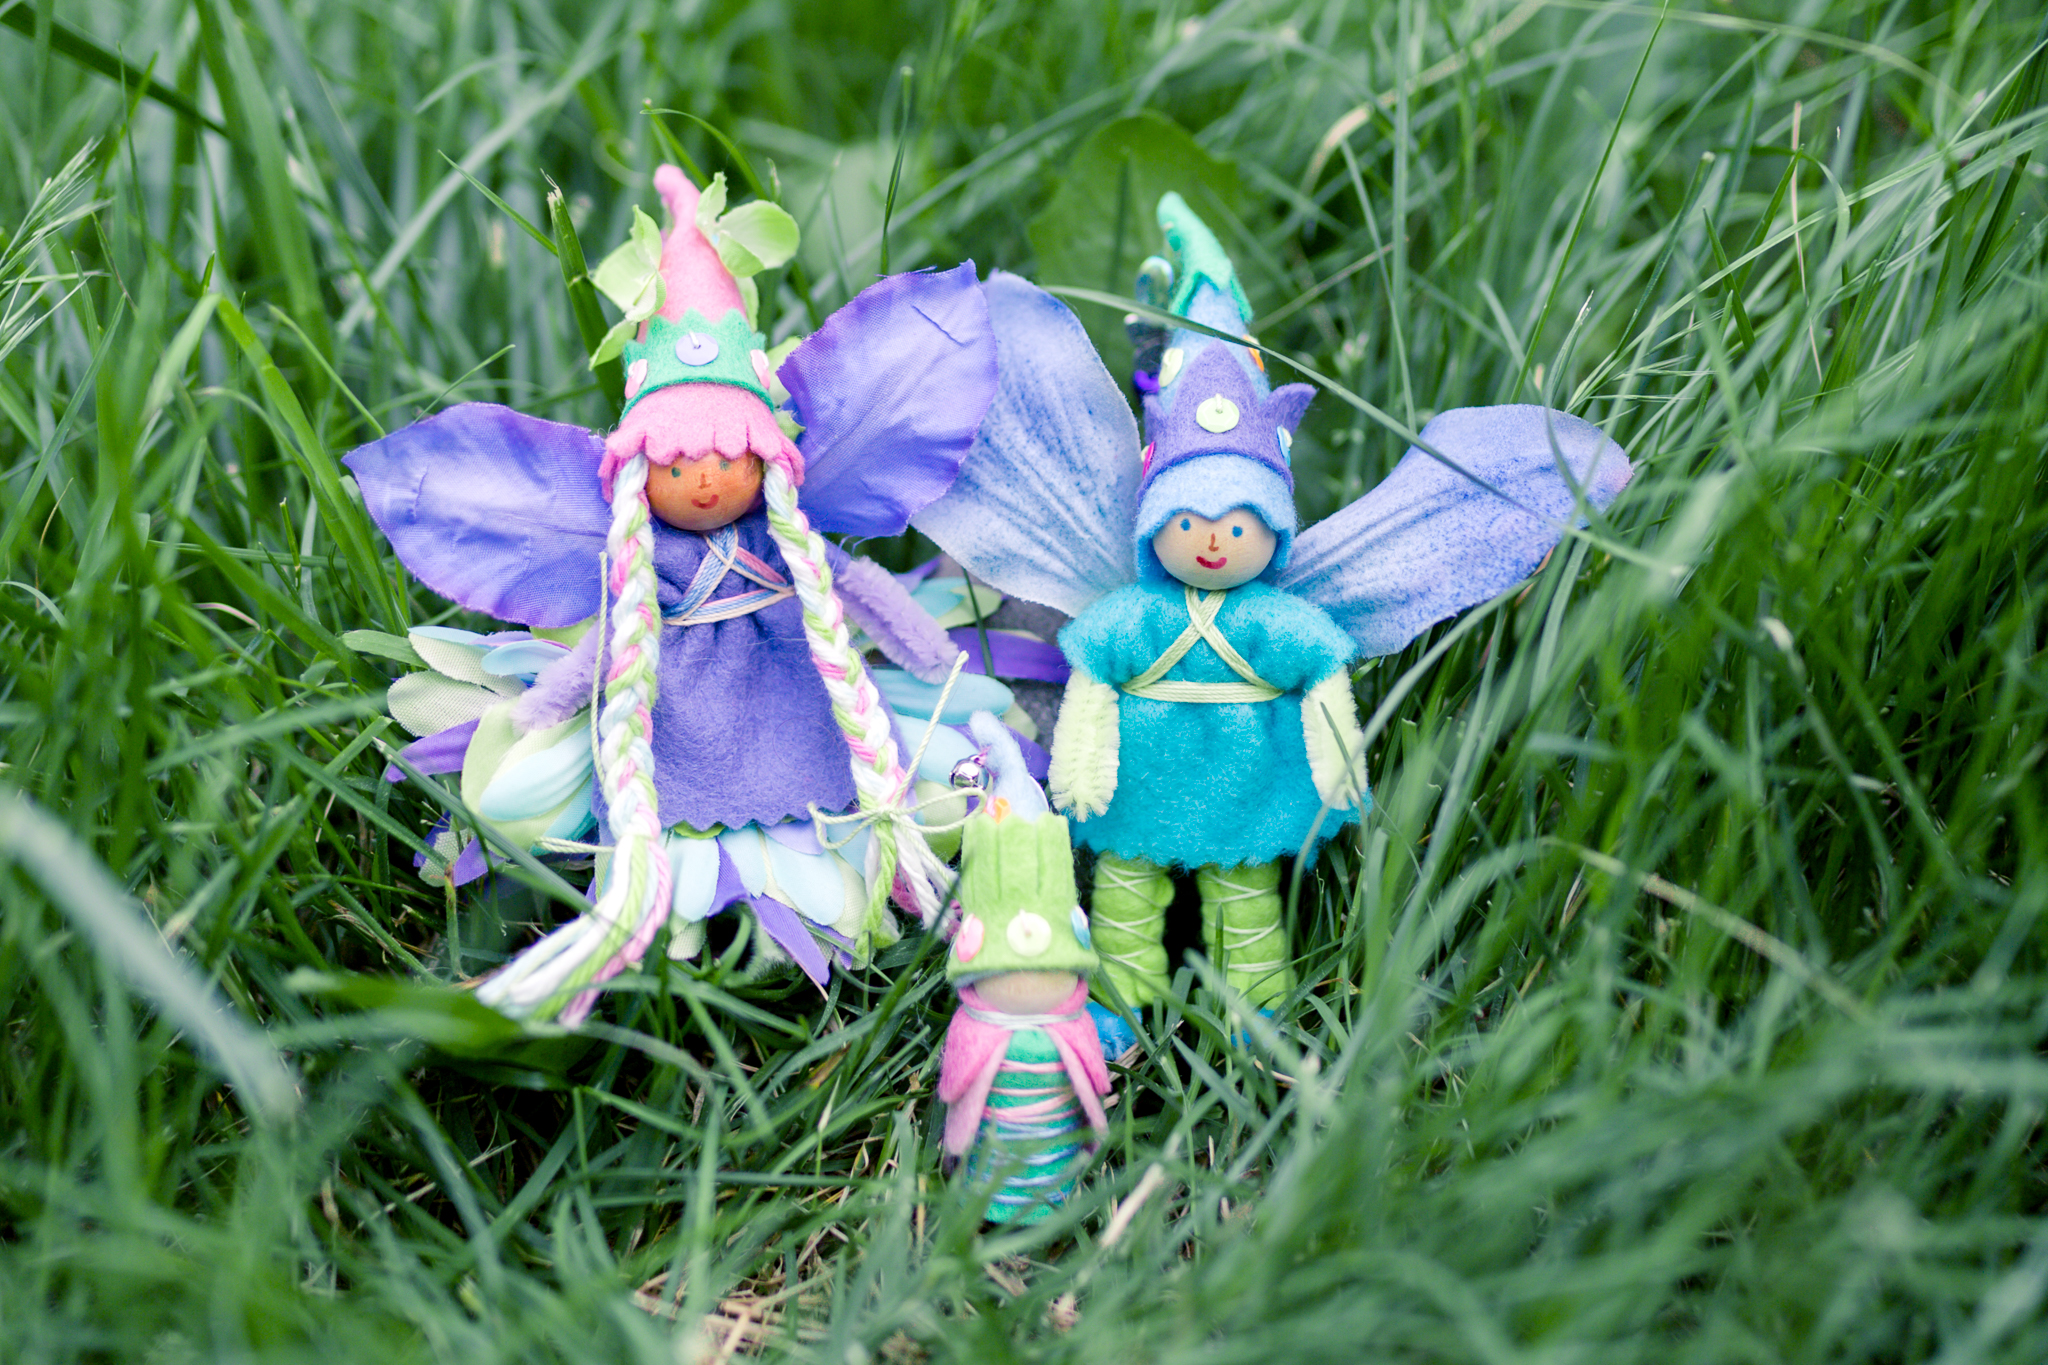

Forest Fairy Crafts is home for whimsical crafts and toys for children. Perhaps you are helping a child learn to sew. Or a creative adult making treasured toys for children. Or an adult looking for a new hobby. Or a mindful teacher inspired by handcrafts. Welcome!
We are a resource for parents, homeschool programs, classroom teachers, scout leaders, and grandparents. We share our tried and true tricks for successful sewing and toy making.
Explore the forest. Imagination awaits!
Sign up for our Newsletter here for projects and inspiration delivered to your inbox.
All photography provided by Lenka Vodicka and C&T Publishing

We Believe
We believe in the value of slowing down. We believe that sharing time together is valuable. We believe that handmade toys and gifts are treasures. We believe that all children, girls and boys, younger and older, learn valuable skills while having fun crafting. We believe in the magic of making. We believe that adults also love making little cute things. We all enjoy smiling.
Learn and Grow
The change of season may bring beginnings. Holidays are an ideal time to craft gifts and decorations. Adults and children alike enjoy creating fairies, critters, and decorations. Fairy crafts were first created in a classroom. Crafting with friends is fun! We are creating new projects to share. For updates, sign up for our new Newsletter.


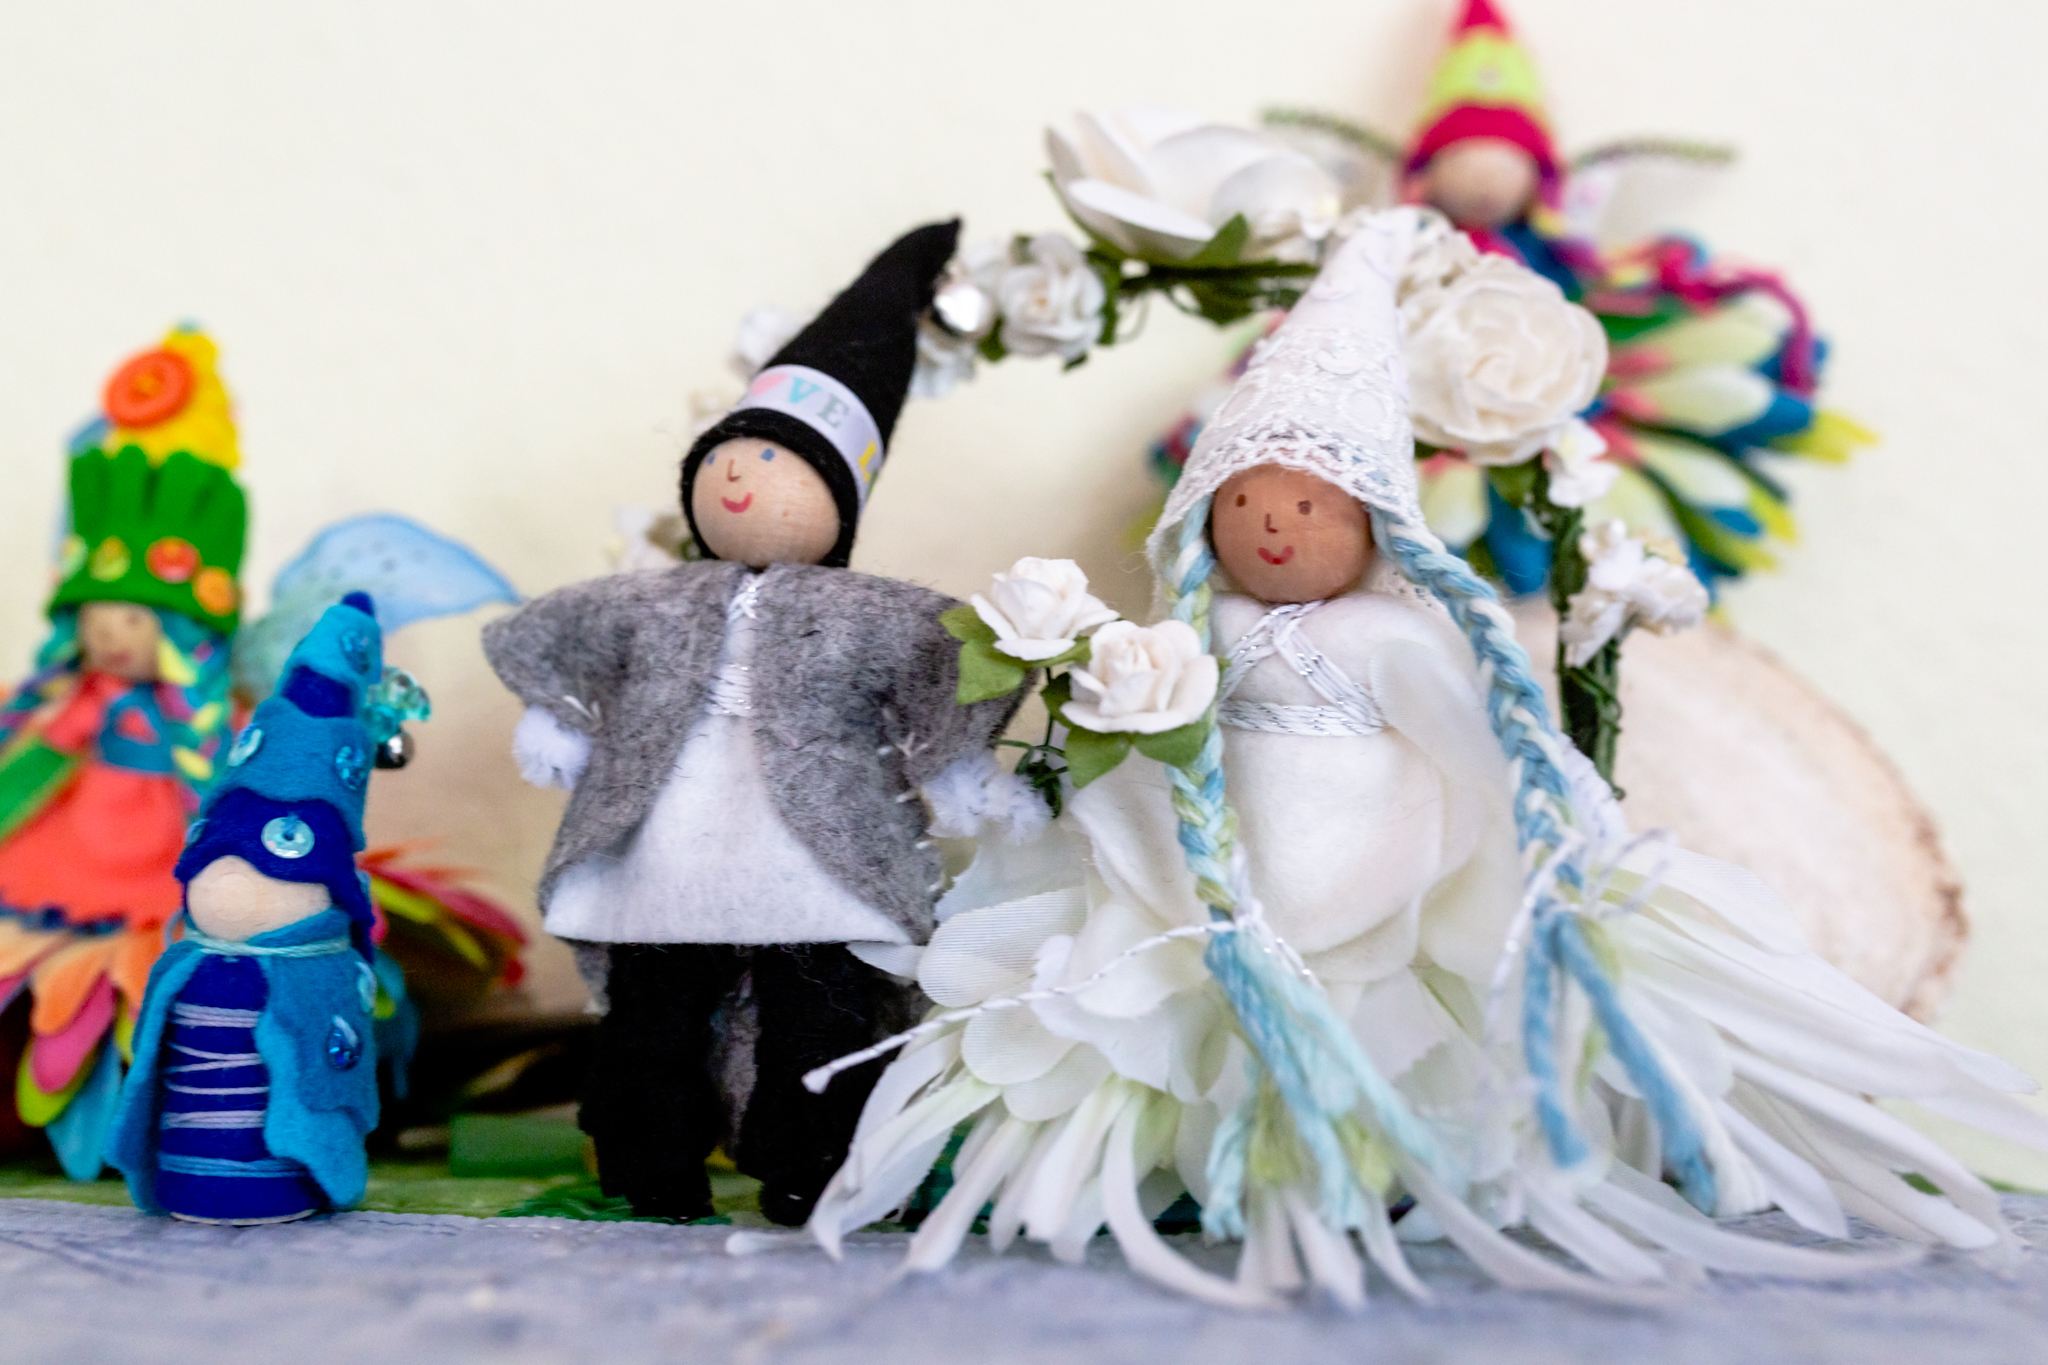
We are so excited to share more projects with you! Our new book is Magical Forest Fairy Crafts Through the Seasons*. We celebrate all the ways the seasons bring magic to the world. From spring blossoms to winter ornaments, the fairy forest inspires all year.
This book, also with FunStitch Studio at C&T Publishing, shares new fun seasonal projects. Discover our books on Bookshop.org supporting independent booksellers.
Winter, spring, summer, fall, forest fairies love them all ❄️🌸☀️🍁
Our first book was published by FunStitch Studios at C&T Publishing. Our book shares 28+ projects. Each project has a dress version and a shirt/pants version of the fairy or craft.
The first draft used over 500 images because we know that children (and many adults) are visual. We show each step along the way.
The amazing team at FunStitch Studios chose lovely colors and layouts. The book is a true labor of love! Along with the crafts, we share tips for stitches and successful hand sewing. The Forest is delightful to share with family and friends.
“I just can not say enough good things about this book. I have actually gotten two, my first one is getting so worn I wanted to be sure I had one to put on the shelf to pass along to my grandbabies.”