

Autumn Leaf Decoration: Nature Craft
Children (and adults) enjoy collecting autumn leaves. Wandering around neighborhoods or trails shares any number of splendid fall leaves. We collect them on the nature table and use felt leaves for garlands. Then I wondered if we could create something lovely using real leaves.
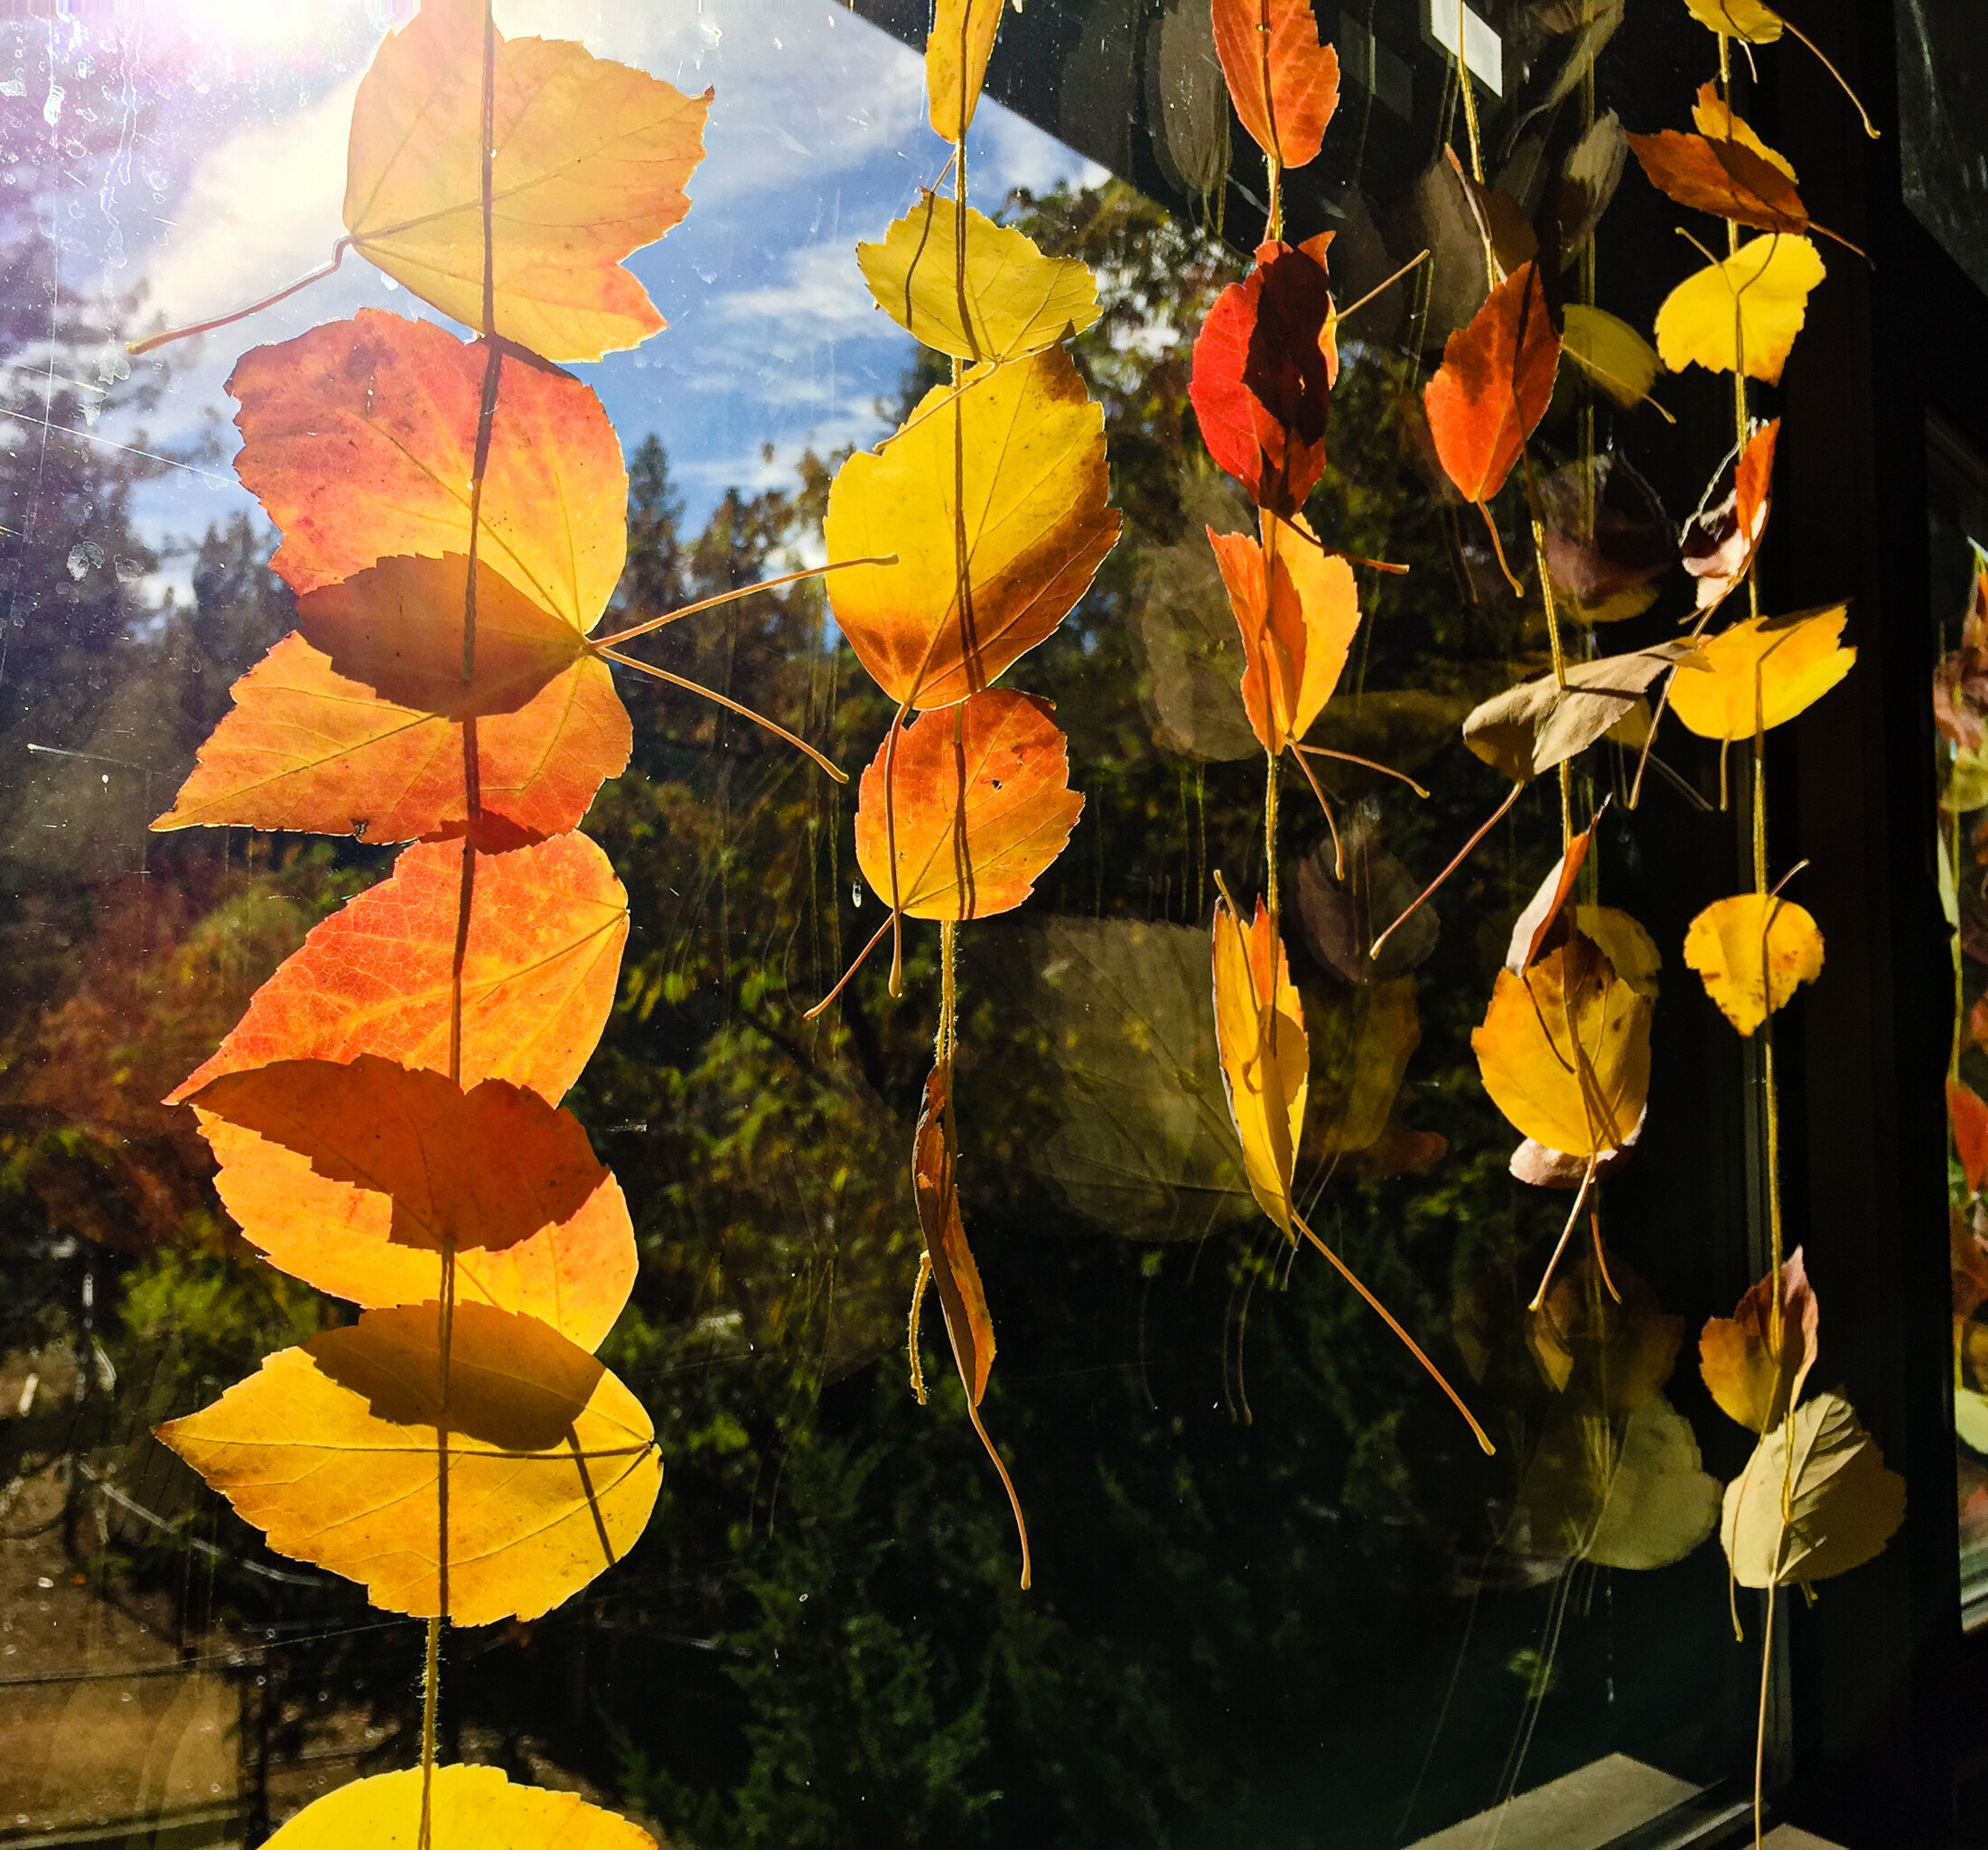
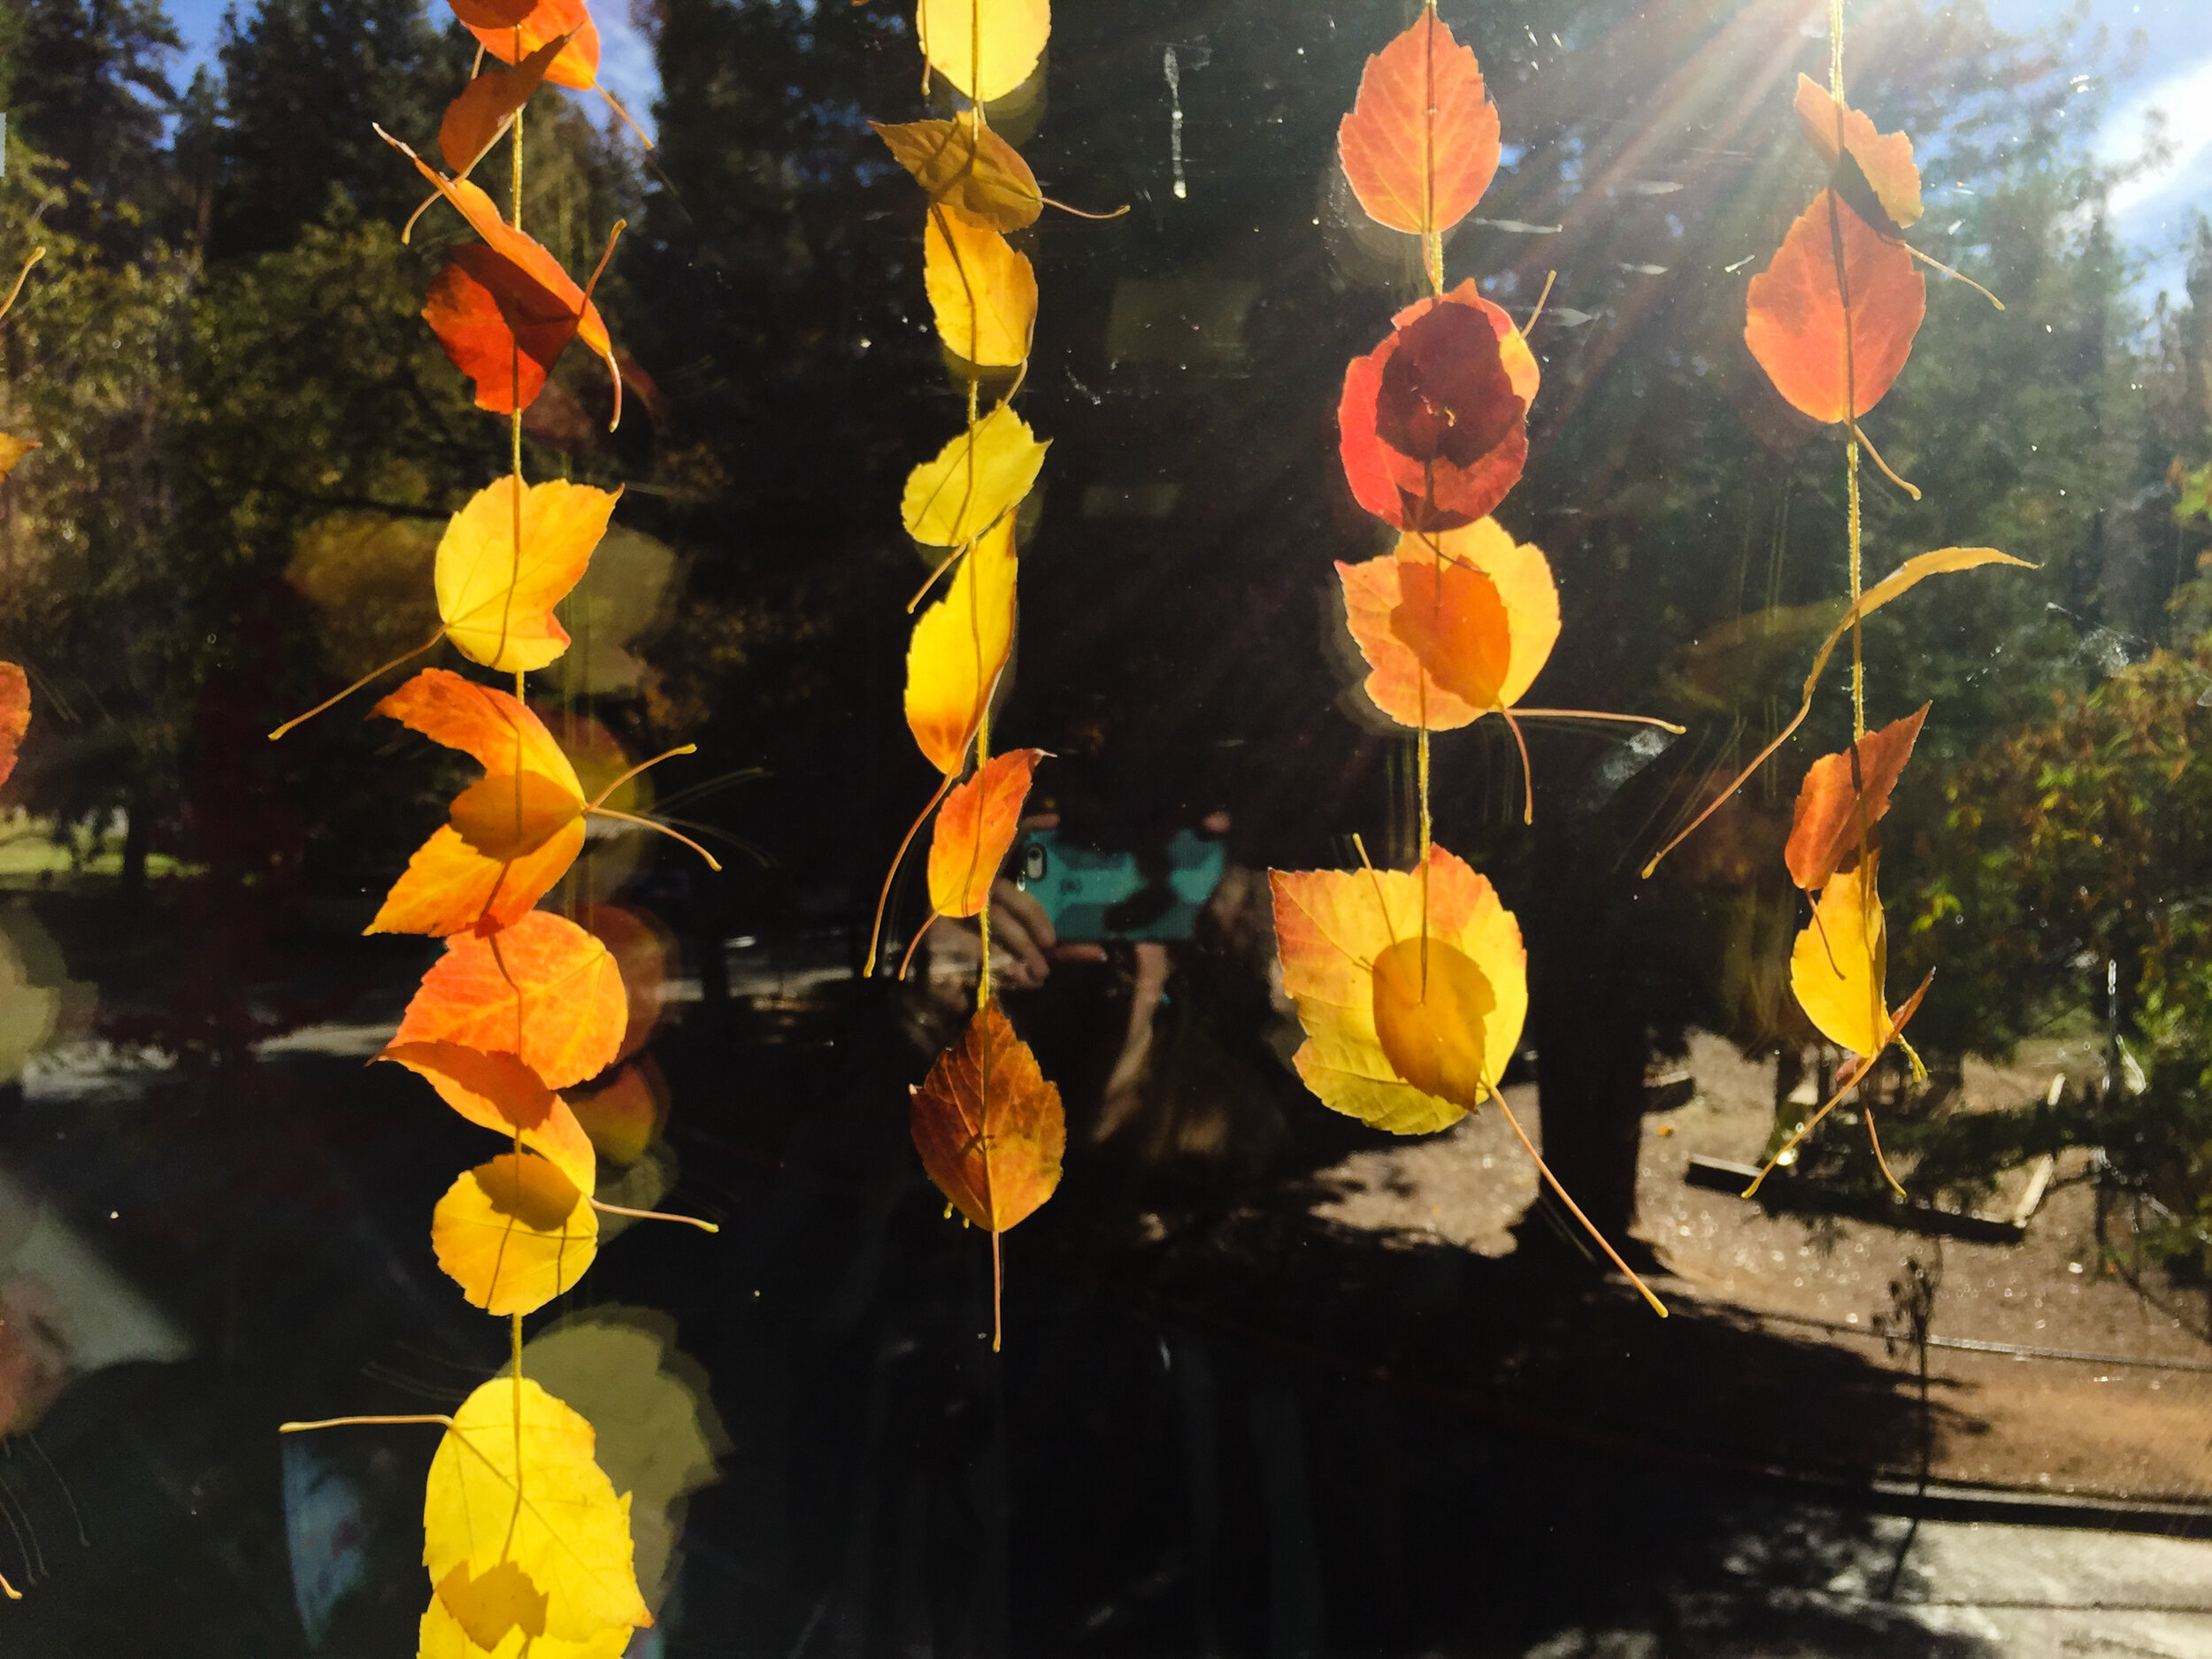
The real leaf garlands brought gorgeous color into our classrooms. The concept for them is incredibly simple.
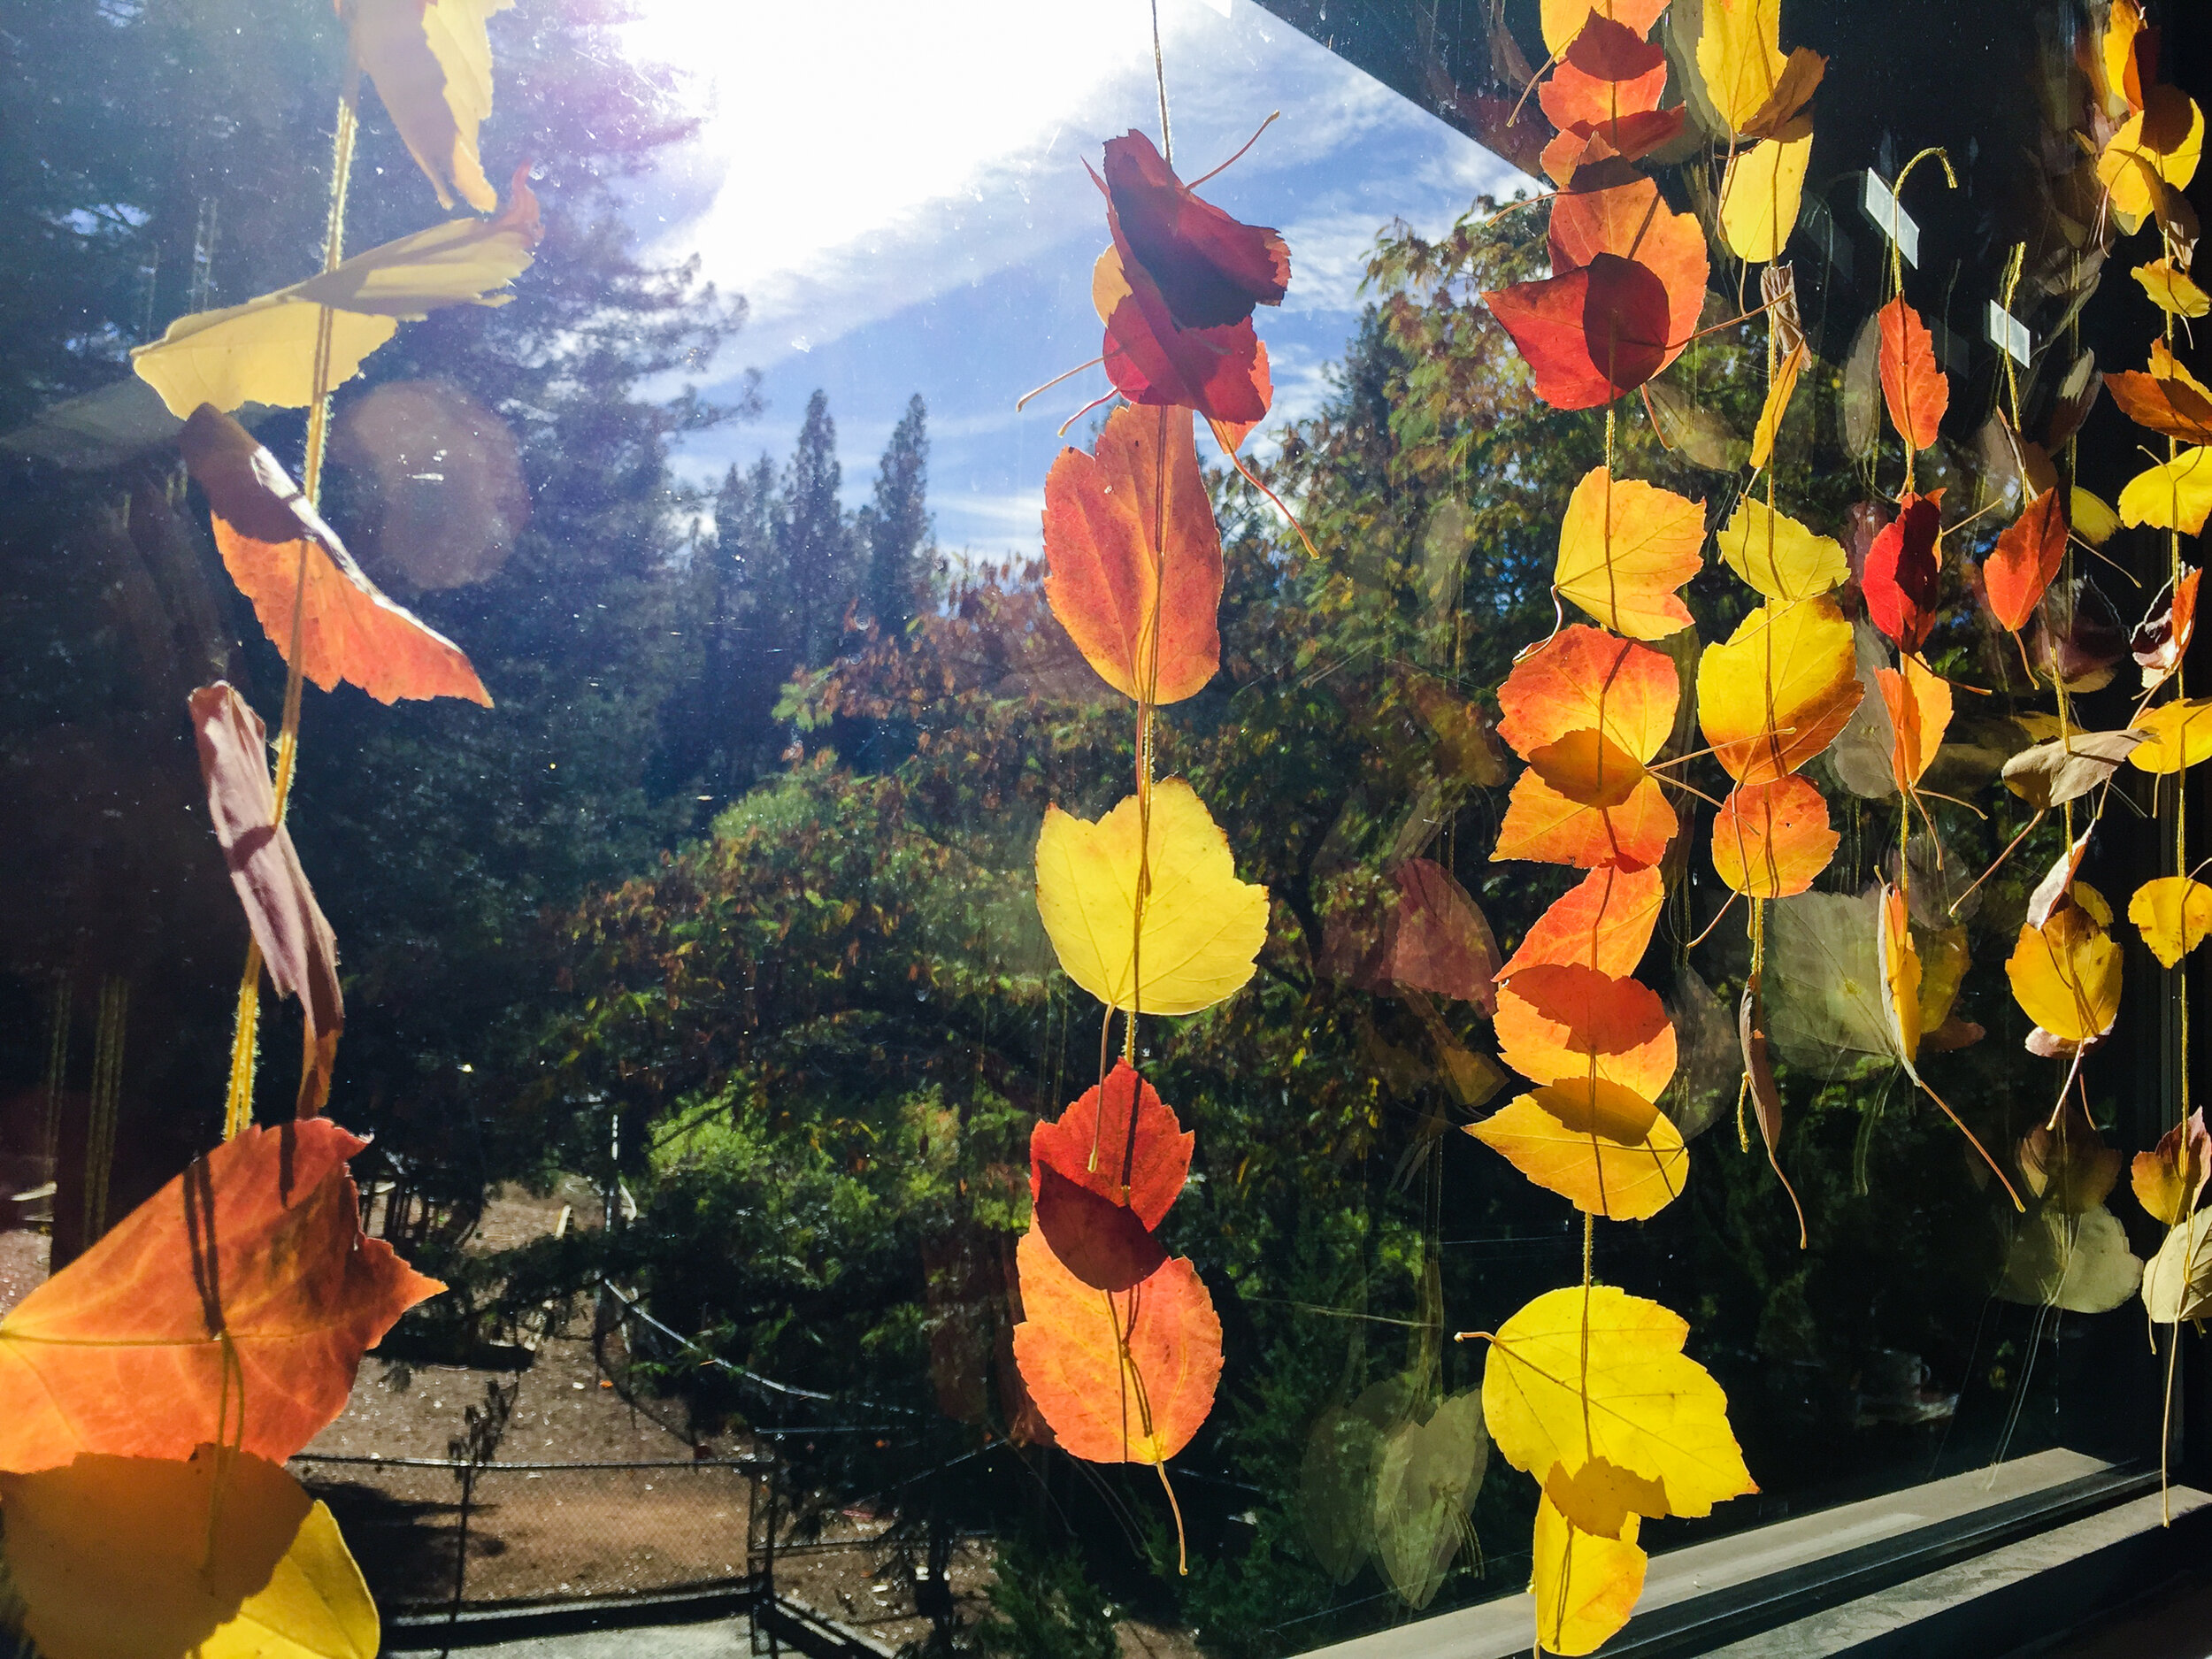
Step one was usually a question. Could we sew leaves? And that prompted lots of ideas for yes or no. Then I shared that we could make decorations for the window (or anywhere- we love the light through colorful leaves). We created a plan to collect leaves on a walk around the playground. We have guidance not to pick leaves off of plants or trees. Only choose leaves on the ground.
I might share that the leaf needs to be soft because if it’s crunchy or brittle, it can fall apart when you sew through it. If you are creating these with children of your own, you may want to let them discover this on their own- like what happens when you try to sew a dry leaf? In a classroom, that meant quite a messy project.
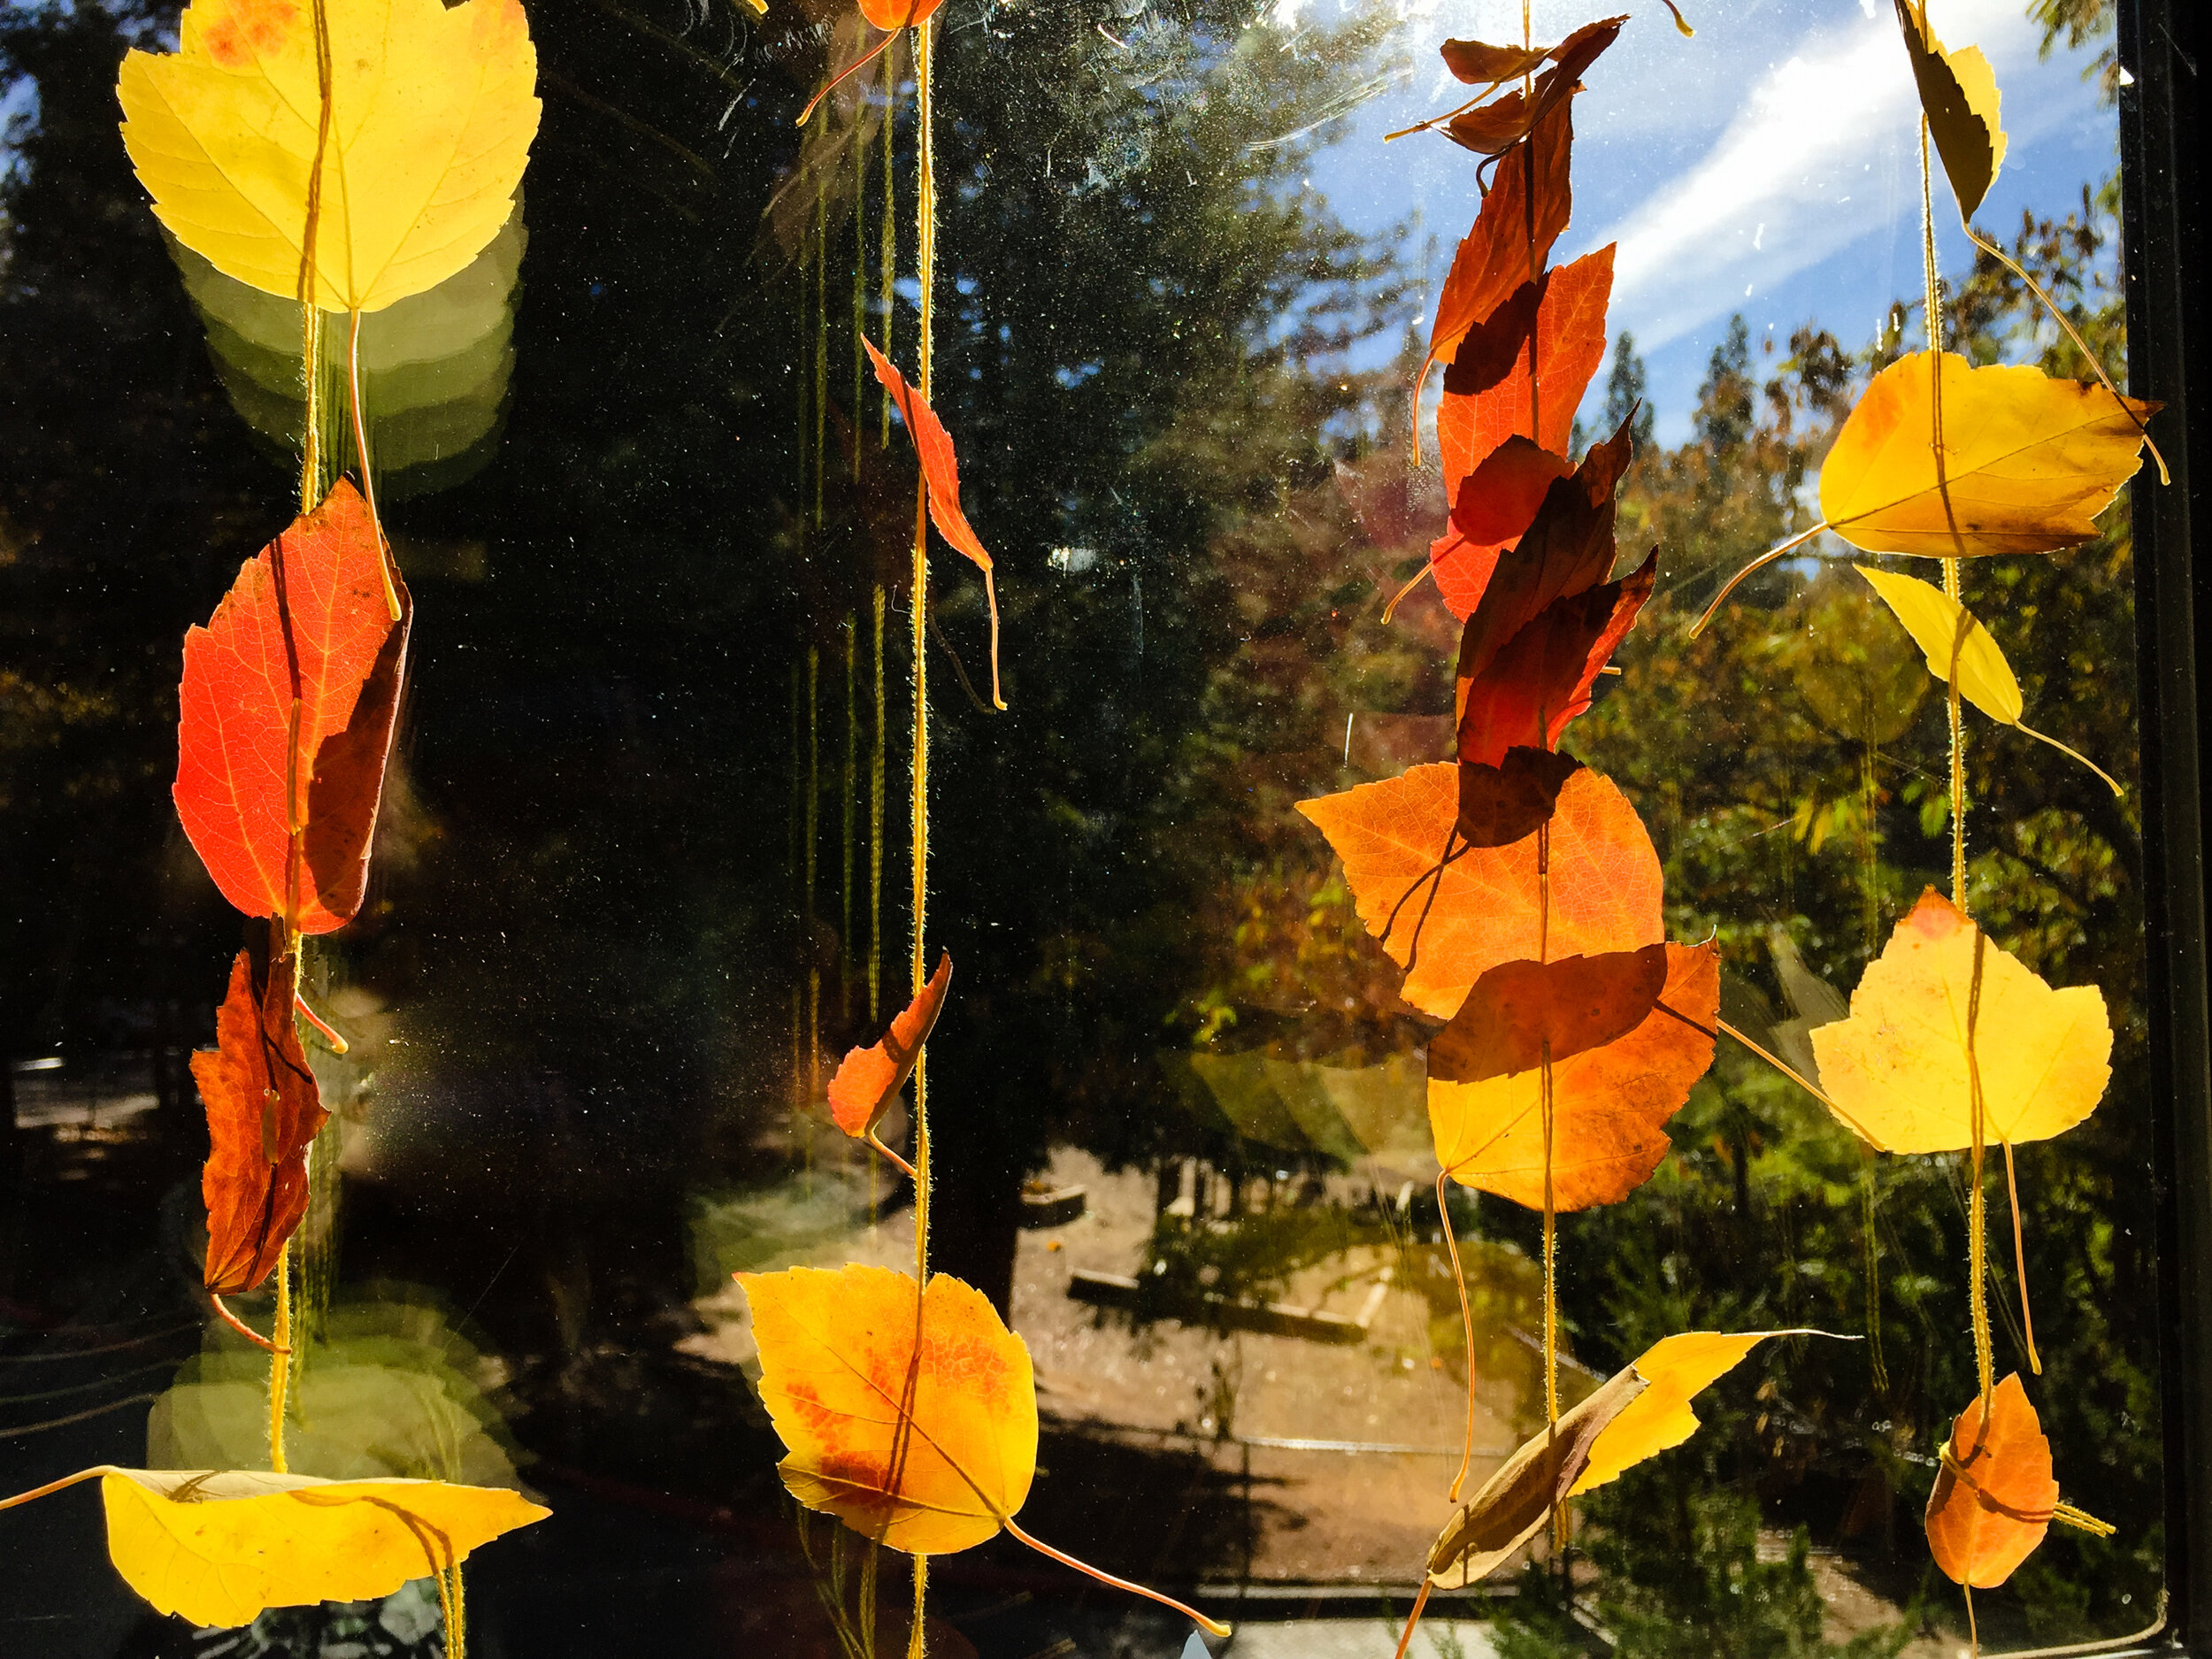
We use crochet thread (size 3) which doesn’t tangle very easily. We cut a length of red or amber thread (any color would be fine). We use tapestry needles with very blunt tips or embroidery needles with large eyes for older students. We thread the needle and bring both ends even to tie a slip knot. This way, the needle cannot be pulled off of the thread by accident.
Sewing the leaves is a very simple process of pushing the needle through one leaf. Pull that leaf where you like it on the thread. The leaves tend to stay where you slide them on the thread since they’re light. Then add another leaf. By having thread go through a leaf once, the leaves “lean” one way or the other and look like they’re tumbling down in the window. Once you reach near the end, snip the needle free of the thread and tie a slip knot or double knot to hang anywhere.
The leaves will dry out eventually (which can be a science observation in itself- how long does it take for them to dry out?). You can take them down and outside to crunch them into mulch to return to the soil. The thread can be used for another project if you like.
I have read about preserving leaves with beeswax, which you could research if you want a display to last longer. I did find it lovely to see how nature is astonishing and fleeting all at the same time.
If you are making these with a class, or group of children, it’s helpful to thread the needles and tie the first knot ahead of time.
The walk to discover leaves, the sewing of leaves, and the enjoyment of leaves catching the light means that this activity combines nature and fine motor skills. I would often invite children to sew a second garland to take home because they enjoyed it so much.
Autumn is such a lovely season.
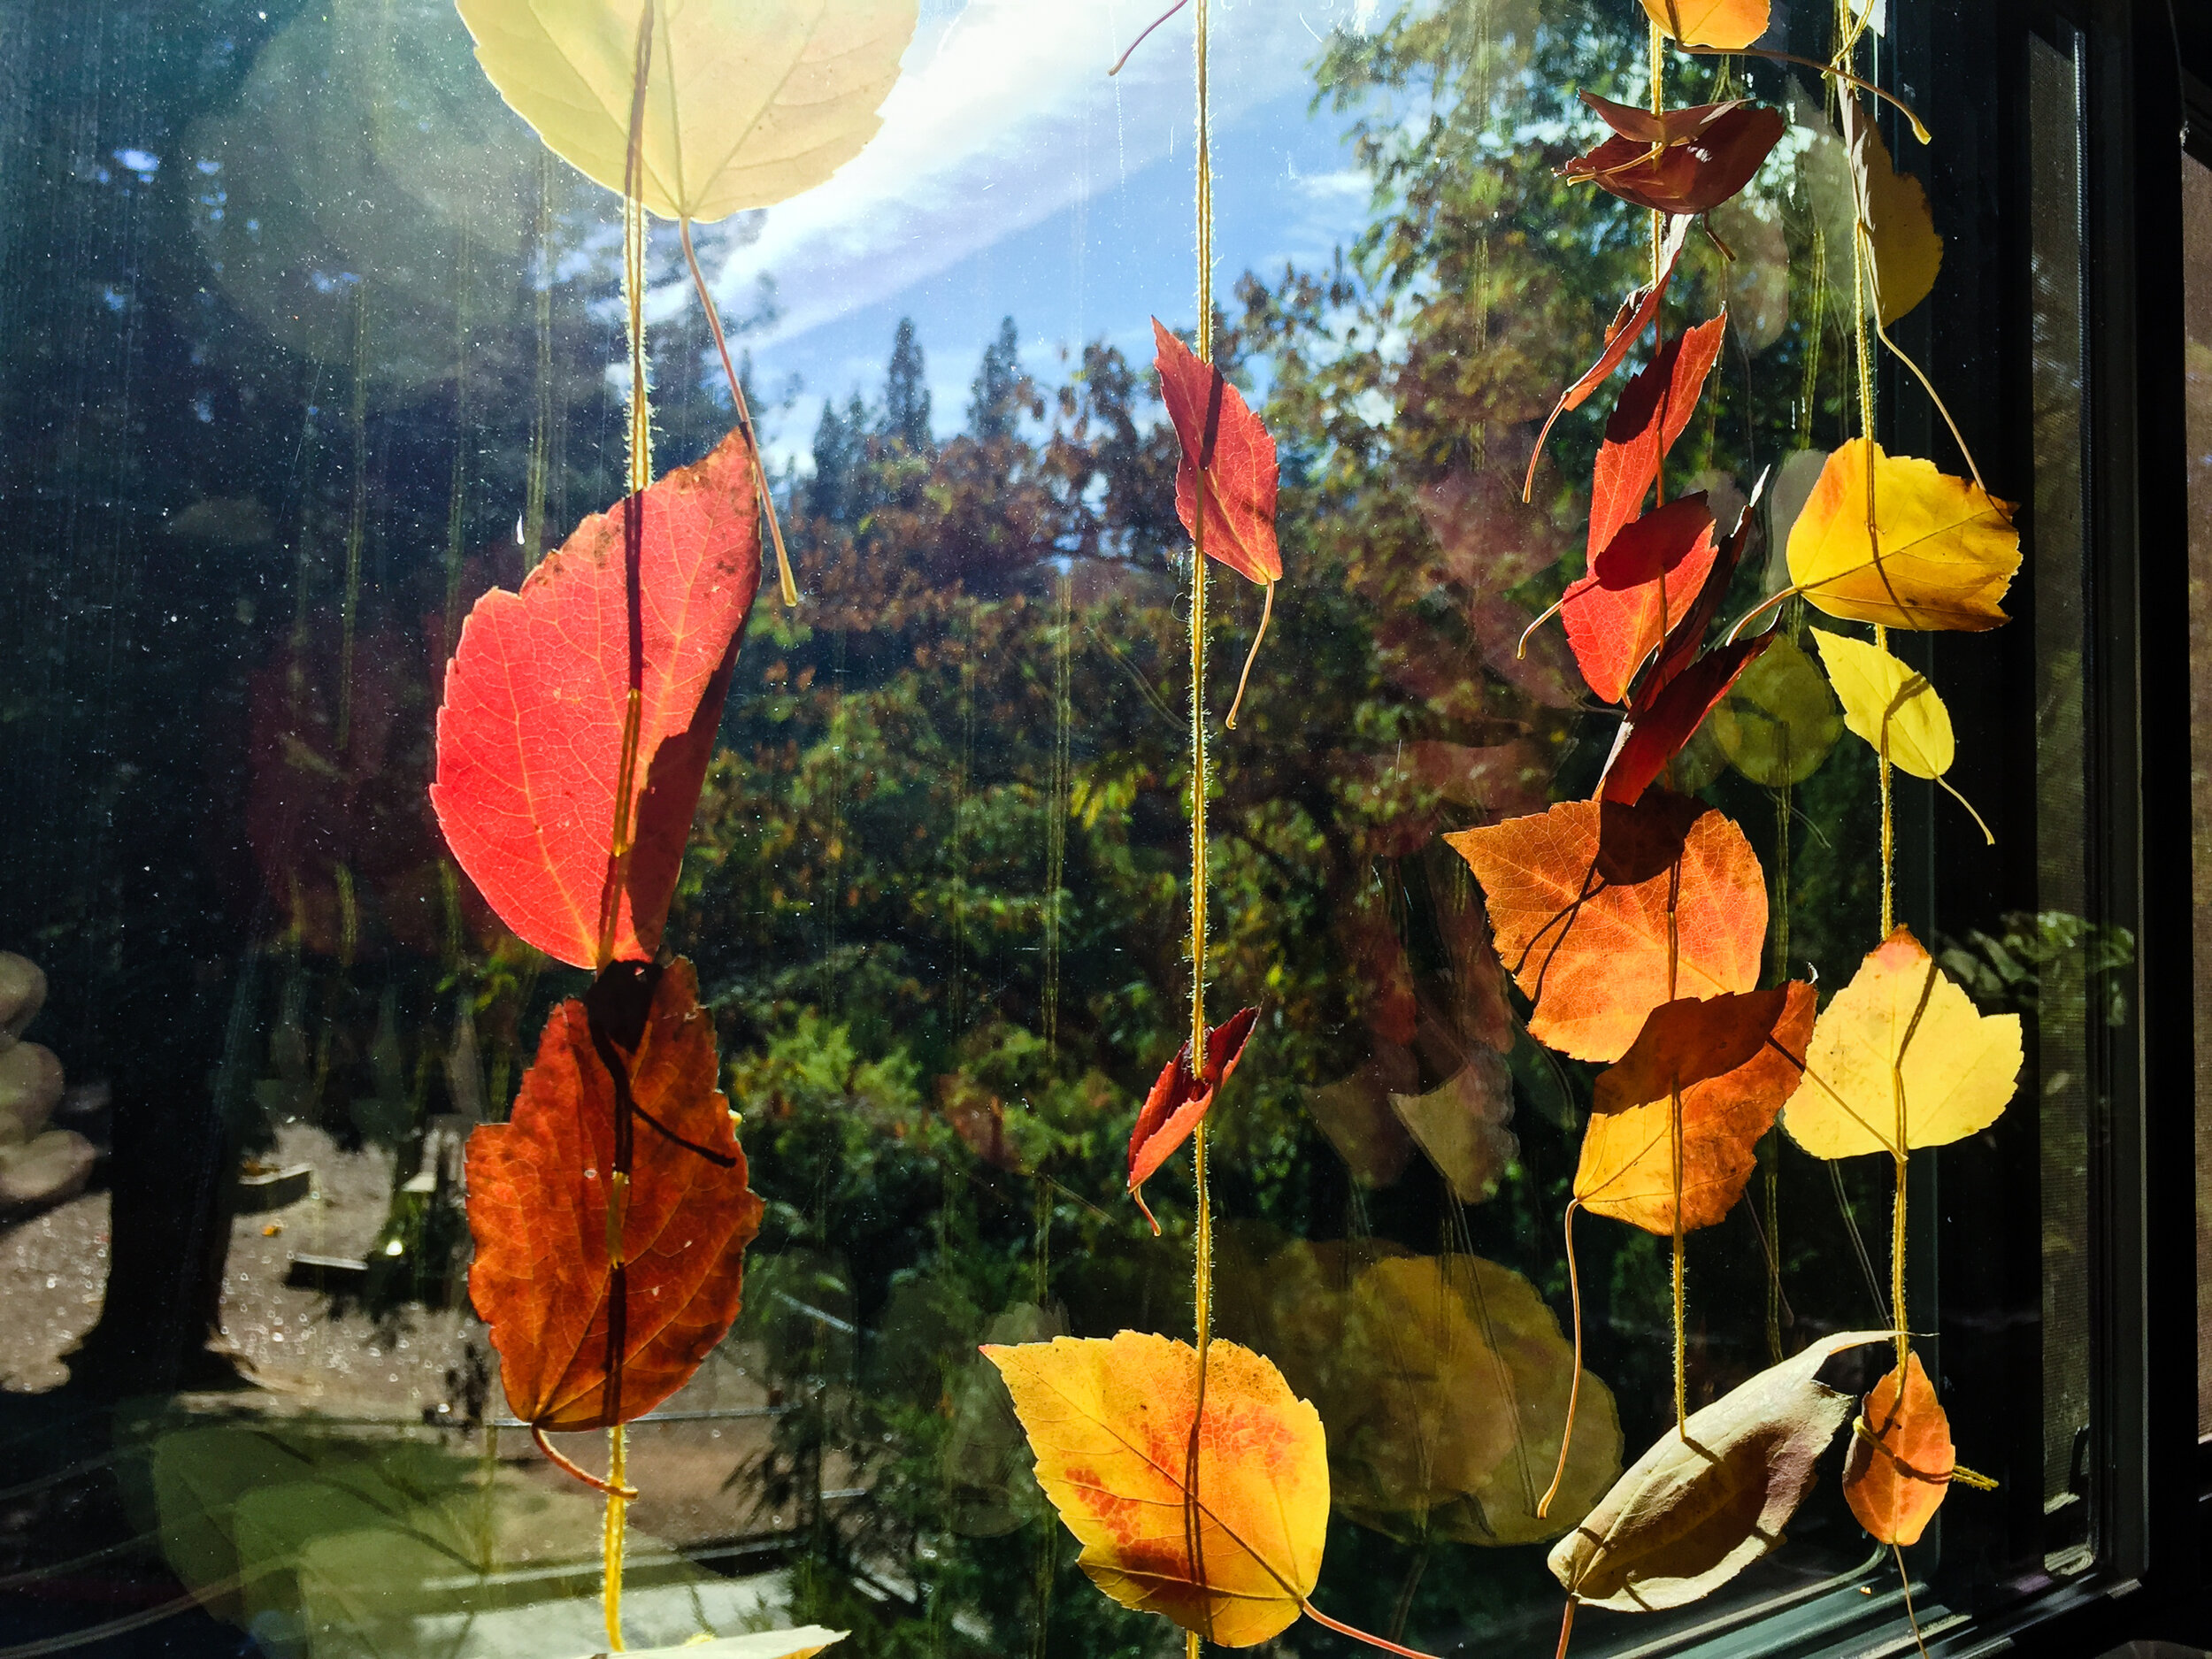
We hope you’re inspired to create a few garlands for your own space to celebrate the season.
Another idea- identify the trees from their leaves. Look them up online or use a leaf identification book to learn more about the trees in your neighborhood.
Happy autumn! 🍂🍁🍂

Upcycled Owls and Kitties
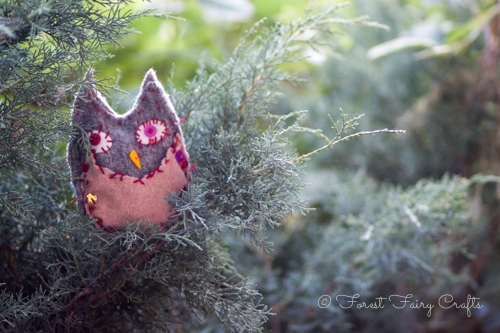
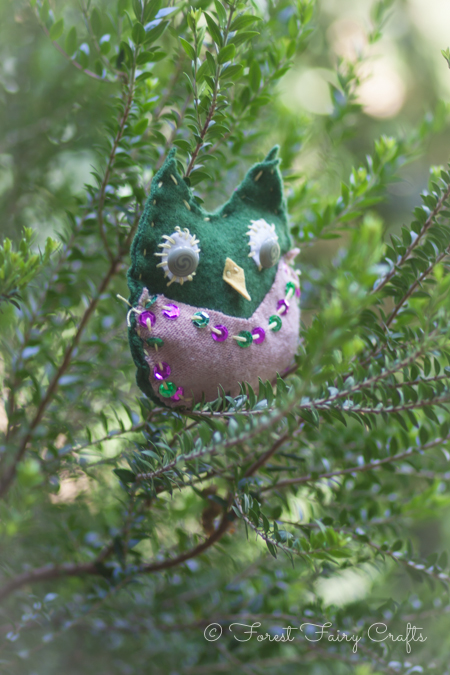
Asia created these lovlies with second and third grade students at NCSA (7-8 years old). She saved fabrics (ripped clothing, shrunken sweaters) and found supplies. Repurposing the clothing showed children that changing old fabric to a toy can be magical.

By this time of year, students have learned three ways to sew: the Running Stitch, the Whip Stitch, and the Blanket Stitch. We call them the Dolphin Stitch (up and down), the Polar Bear Stitch (around and around), and the Rabbit Stitch (up or down and through the hole). I can see children using all three to make their crafts unique.
I am fascinated how some children use patterns and even spacing for their sewing. While other children use mismatched, unexpected decorations. Each style delights us. Each style shares a child's personality. With sewing, there is no 'right way'. Only your own way :)

Upcylced sewing with found fabrics instead of felt meant the fabric was softer. Asia made the animals bigger so students wouldn't be frustrated. These owls and kitties were oversized when compared to our felt critters. This gave the children more to hold as they sewed. Asia is so good at modifying a project so students are successful :)
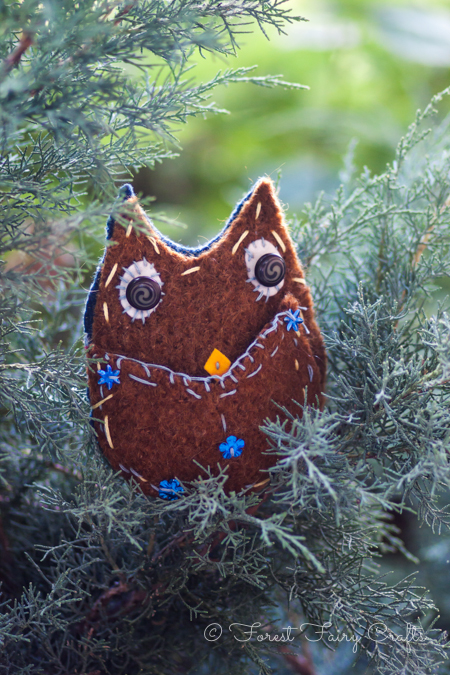
Here are a few for inspiration :)
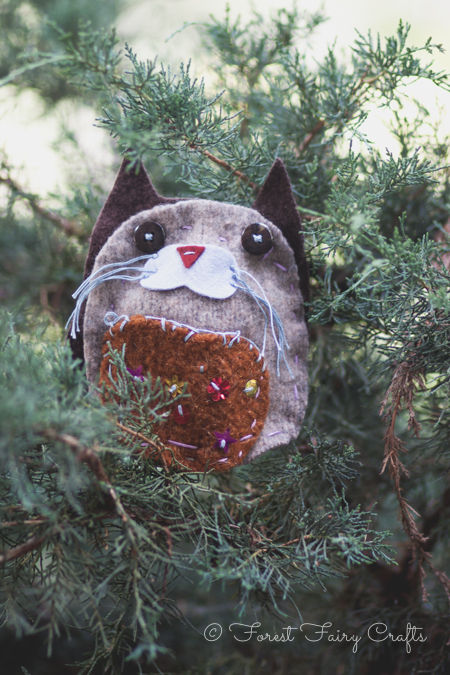
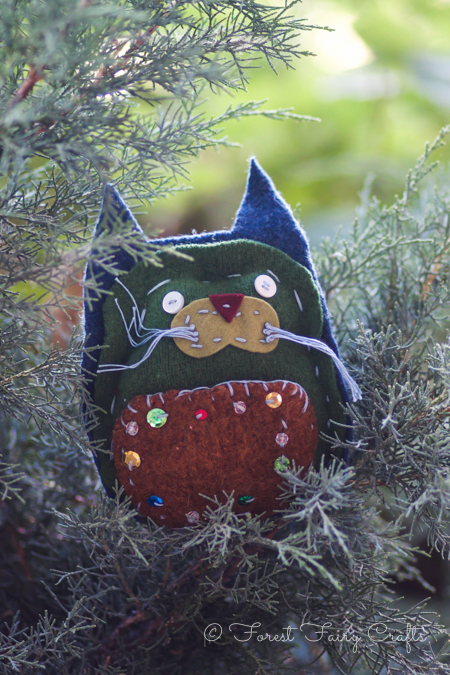

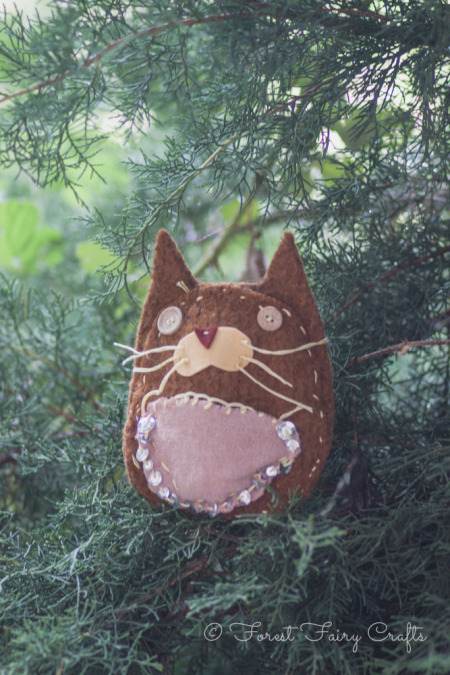
I couldn't photograph all of them- Asia made about forty! These are just a few :)
Patterns and directions for the Owl and the Pussycat are in Forest Fairy Crafts. Creating your own critter just needs imagination and old clothing. Have fun upcycling :)

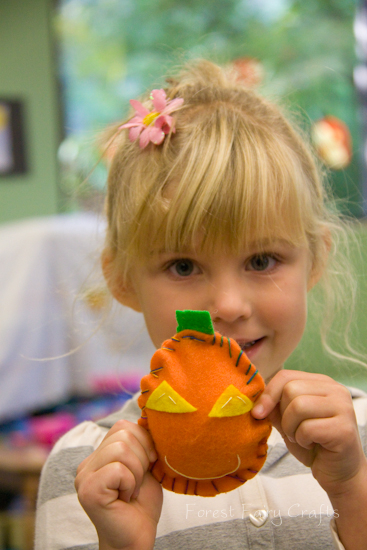
Moody Pumpkins with Groups of Children
On Tuesday, I sewed the Moody Pumpkins with the youngest students at our school. I am the art teacher on those days, and their all-day teacher was a little skeptical when I said I was bringing sewing into the classroom.
"With real needles?"
Yes. Real needles.
Because this is precious.
But I don't walk into a classroom with a pile of felt and a pincusion prickling with needles. No, that would be a disaster. A big part of crafting with children is being prepared. So, to get ready for this project, I was busy the night before.
- Thread 15 needles with the outside thread (in this case, variegated rainbow crochet thread- see our Supply Hints)
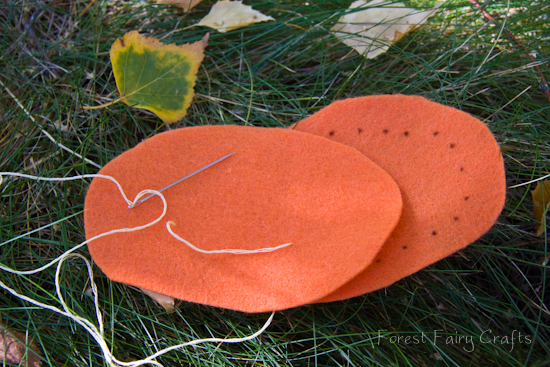
- Cut pumpkins (back and front)
- Cut stems
- Cut lots of little yellow felt triangles so children can choose
- Thread needles with yellow embroidery thread for the face (though I learned that the rainbow was cute, too, when I was short one pumpkin the next day)
- Sew the mouth by knotting, pulling through, testing to make certain that it will fit, then knotting loose on the other end of the mouth so the pumpkin is ready for eyes.
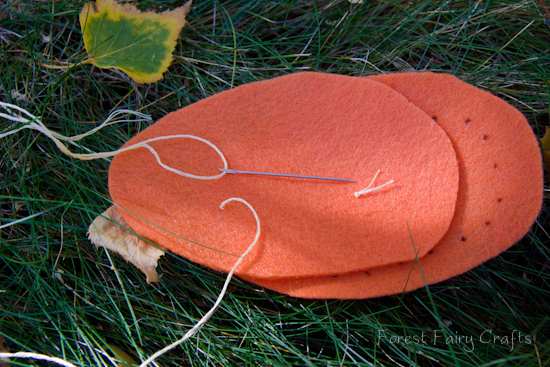
- Leave the threaded needle with the pumpkin- tuck into felt so it won't prick anyone.
- On the back of the pumpkin, draw little dots for each spot the child will place the needle. This turns the sewing into a dot-to-dot, with the needle always poking into the next dot (whip stitch).
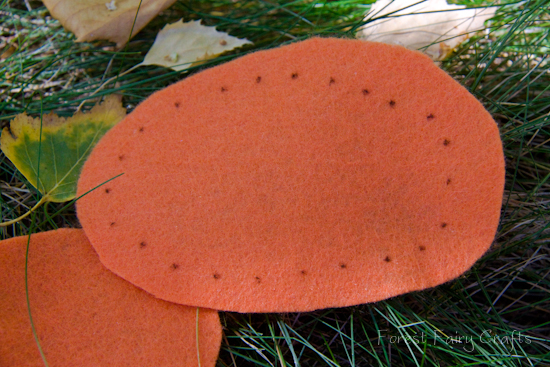
- Safety pin it all together with the smile on the outside so the children can choose their pumpkin.
- I do not try to make them all look the same. No, the fun is in unique pumpkins!
Some were tall and some were wide. All became special :)
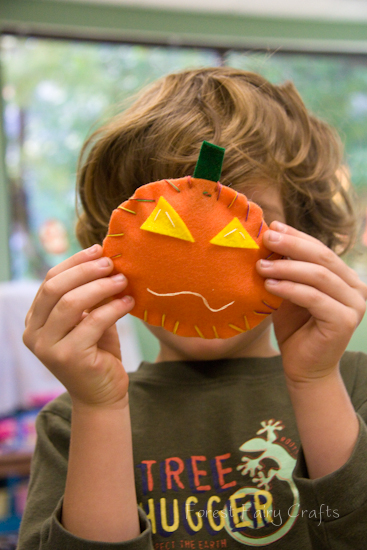
I chose felt for the eyes on this project because it was faster than buttons. The child chose the triangles and an adult sewed the eyes on with a few stitches. We tied off the yellow thread. We sandwiched the stem between the pumpkin pieces. We used an already-threaded rainbow needle and did the first couple of stitches to anchor the stem. Then we modeled a stitch or two before handing the needle over to a child. We work one-on-one with children this young because most need us to hold the felt (see Tips & Tricks).
They sewed about 3/4 around, then stuffed the pumpkin and sewed it closed. Many students were amazed.
"I thought we had to glue it."
And, "I made a stuffie. Look, look, I made a stuffie!"
My favorite quote came from this little guy.

You can't hurry when you're sewing. The needle is sharp. Sewing is a quiet activity.
Why do I sew with children? Slowing down is precious.
Have fun! The Moody Pumpkin tutorial is here as a pdf download. All tutorials are property of Forest Fairy Crafts. Please contact us for use permission beyond sharing with friends and linking back to our site.