

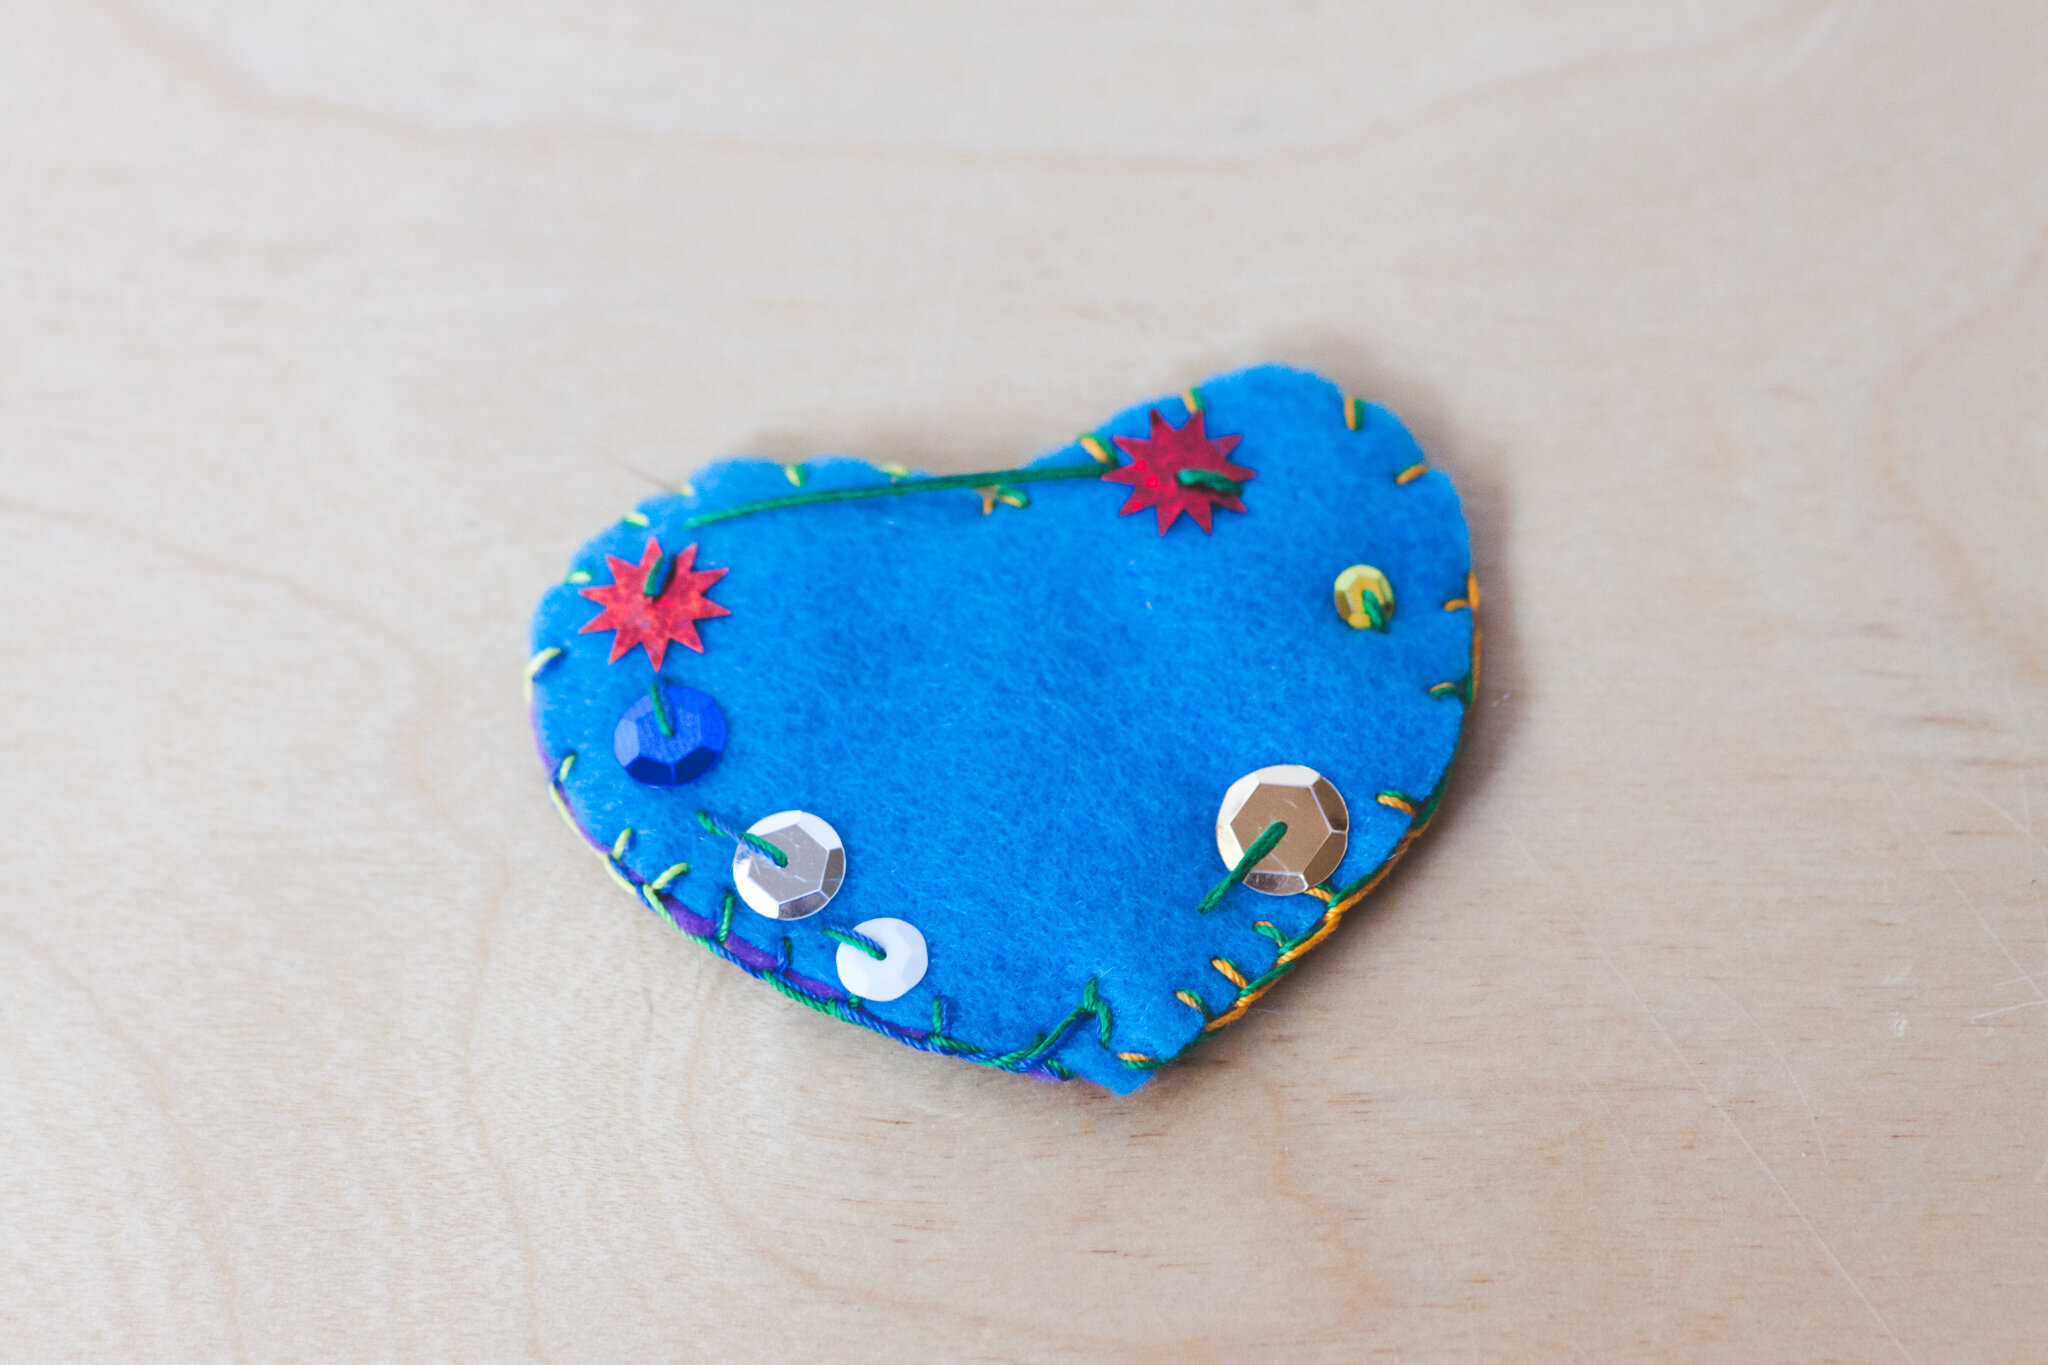
Heartfelt Hearts with Children
Invite children to decorate to their heart’s content. This felt sewing project is an opportunity for children to add many decorations. The resulting heart is lovely to hang as decoration or gift to loved ones.
As with all of our projects, be mindful of a child’s abilities and the sharpness of the needle. If you’re using a blunter needle (like a tapestry needle), more layers may be too many layers of felt.
You can also make the heart any size. We recommend not making it a size where the felt becomes floppy and won’t hang straight. You can draw your own pattern on a piece of paper before cutting out of felt. Or we have a heart pattern in Forest Fairy Crafts Through the Seasons.
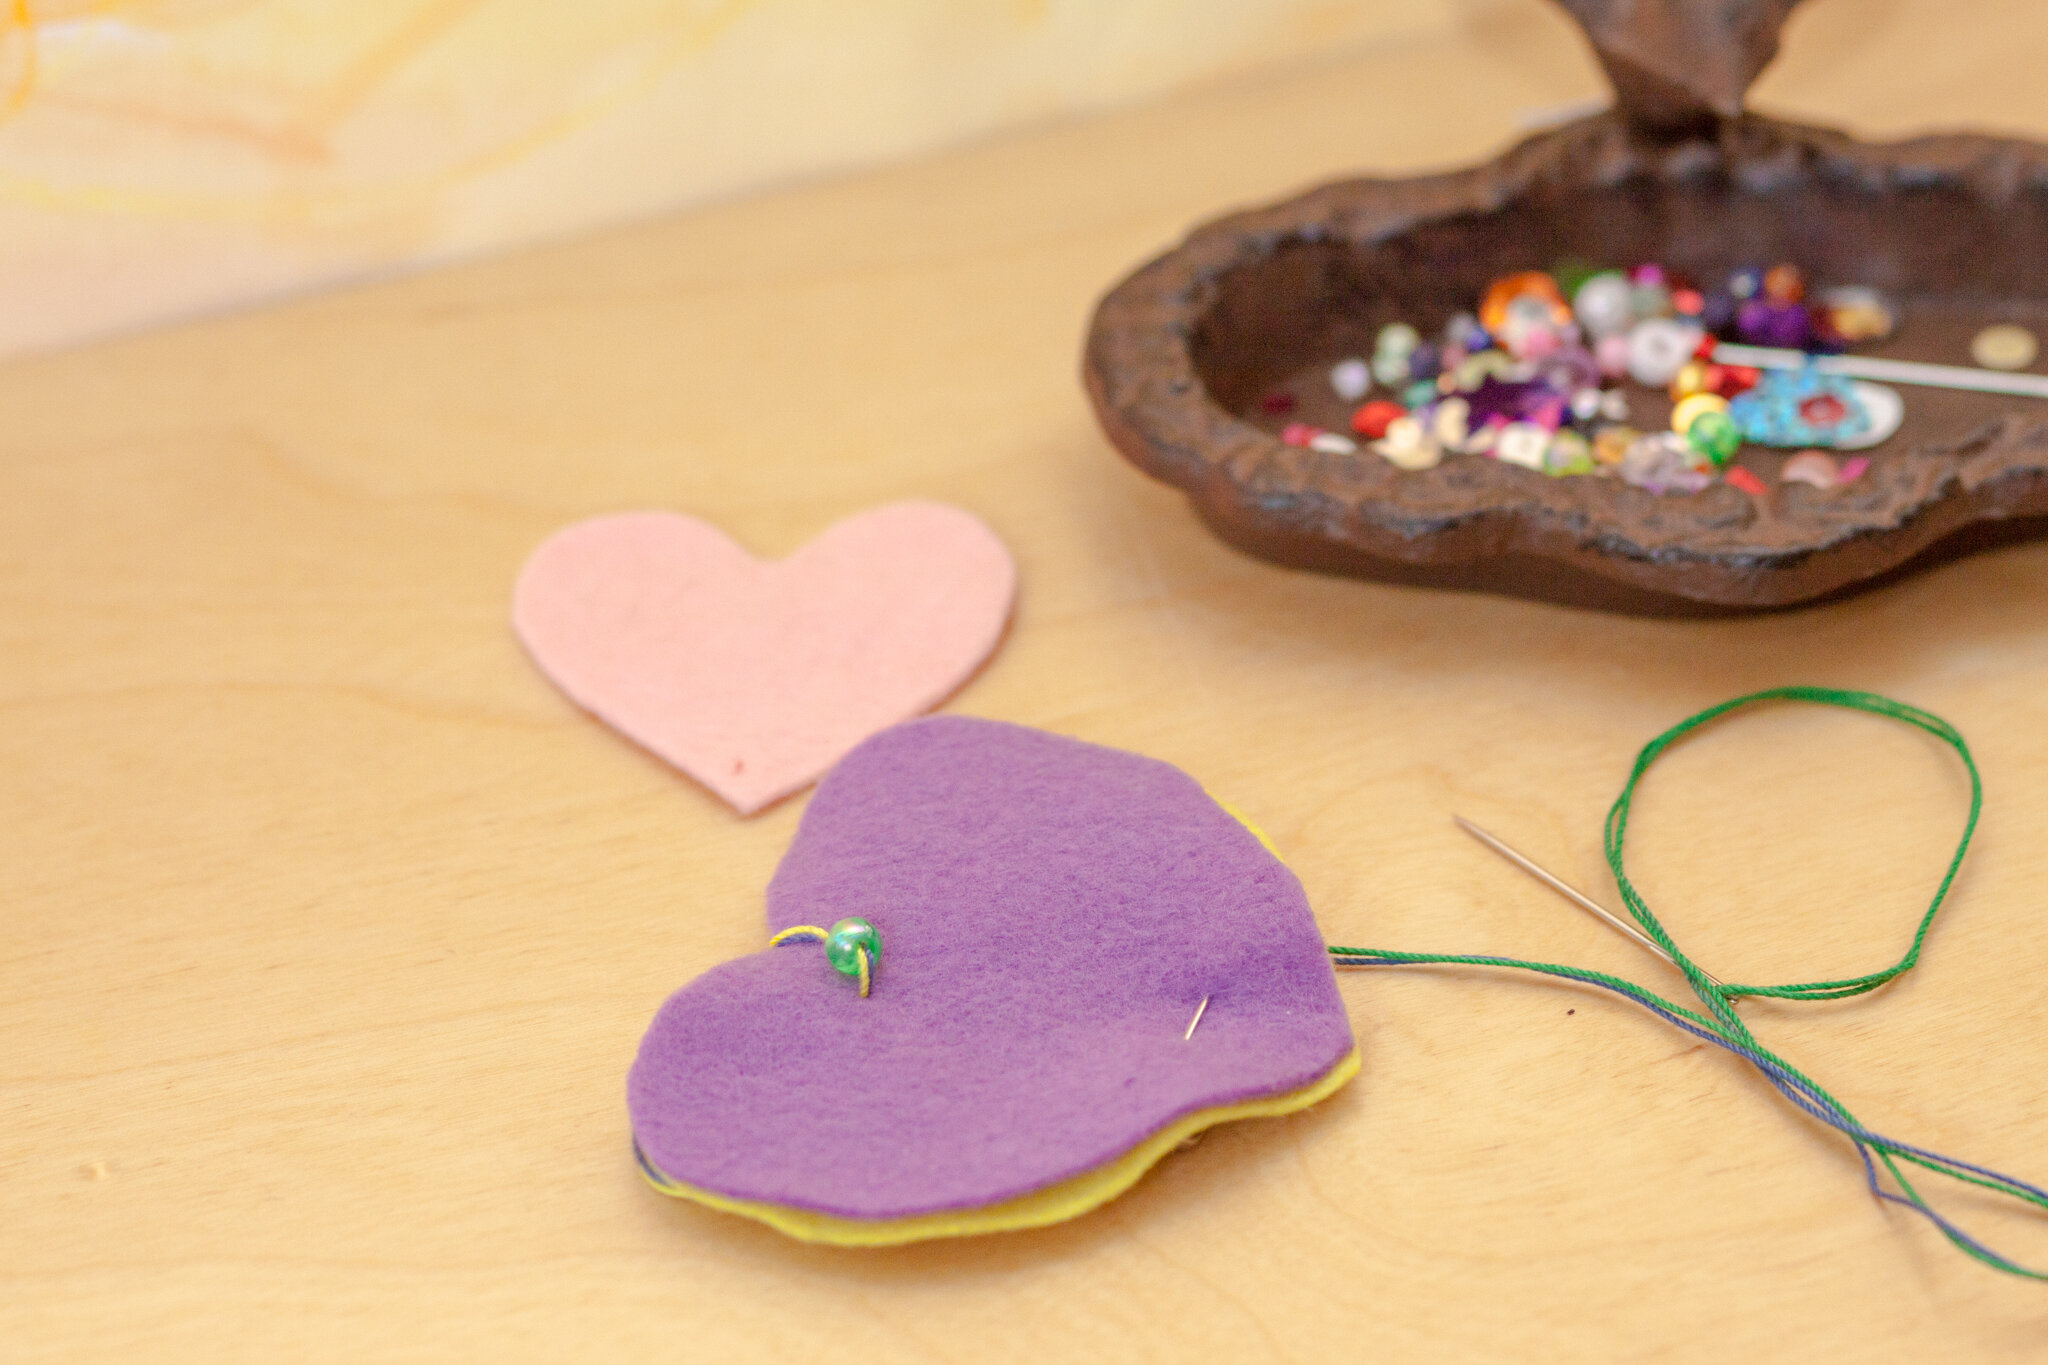
For any version of the heart, cut out your felt heart shapes. We use crochet thread which doesn’t tangle as easily as embroidery thread. For children, we always put the thread through the eye of the needle, fold in half, then tie slipknot securing both ends together. This prevents the needle from pulling off when they pull the thread taut. The multicolor thread in the photos is due to a variegated thread which changes color on its own.
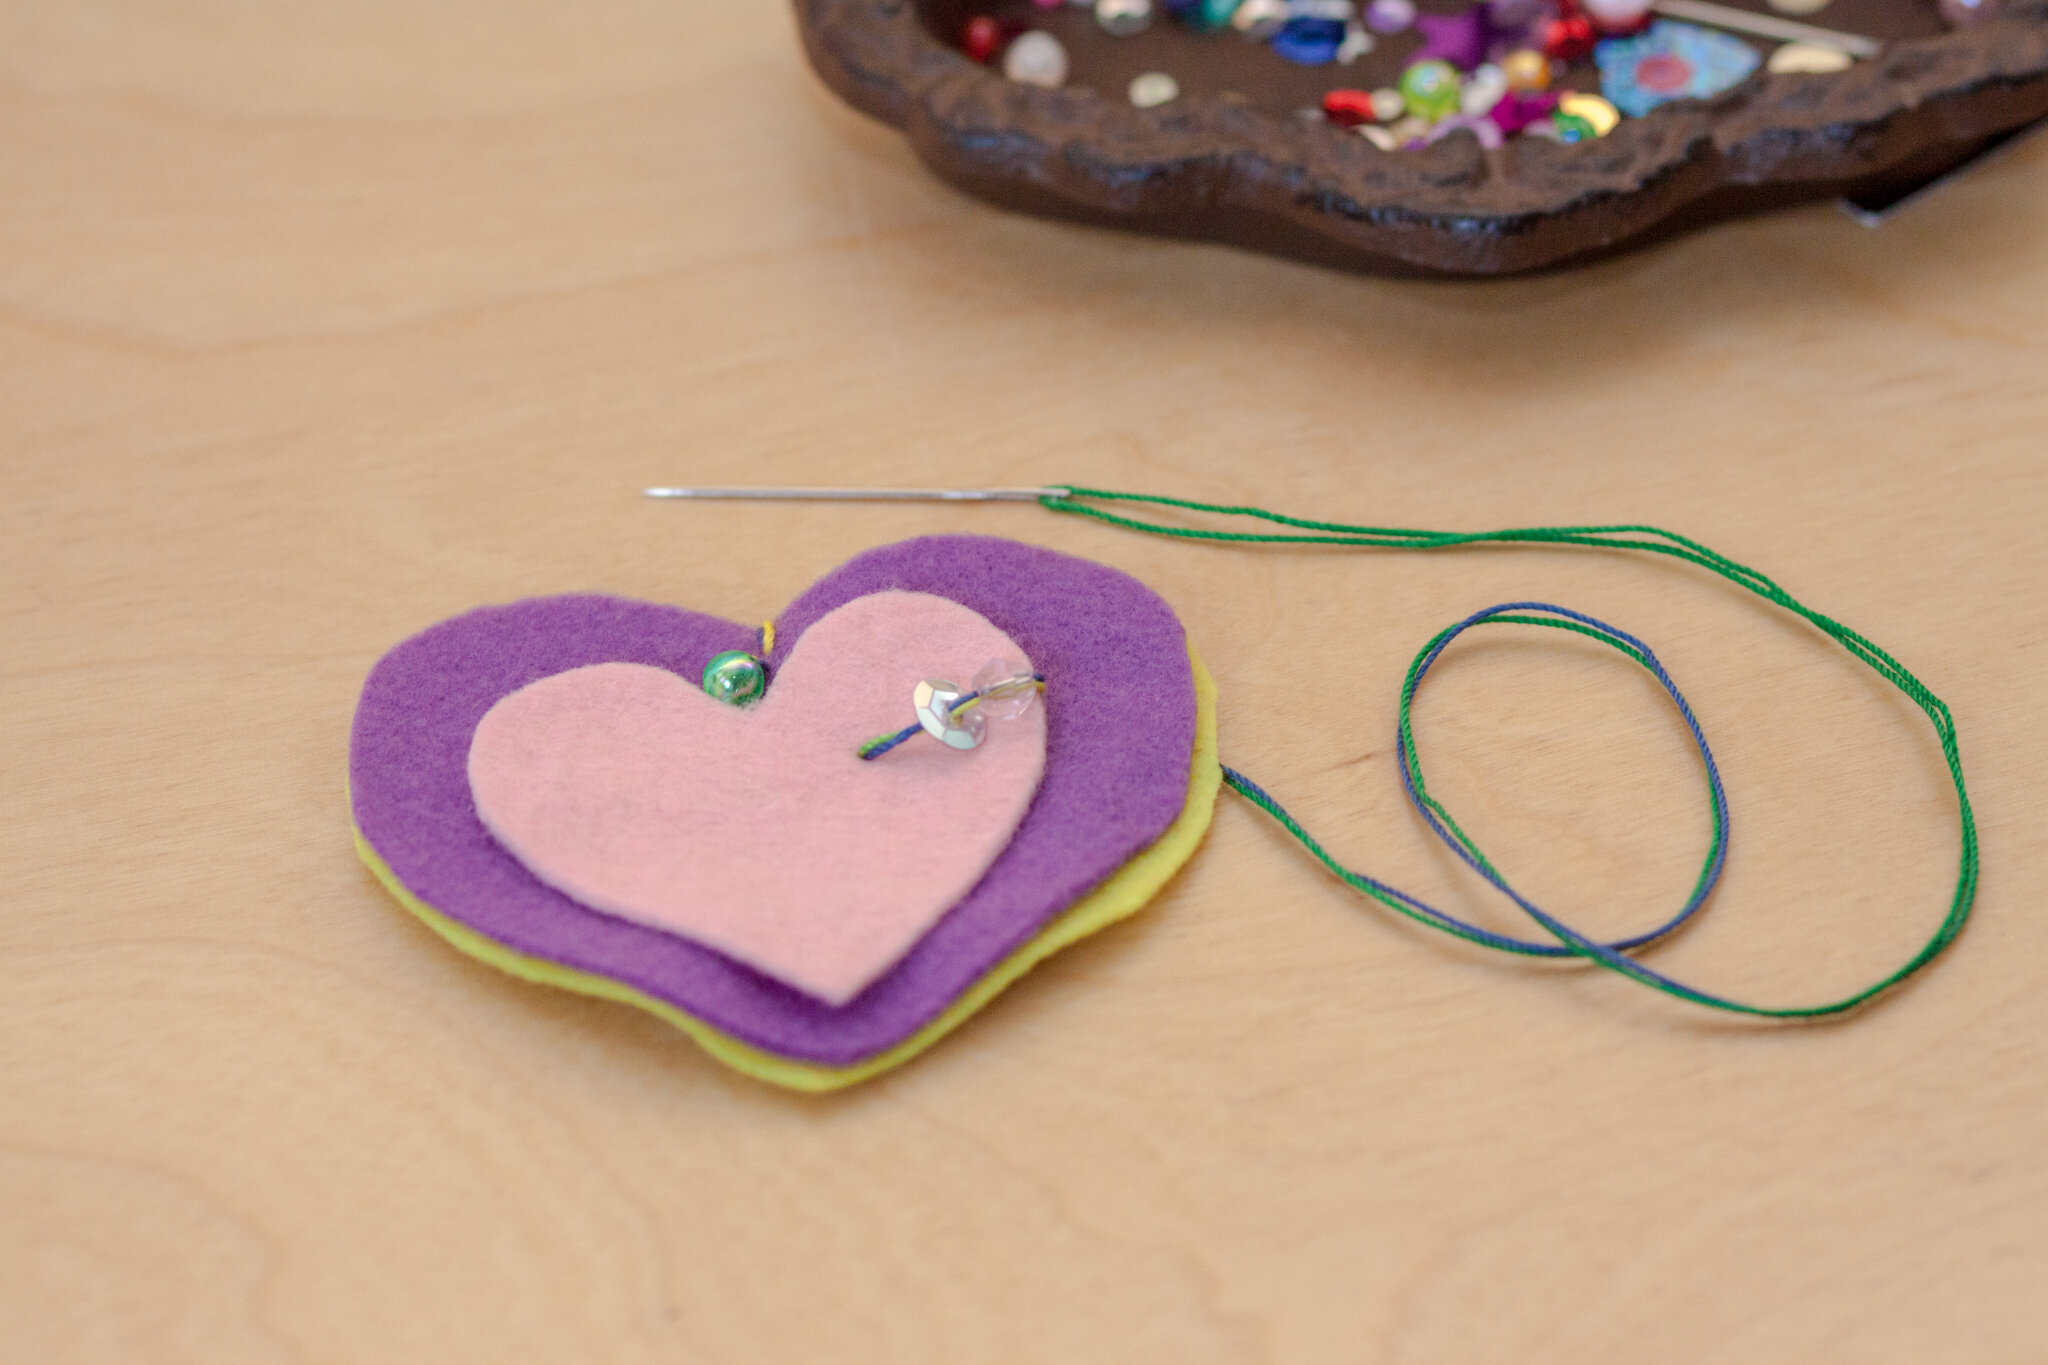
Use a safety pin to hold the felt hearts together at first. Sew through one piece of felt so the knot will be “sandwiched” between the two felt hearts. Loop around the first stitch so the hearts won’t wiggle (or you can secure with more than one safety pin). Lay a smaller heart on your hearts after a stitch or two.
The direction is to “add decorations, push your needle through, then add decorations.” Repeat and repeat.


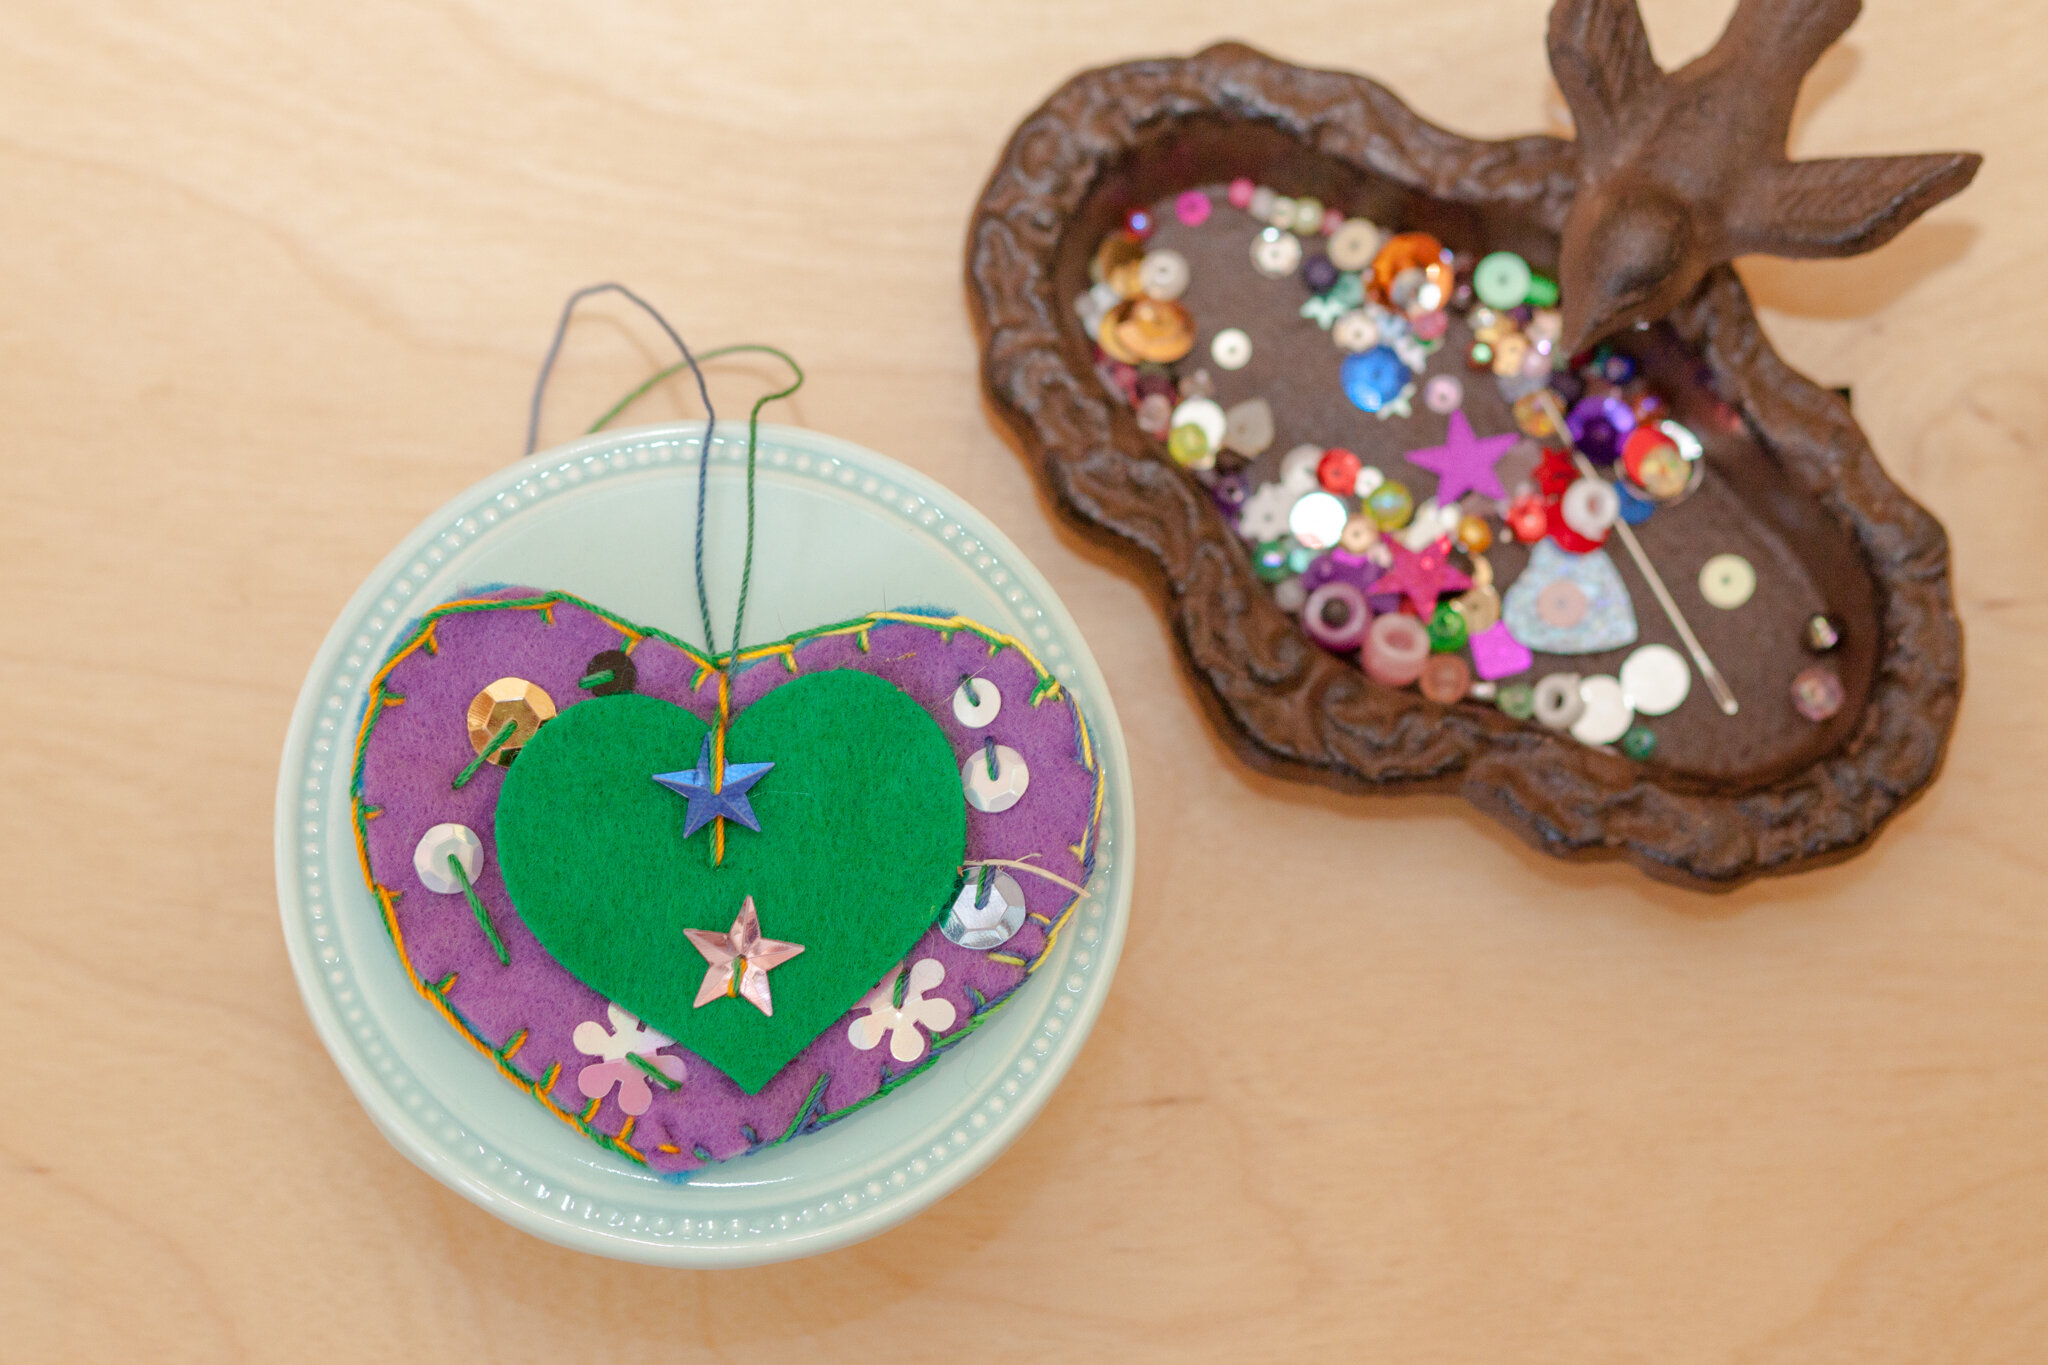

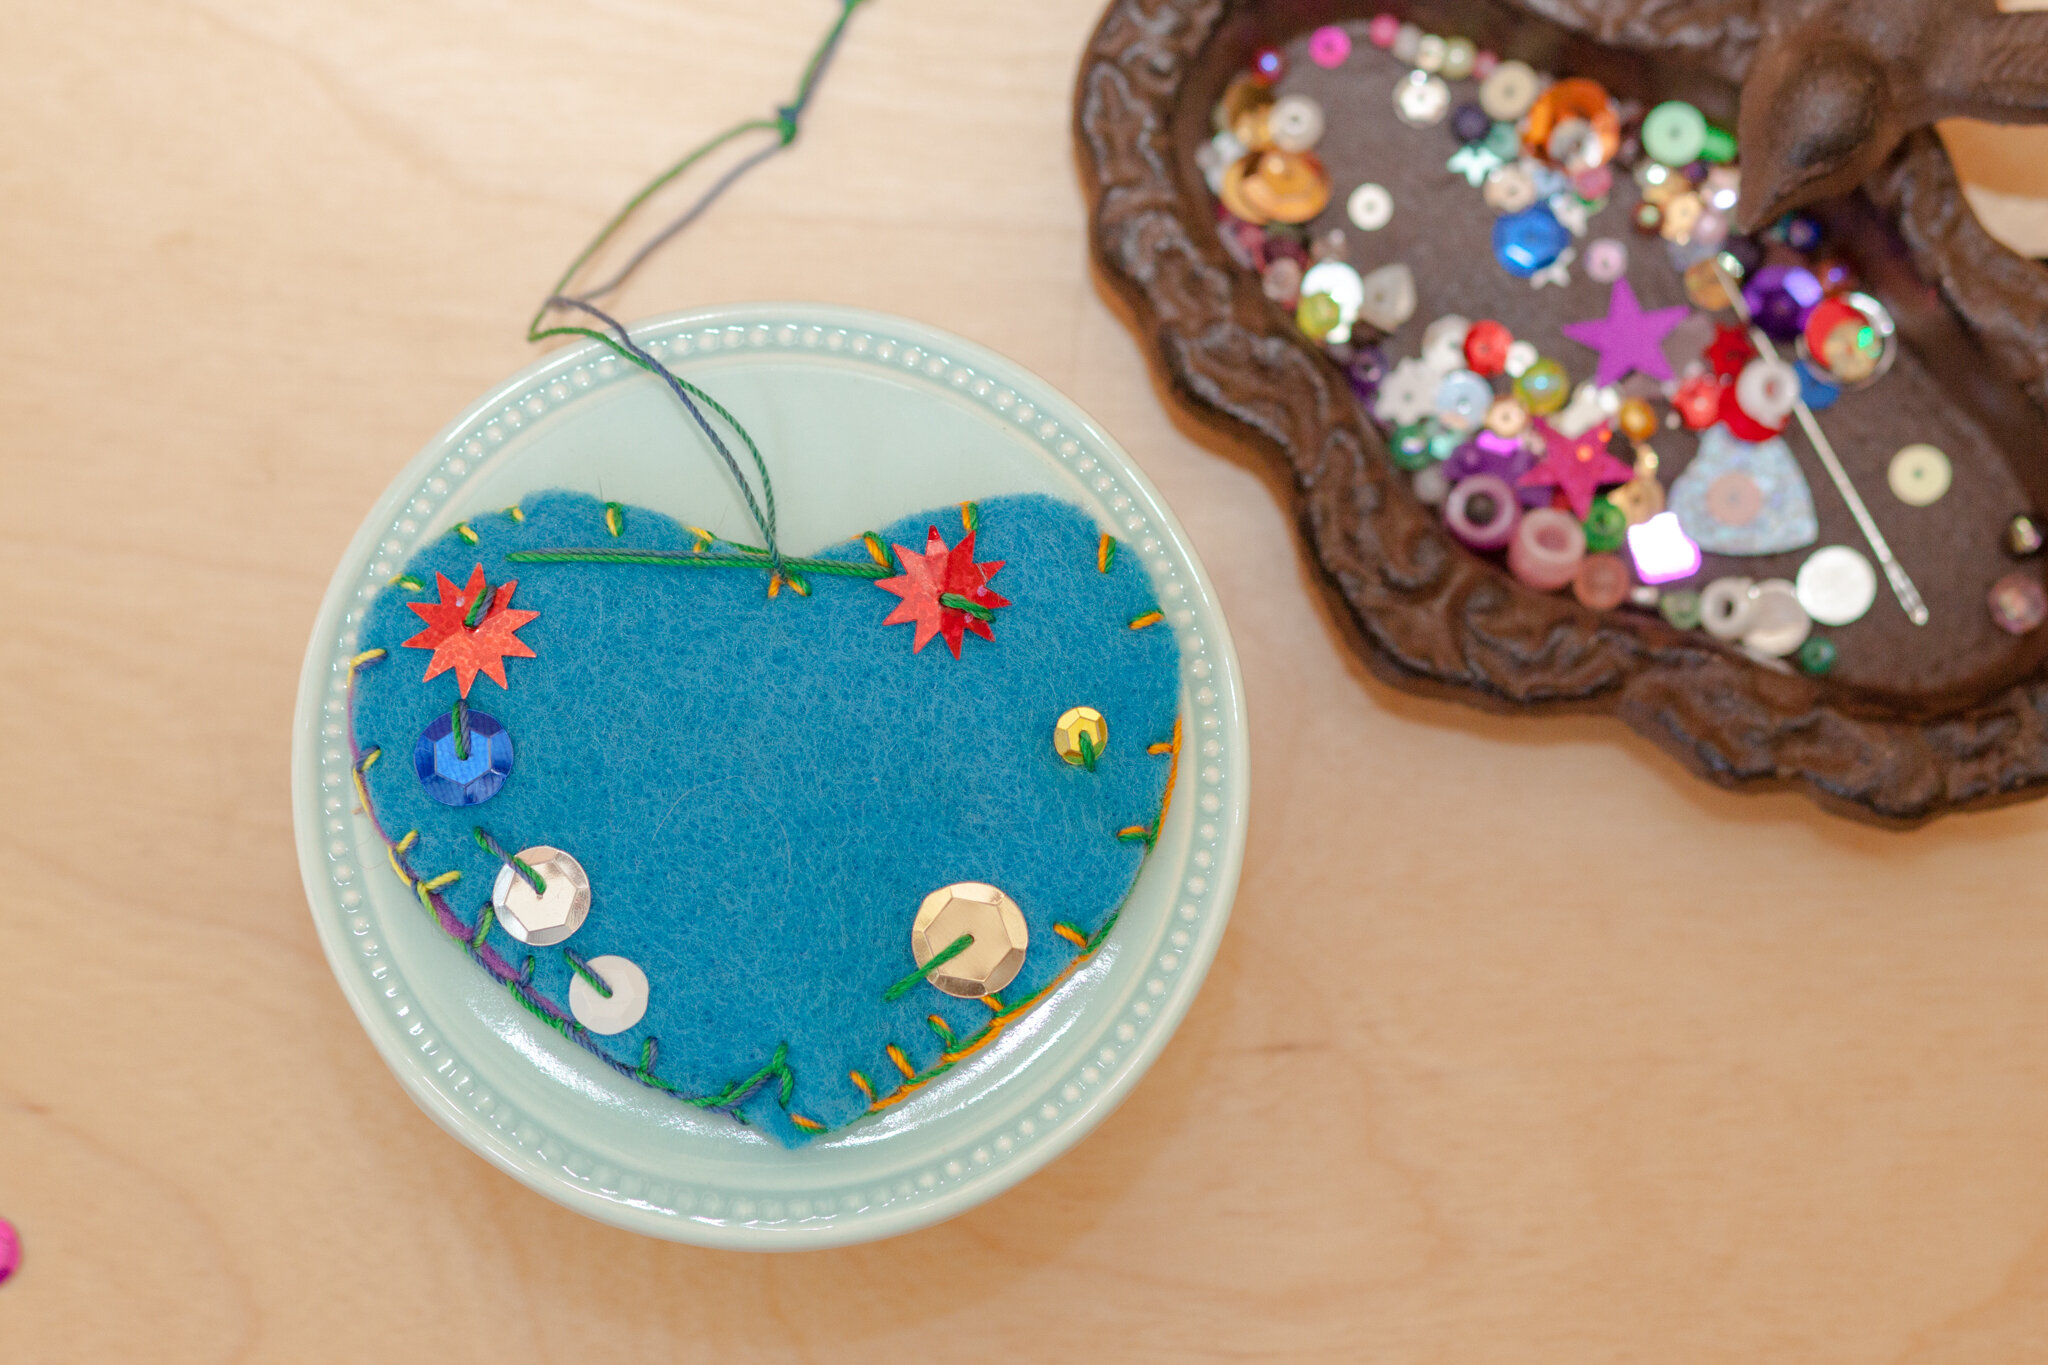
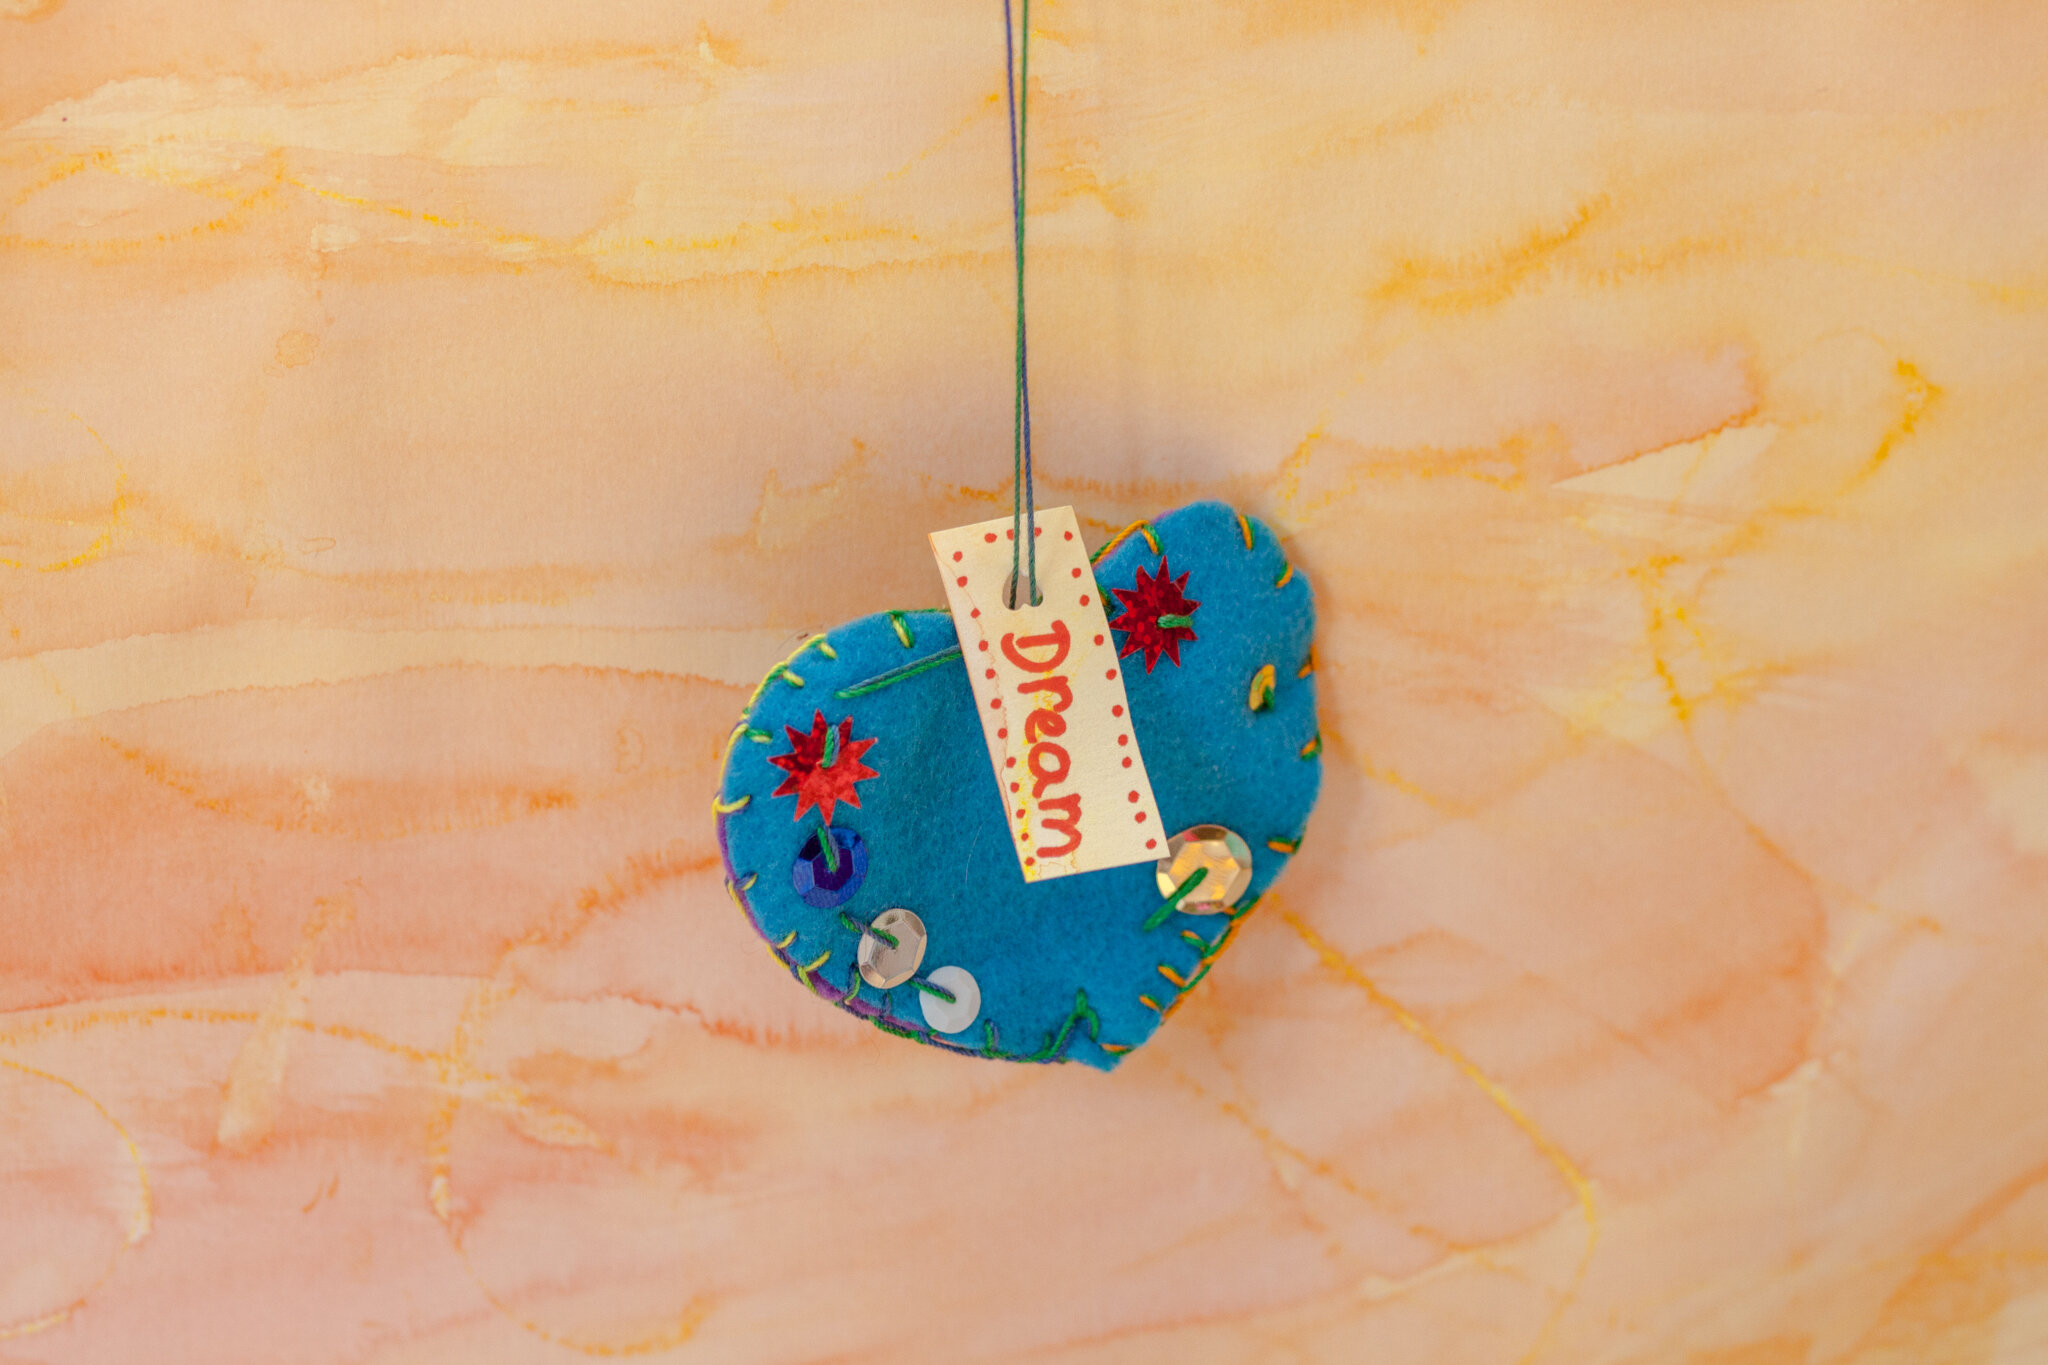
These can be strung together to make a garland or mobile. We enjoyed a class collection hanging from the ceiling overhead. They become such expressions of whoever sews them. May your heart’s wish come true!


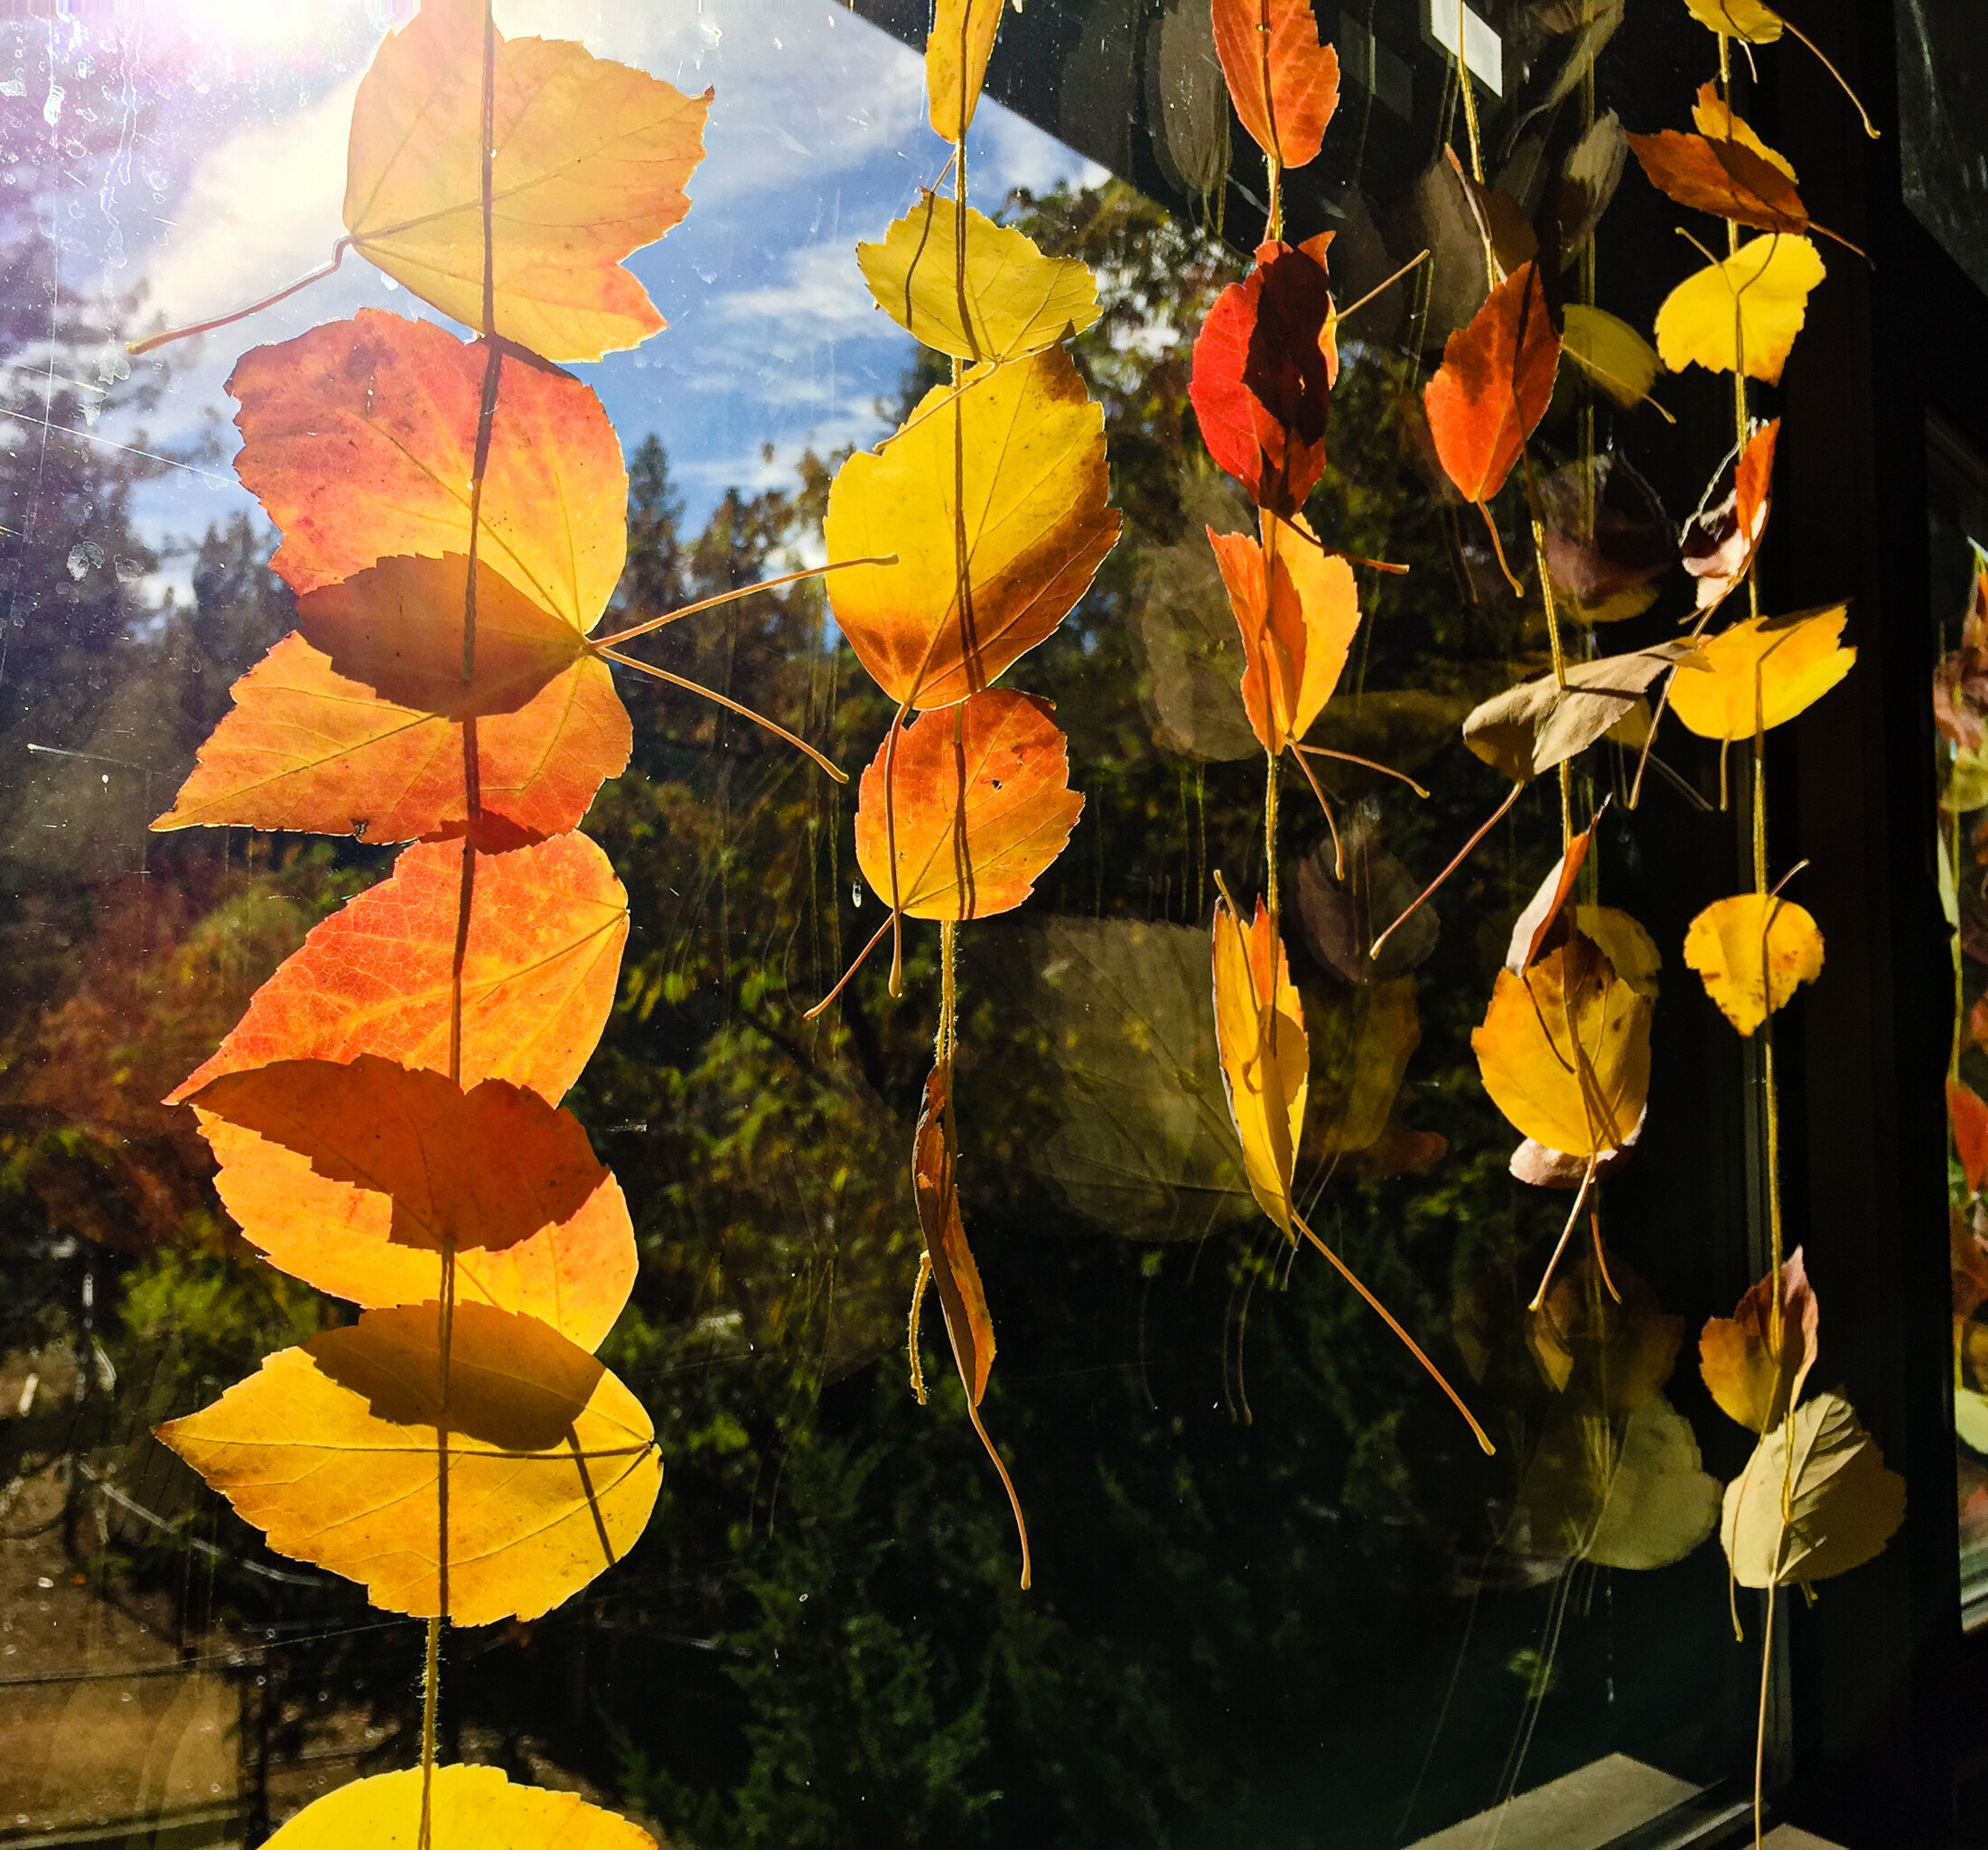
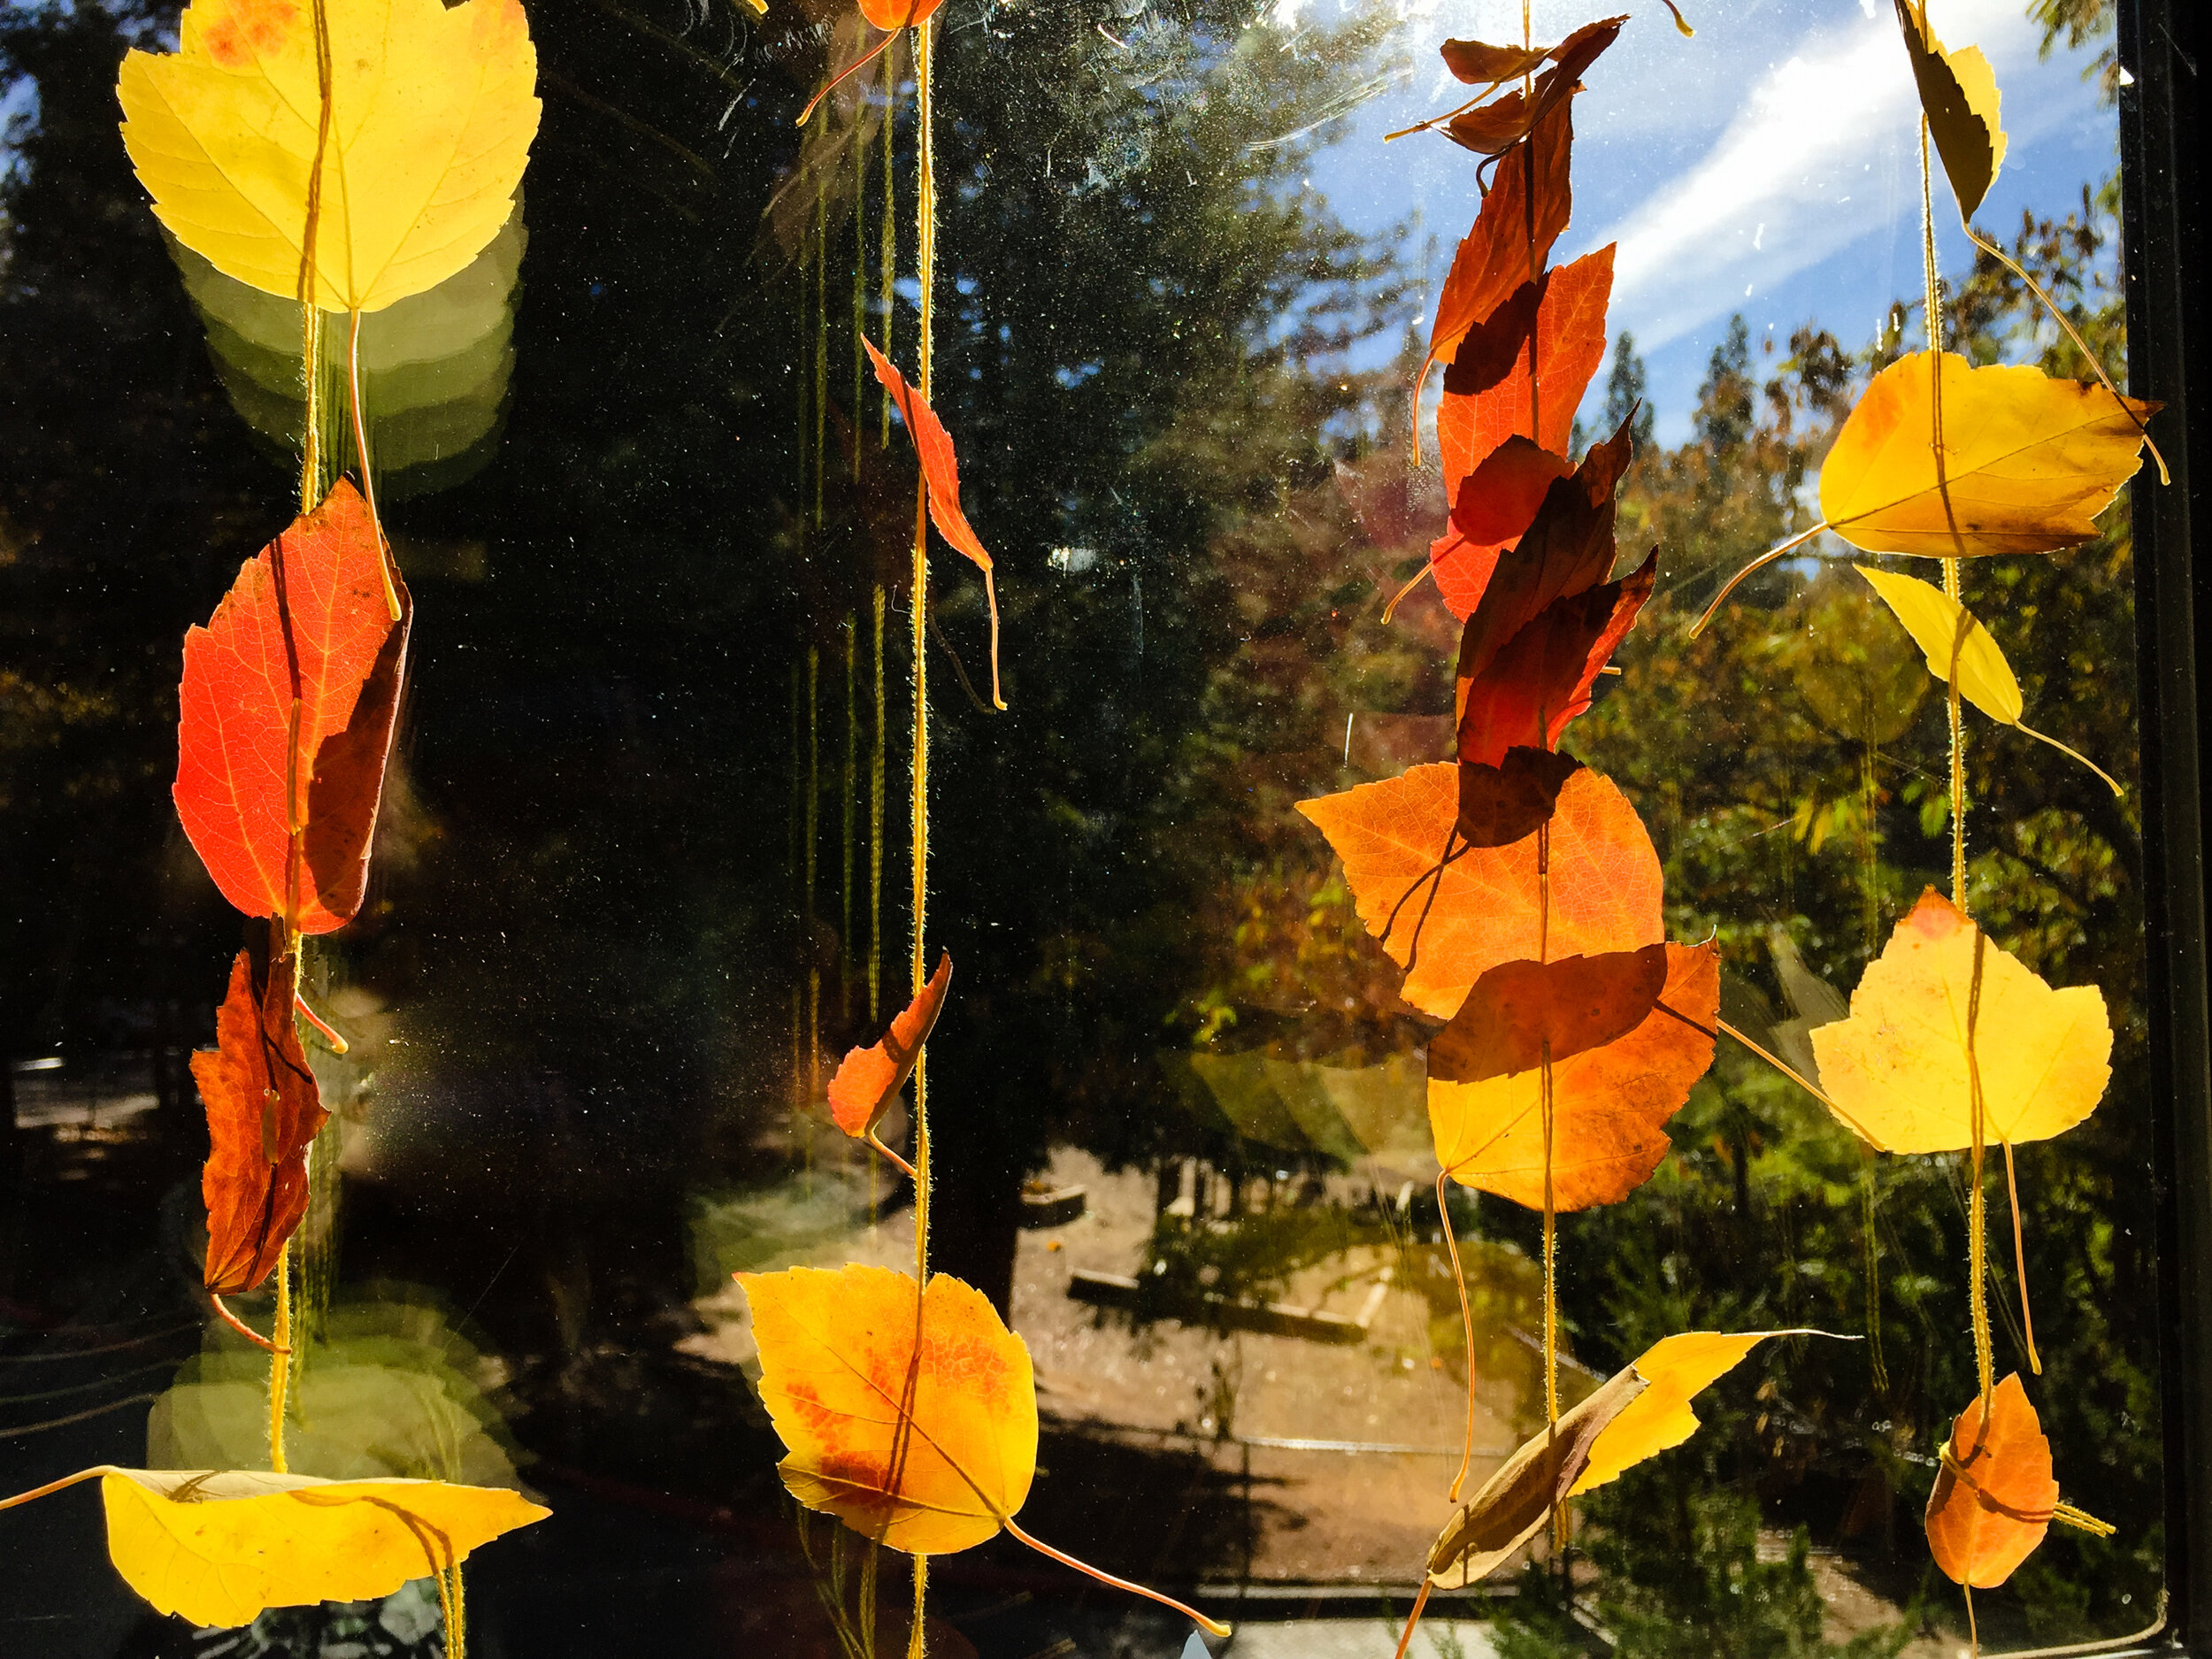
Autumn Leaf Decoration: Nature Craft
Children (and adults) enjoy collecting autumn leaves. Wandering around neighborhoods or trails shares any number of splendid fall leaves. We collect them on the nature table and use felt leaves for garlands. Then I wondered if we could create something lovely using real leaves.
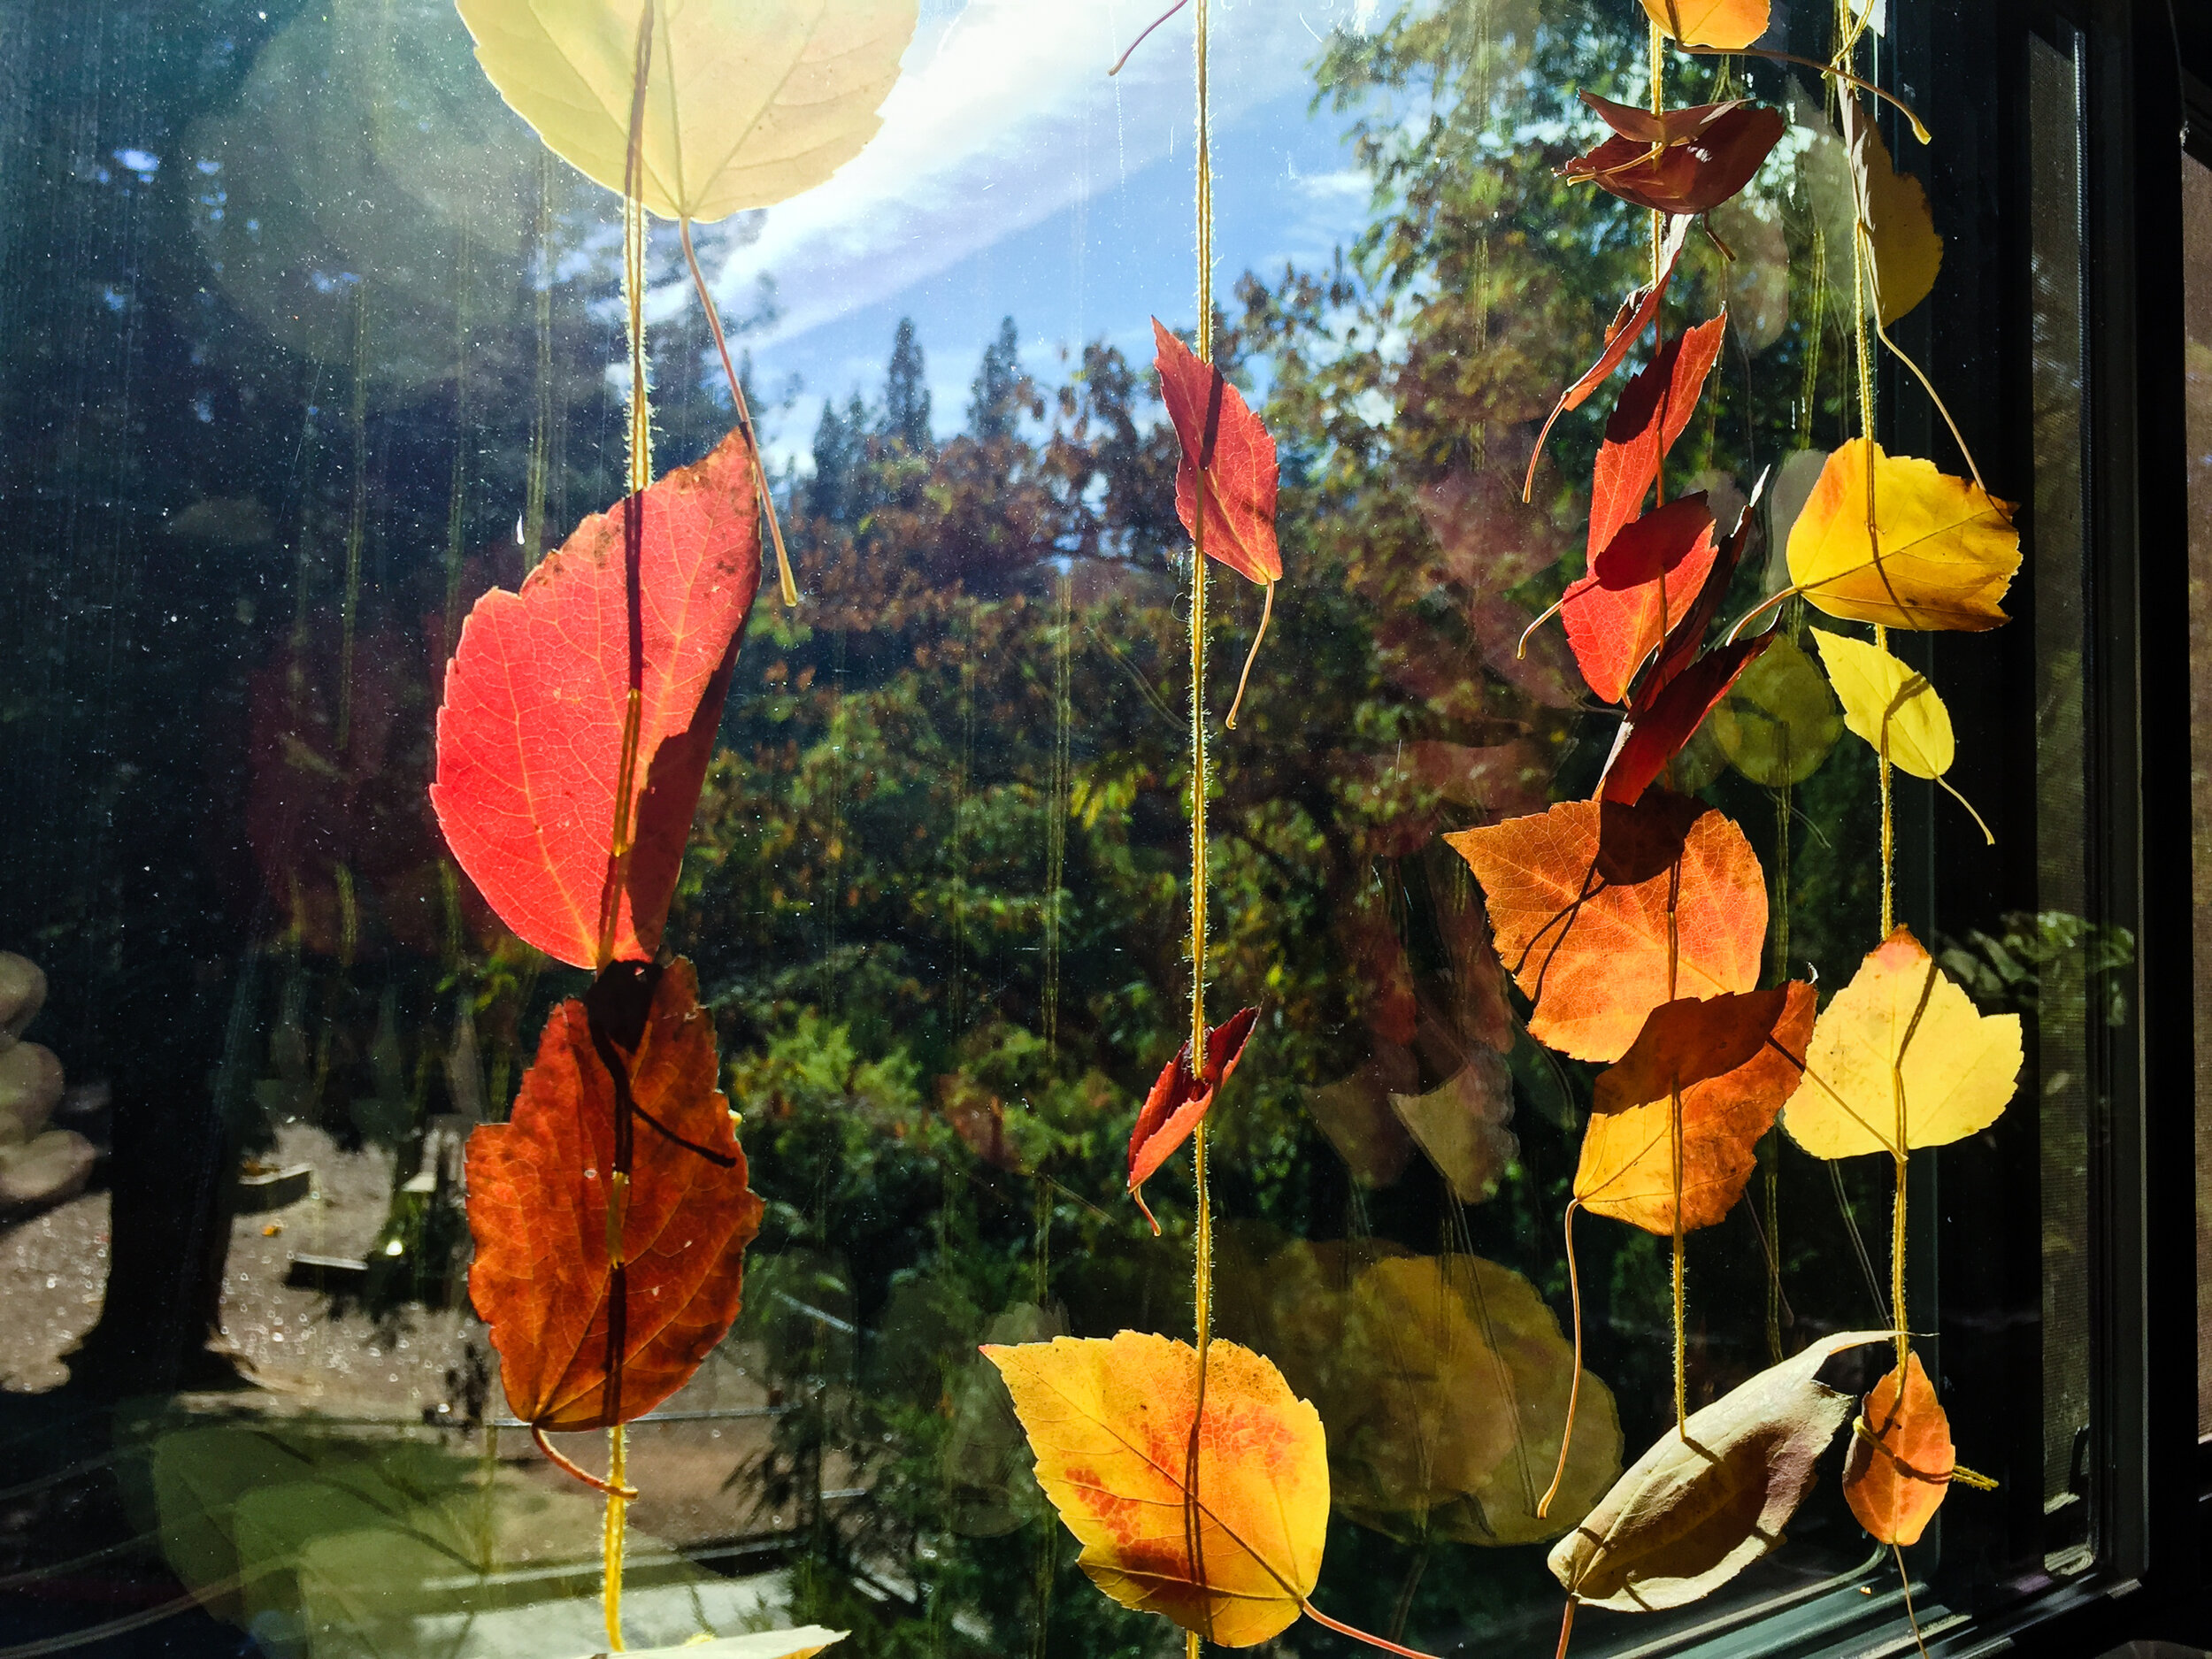
The real leaf garlands brought gorgeous color into our classrooms. The concept for them is incredibly simple.
Step one was usually a question. Could we sew leaves? And that prompted lots of ideas for yes or no. Then I shared that we could make decorations for the window (or anywhere- we love the light through colorful leaves). We created a plan to collect leaves on a walk around the playground. We have guidance not to pick leaves off of plants or trees. Only choose leaves on the ground.
I might share that the leaf needs to be soft because if it’s crunchy or brittle, it can fall apart when you sew through it. If you are creating these with children of your own, you may want to let them discover this on their own- like what happens when you try to sew a dry leaf? In a classroom, that meant quite a messy project.
We use crochet thread (size 3) which doesn’t tangle very easily. We cut a length of red or amber thread (any color would be fine). We use tapestry needles with very blunt tips or embroidery needles with large eyes for older students. We thread the needle and bring both ends even to tie a slip knot. This way, the needle cannot be pulled off of the thread by accident.
Sewing the leaves is a very simple process of pushing the needle through one leaf. Pull that leaf where you like it on the thread. The leaves tend to stay where you slide them on the thread since they’re light. Then add another leaf. By having thread go through a leaf once, the leaves “lean” one way or the other and look like they’re tumbling down in the window. Once you reach near the end, snip the needle free of the thread and tie a slip knot or double knot to hang anywhere.
The leaves will dry out eventually (which can be a science observation in itself- how long does it take for them to dry out?). You can take them down and outside to crunch them into mulch to return to the soil. The thread can be used for another project if you like.
I have read about preserving leaves with beeswax, which you could research if you want a display to last longer. I did find it lovely to see how nature is astonishing and fleeting all at the same time.
If you are making these with a class, or group of children, it’s helpful to thread the needles and tie the first knot ahead of time.
The walk to discover leaves, the sewing of leaves, and the enjoyment of leaves catching the light means that this activity combines nature and fine motor skills. I would often invite children to sew a second garland to take home because they enjoyed it so much.
Autumn is such a lovely season.
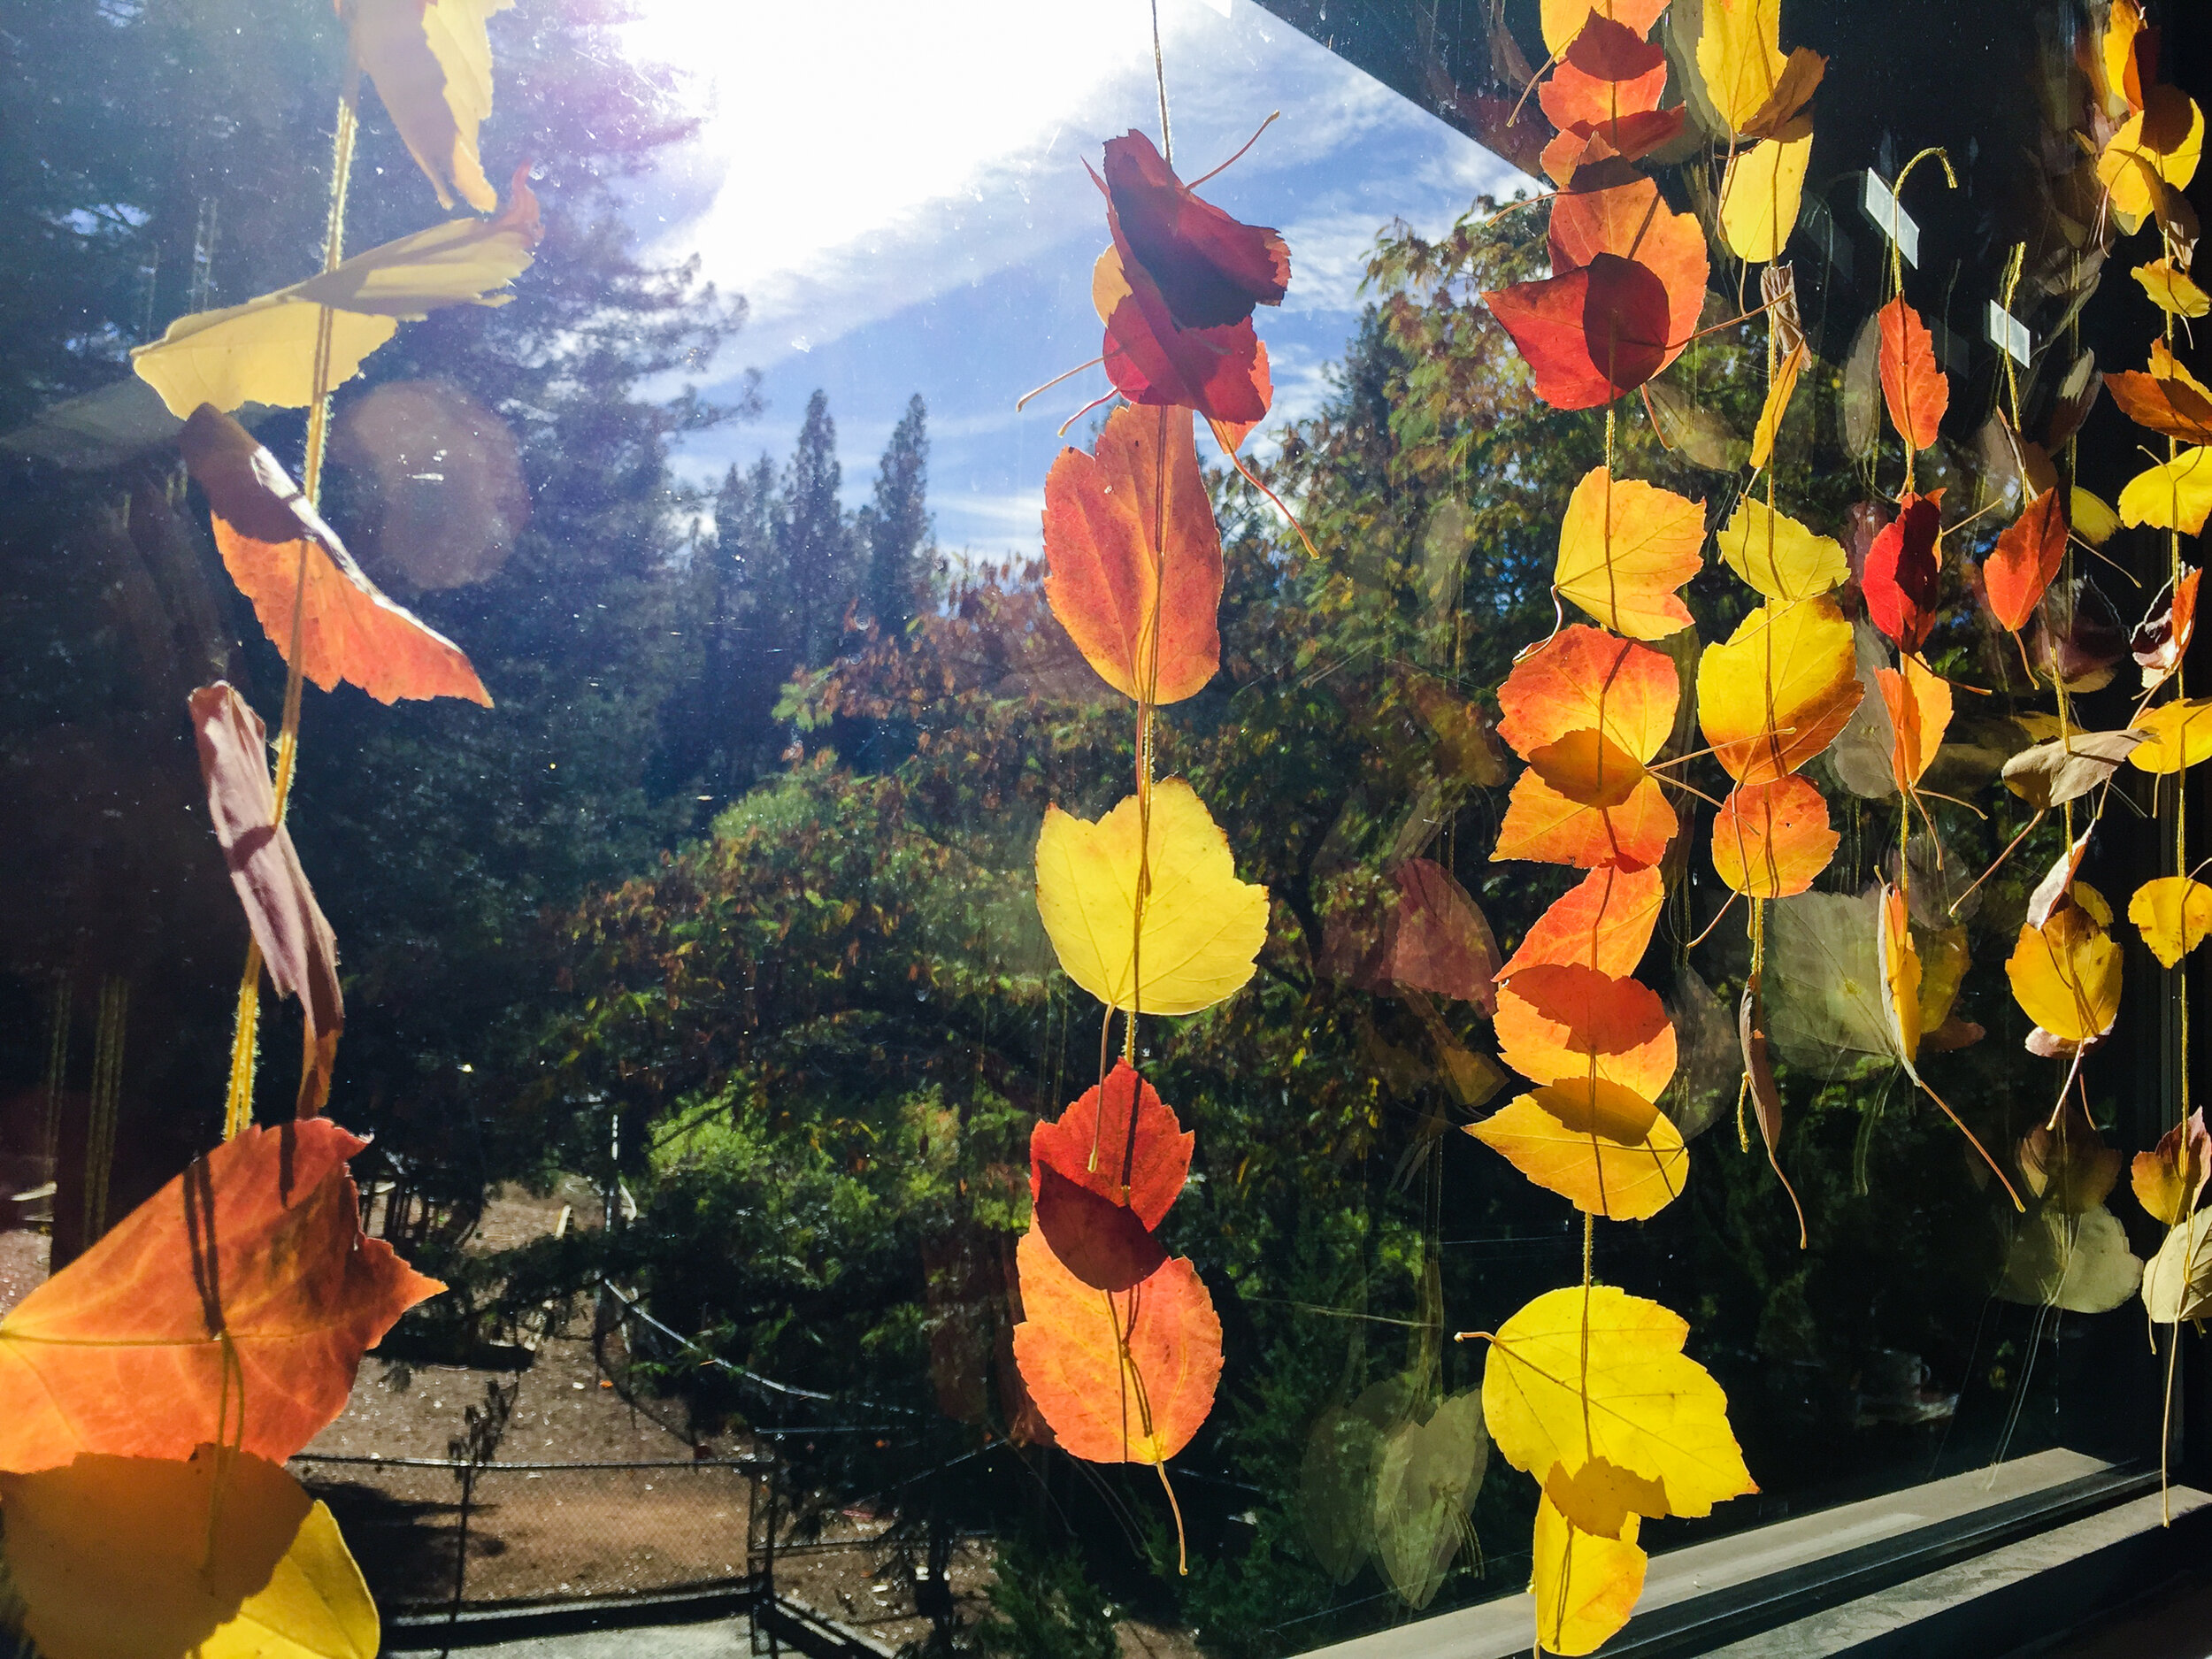
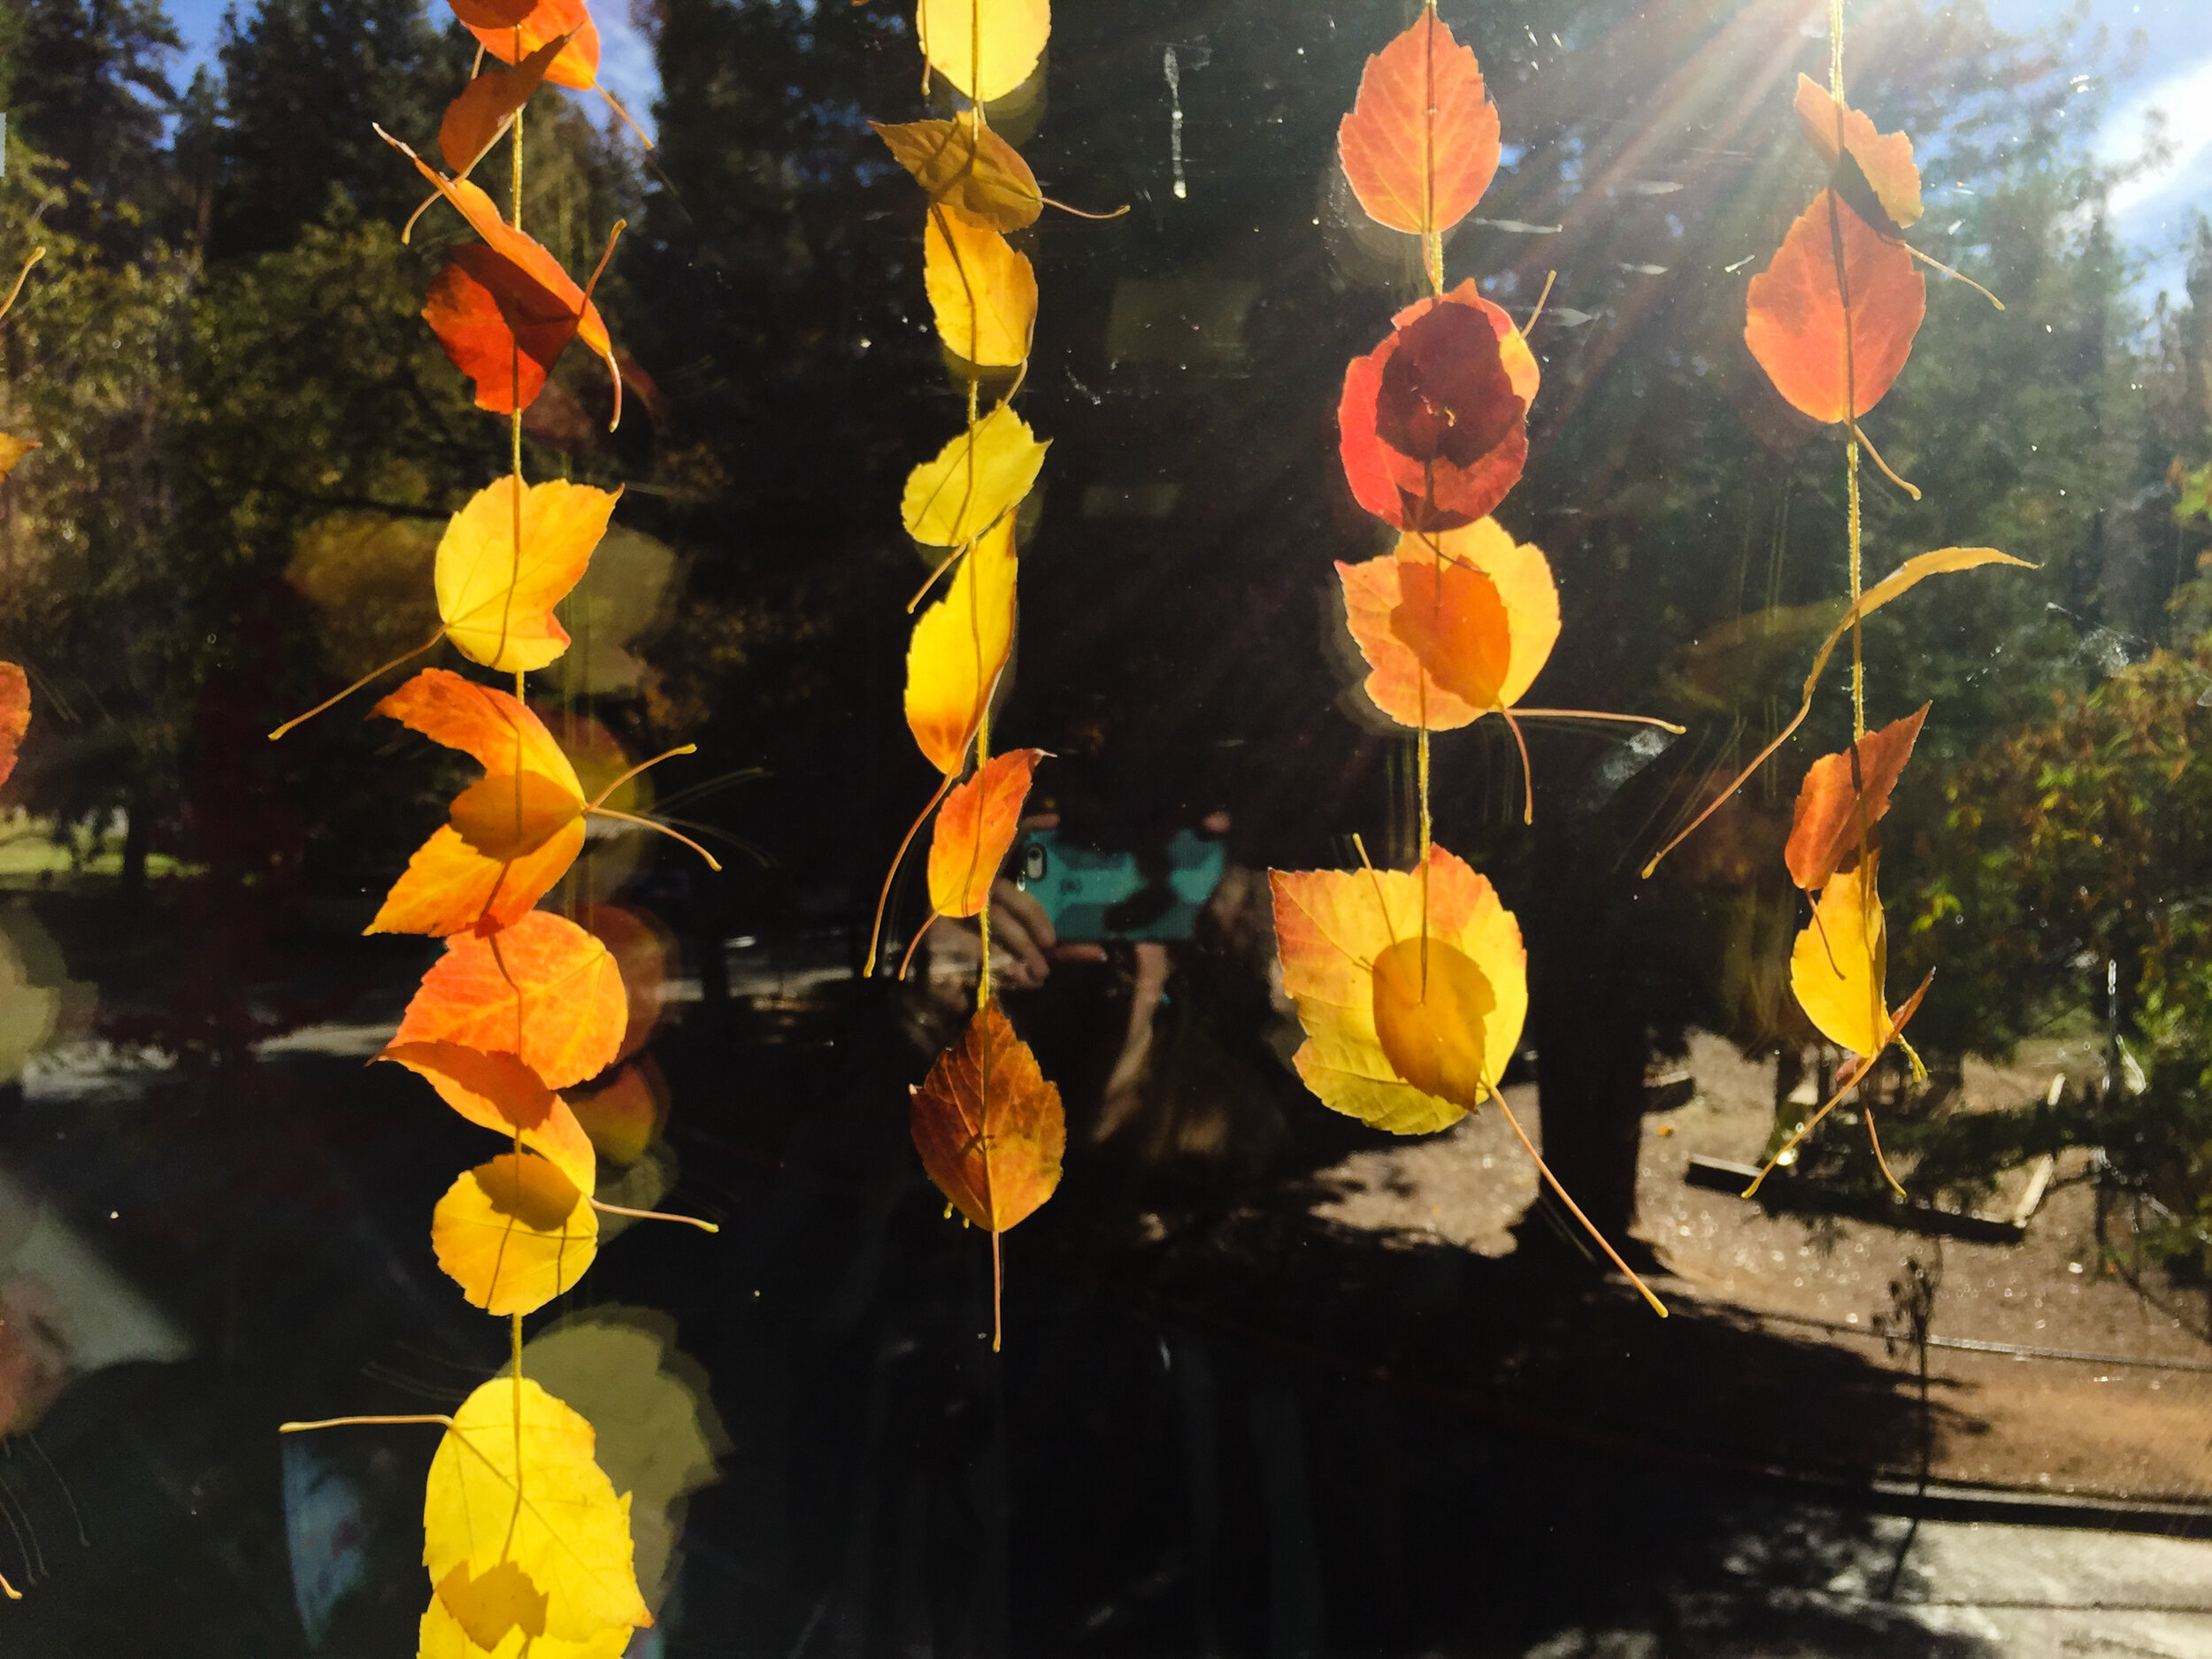
We hope you’re inspired to create a few garlands for your own space to celebrate the season.
Another idea- identify the trees from their leaves. Look them up online or use a leaf identification book to learn more about the trees in your neighborhood.
Happy autumn! 🍂🍁🍂

3 Reasons to Sew Together

I recently sewed a fairy with my niece. And I learned three reasons why it is worth the time and effort to engage children in crafting gifts (even for themselves!)
1. They make their own choices.
Their ideas of color and design may be very different from what we would choose for them. Sewing together gives them a chance to explore their own ideas. My niece got to build visualization skills as she tested one swatch of color with another. And her selections were not what I expected at all. And they were lovely!
2. They see the value of a handcrafted gift.
By engaging in the craft, they see all the effort and decisions that go into handcrafting a gift. From exploring my many supplies to undoing mistakes, she got to see the behind-the-scenes magic that makes a handcrafted gift so special. Unwrapping a gift is easy compared to creating a gift from bits of wire and felt. Yet, the process is so rewarding!
3. They treasure their creation.
Between the felt and sequins, magic happens. I shared with my niece that no matter how many fairies I create, they all end up different. Even if I try, I cannot make two that look exactly the same. She saw this for herself as she put her fairy together. She couldn't believe that she could create magic, too. "I know just where she belongs in my room," she said, "On my special nightstand." Creating something beautiful is empowering. And the 'voice' that a child gives her or his creation makes it unique in all the world.
The gift goes both ways. She enjoyed her fairy. I enjoyed spending time with her. Which is the best gift of all. Time together :)
Enjoy your crafting!
P.S. A few of our tips for successful sewing with children are here. We will share many more in our book coming out in late spring, 2013. Thank you for visiting the Forest!
